ಕನ್ನಡದಲ್ಲಿ ಓದಲು ಇಲ್ಲಿ ಕ್ಲಿಕ್ ಮಾಡಿ.

These days, I am not able to update the blog regularly. Some recipe picks are waiting in my laptop for posting. But time goes like that with my little one and I am not getting enough time for my activities. Sometimes when I cook something new, I feel like taking picks of the same. By the time I start the photo shoot, either she will be hungry or it will be her sleeping time. Her voice will alter my concentration and makes me to stop the photo shoot there itself! These picks are also taken at least 3 months back and finally, I am able to write down the recipe now :)
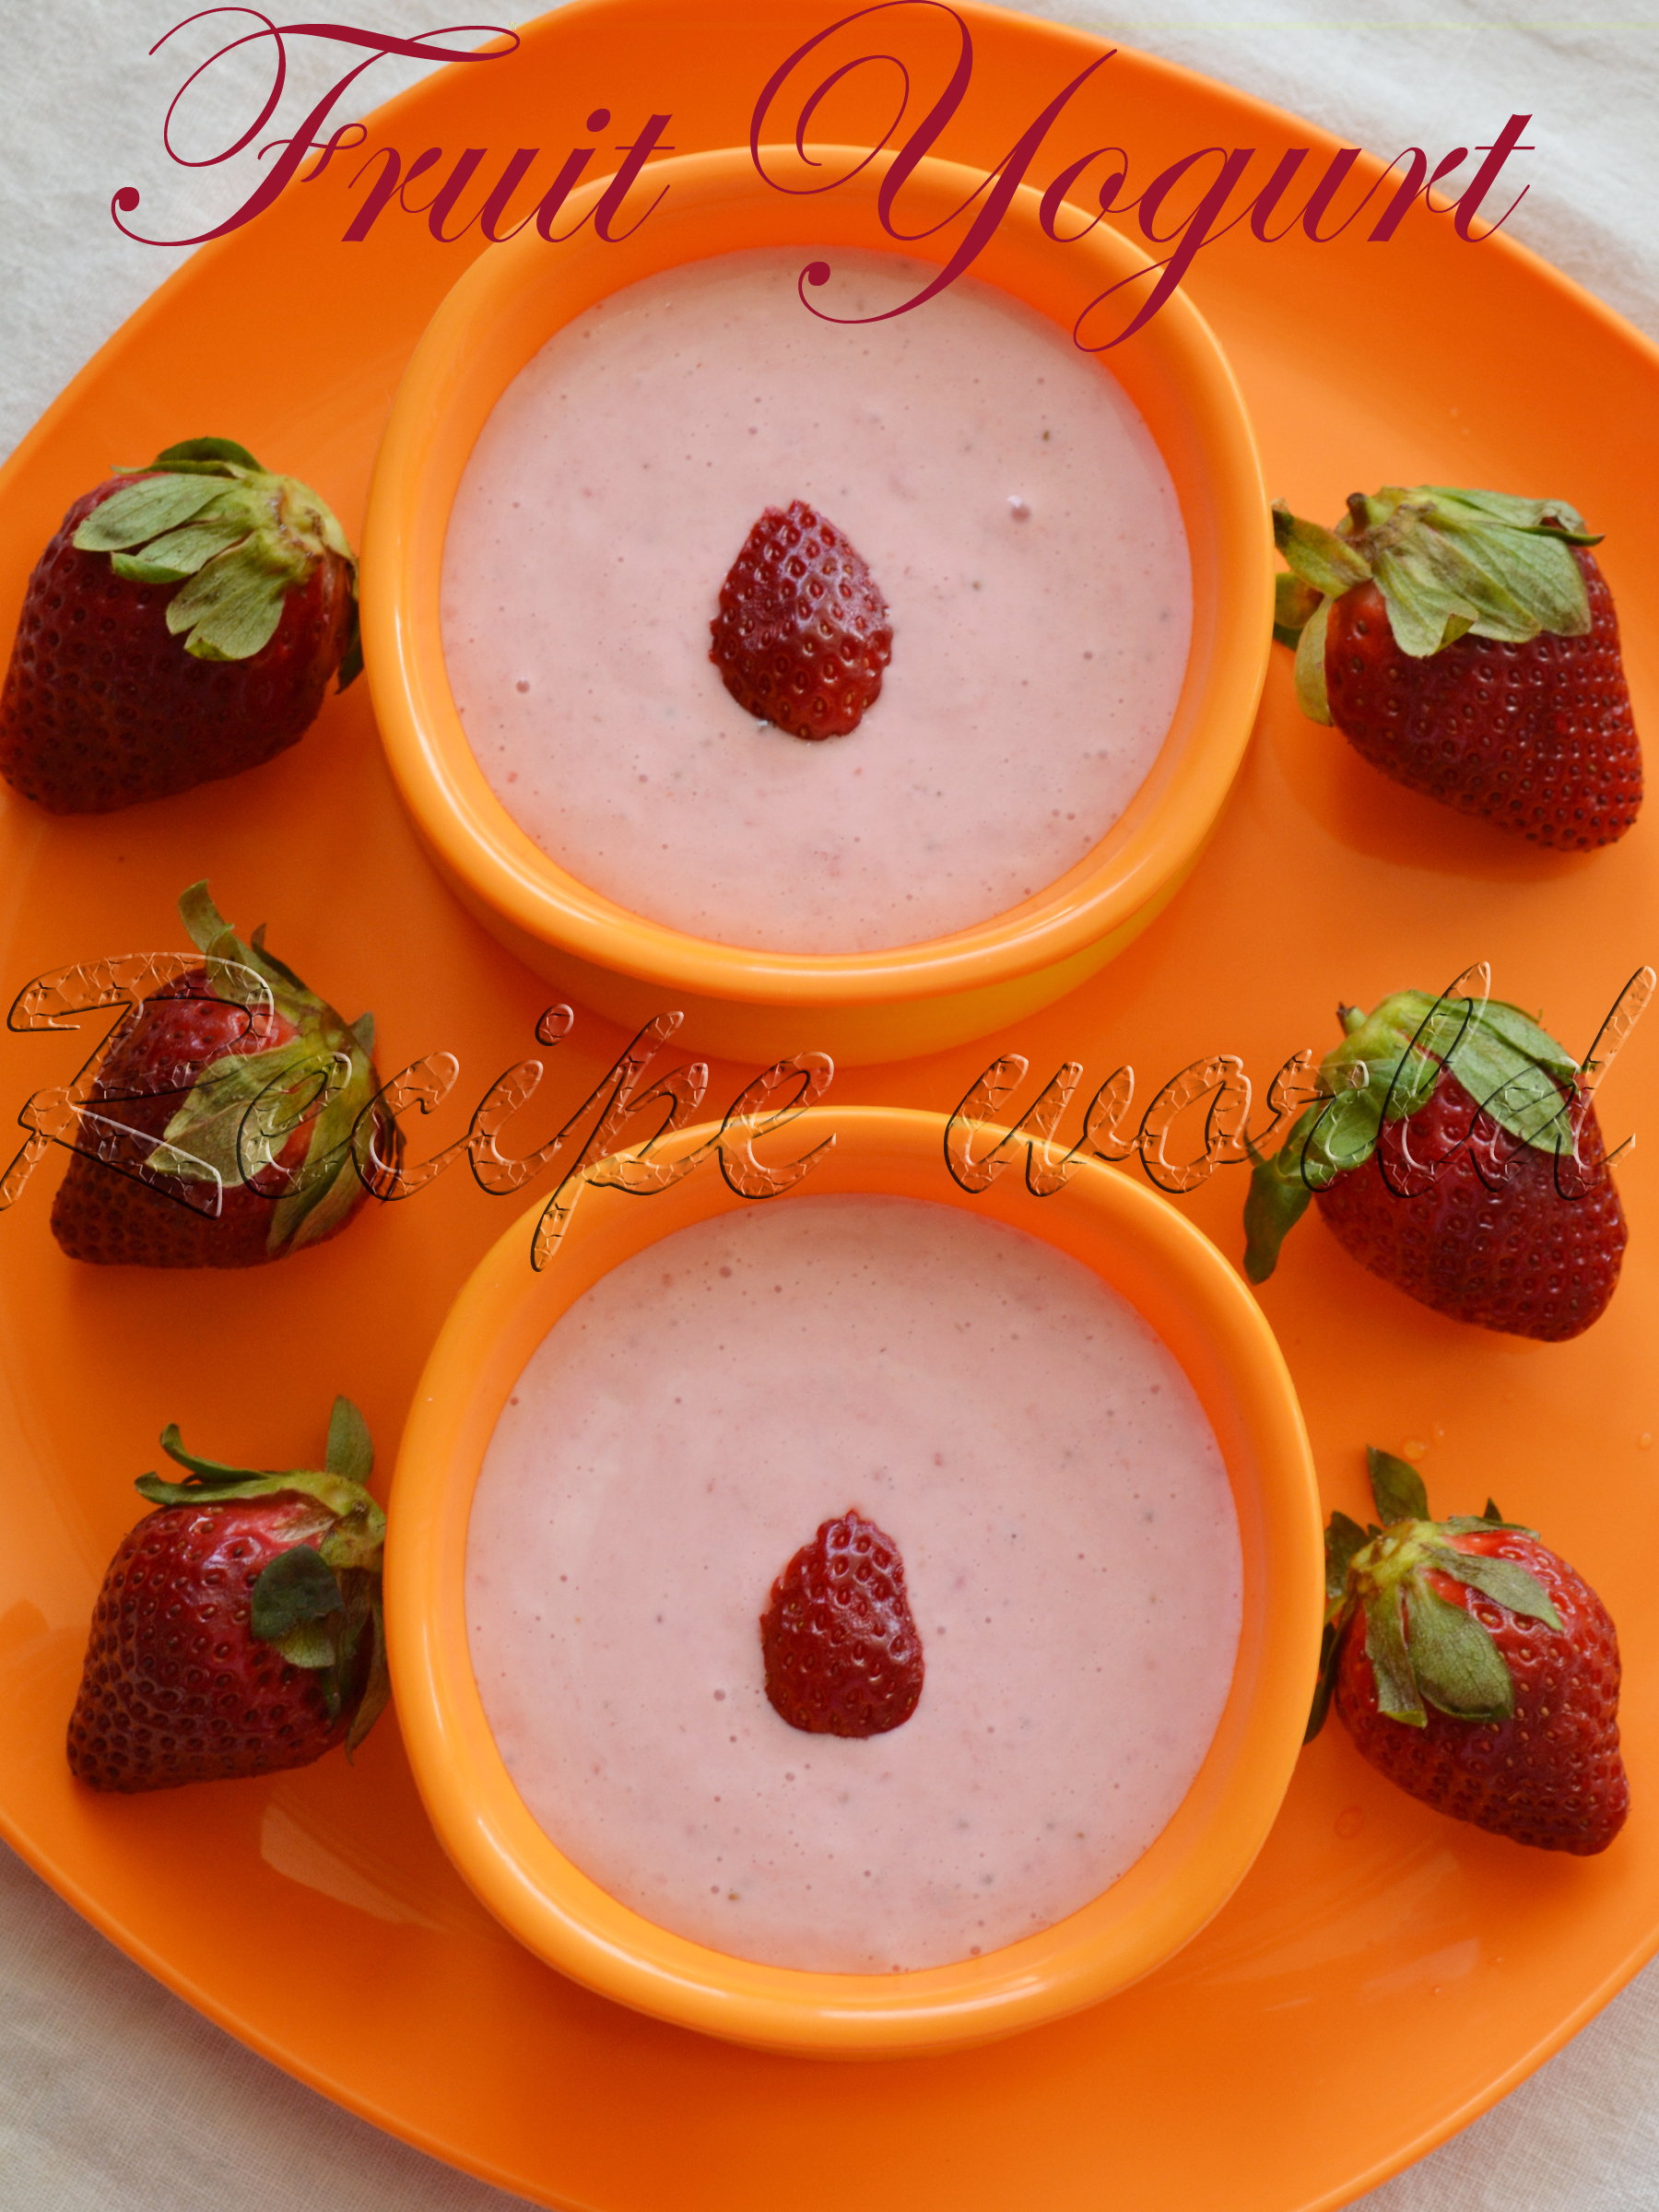
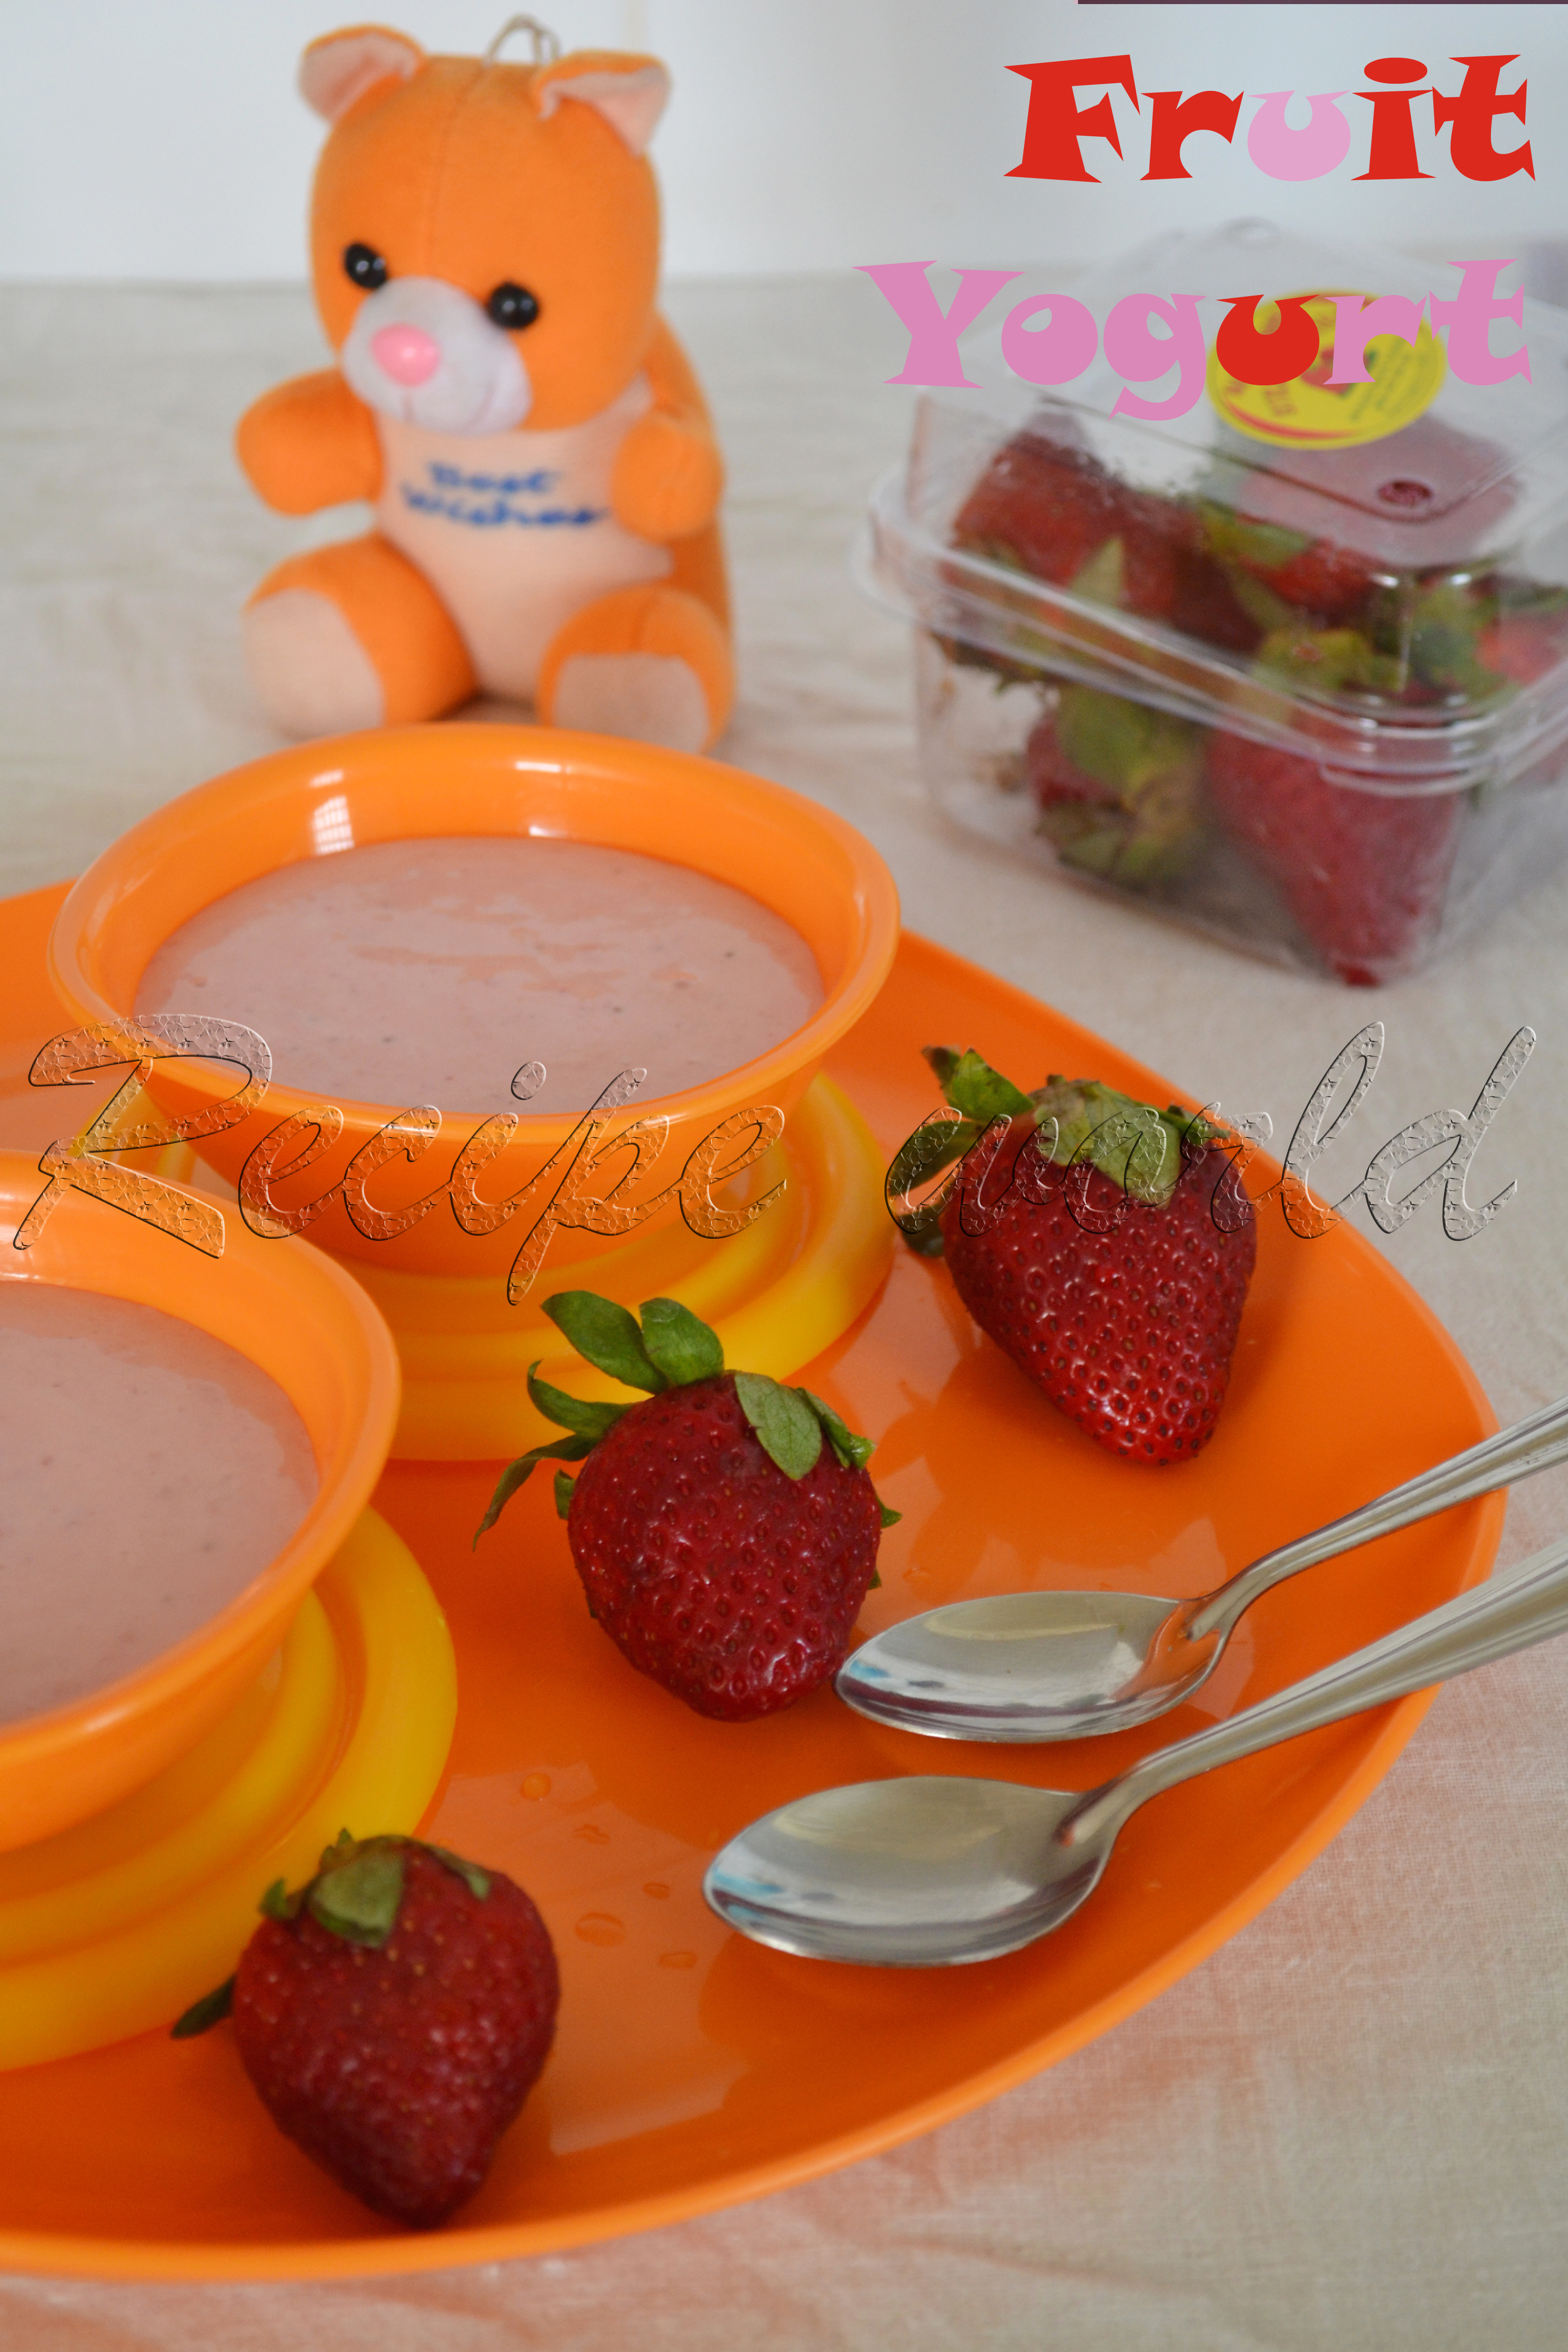
Who says 'no' to the yummilicious Fruit Yogurt? It has become one of our favorite dessert from past couple of years. More often, we will get it from super markets which is available in various flavors like Strawberry, mixed berry, mango, etc. I wanted to prepare my own fruit yogurt from long time and after several trials, here is the outcome. Hope you like it!
Also, I feel its a nice way to feed the children some healthy food.
 

Preparation time: 10 minutes
Cooling time: 1 - 2 hours
Servings: 2

Ingredients:
  • Strawberries - 4 to 5
  • Sugar - 7 tsp or to taste
  • Hung curd - 1 cup
  • Vanilla essence (optional) - 1 or 2 drops   


Procedure:
  • Wash the strawberries and chop them finely.
  • Transfer the sugar and hung curd into mixie jar and run the mixie for a minute or till it becomes a smooth paste. You can use the hand mixer also for doing this.
  • Keep aside 2 tsp of chopped strawberries and combine the remaining with yogurt mixture. Run the mixie for half a minute so that the fruit pieces are blended nicely with curd. 
  • Finally, add the remaining fruit pieces and also, 1 -2 drops of vanilla essence if you desire. Run the mixie for 4 - 5 seconds and switch it off.
  • Keep it refrigerated for 1 - 2 hours for setting down. 
  • Enjoy the delicious Fruit Yogurt as dessert or as snack anytime!


Tips:
  • This yogurt should be consumed within 1 - 2 days of preparation. Since we didn't add any preservatives, it won't be good after 2 days.

ಕನ್ನಡದಲ್ಲಿ ಓದಲು ಇಲ್ಲಿ ಕ್ಲಿಕ್ ಮಾಡಿ

It was during my initial days in Australia..once, hubby had brought a vegetable called 'Turnip' to home. I thought its a new variety of vegetable which I never used earlier. Its outer skin was purple mixed white, but the veggie tasted something similar to our Indian vegetable - 'Navilukosu'. Then I got the info from the net that Turnip belongs to the same family of Navilukosu. Turnip is well suited for Indian dishes like Paratha, Sambar, Hashi, etc.
My little daughter is a big fan of Roti and Parathas. She will accompany us for breakfast and dinner and loves to eat little bytes of roti or paratha. My hubby also likes to have roti / paratha for dinner. So, Roti / Paratha has become part of our dinner these days.
Turnip is one of the vegetables which I frequently use for preparing Parathas. Below is the recipe of Turnip Paratha. Try this delicious paratha and I am sure you are going to like it!


Preparation Time: 40 minutes
Servings  : 3
Difficulty level: Difficult

Ingredients:
- For Stuffing:
  • Turnip – 3 nos (medium or bigger ones)
  • Cumin seeds – 1 ½ tsp
  • Green chillies – 2 nos (according to taste)
  • Finely chopped coriander – ½ cup
  • Salt – 1 ¾ tsp or to taste

- For the cover:
  • Wheat flour – 5 cups
  • Water – 2 ½ cup (approx.)
  • Salt – 1 ½ tsp
  • Oil – 4 to 5 tsp

Procedure:
  • Grate the Turnip using a Grater. Mix it with salt and chopped coriander and keep aside for 10 minutes. Then, squeeze of all the excess water from the mixture. Retain this water so that you can use it while preparing the covering dough.
  • Take the stuffing mixture in a bowl. Add crushed green chillies and mix it nicely. Check the taste and add little salt if required. Now, the stuffing mixture is ready for use!
  • Take the wheat flour in a mixing bowl. Add salt and oil and mix it nicely with your hands for 3 – 4 minutes. Add water little by little and prepare a smooth, non-sticky dough. Keep it aside for at least 10 minutes before using.
  • Divide the stuffing mixture into 9 or 10 equal portions. Divide the dough also into same number of equal portions.
  • Prepare the dough balls and roll them half way. Put the stuffing mixture in the center of the rolled dough and cover it properly. Pat the prepared ball little bit with your fingers and keep aside for 2 minutes. Follow the same procedure till all the stuffing is done.
  • Roll the stuffed dough balls into slightly thin circles using a rolling pin. You can use some dry flour for dusting.
  • Heat the tava on medium flame. Transfer the rolled paratha onto the hot pan and cook on both the sides till golden brown. Drizzle few drops of ghee or oil while cooking the parathas.
  • Serve the hot parathas along with your favorite side dish!


Tips:
  • Half cook the parathas and put them in a zip lock bag. Keep it in the freezer and you can thaw and cook them when required. This saves a lot of time for especially for working women :)
ಕನ್ನಡದಲ್ಲಿ ಓದಲು ಇಲ್ಲಿ ಕ್ಲಿಕ್ ಮಾಡಿ. 

These days, sweet corn has become a regular item in our weekly veggies list. Somehow we are using it regularly in the form of snack, soup or salads. Both sweet corn and sprouted groundnuts make a nice combo with all the sprouts and vegetables. I usually prepare different salads using both of these along with different sprouts and vegetables. 
Here is an easy salad recipe using sweet corn, sprouts, carrot and pomegranate. Who says 'no' to this yummy salad? Also, this is an easy way for moms to make the kids eat something healthy :)


Preparation time: 10 minutes
Servings: 2
Level of difficulty: Easy

Ingredients:
  • Moong sprouts - 4 tbsp
  • Sprouted ground nut - 4 tbsp
  • Sweet corn - 4 tbsp
  • Pomegranate - 4 tbsp
  • Grated carrot - 4 tbsp
  • Salt to taste

Method:
  • Combine the sprouts, sweet corn, pomegranate and grated carrot in a mixing bowl.
  • Sprinkle some salt on the top and mix it well.     
  • Add a pinch of pepper powder if you desire. 
  • Transfer the salad mixture to a serving bowl and enjoy!


Tips:
  • You can make some variations to this salad using different veggies or sprouts of your like.
ಕನ್ನಡದಲ್ಲಿ ಓದಲು ಇಲ್ಲಿ ಕ್ಲಿಕ್ ಮಾಡಿ. 

I had thought of posting this recipe before the jack fruit season ends. But these days, I am busy with my little daughter. There's no time left for doing even my routine things! And now, I am realizing why many women blogger buddies stop their writing after having kids :) 
This year, I was in my native during jack fruit season and enjoyed different dishes of jack fruit. Here is the recipe of Jack Fruit Kheer (Payasa) for you. Hope you enjoy this easy and delicious kheer when you get this fruit next time!


Preparation Time: 20 minutes
Servings: 4 - 5
Difficulty level: Medium

Ingredients:
  • Ripe jack fruit flesh cut into medium size pieces - 2 cups
  • Milk - 2 cups
  • Water - 2 cups
  • Salt to taste (a pinch)   
  • Sugar - 1 cup or according to taste
  • Jaggery - 2 tsp (optional)
  • Semolina (sooji rava) - 1/4 cup
  • Cardamom powder - 1/4 tsp

Method:
  • Take semolina in a small bowl. Add about half a cup water and mix it nicely with fingers or a spoon. Drain all the water and allow it to soak for 10 minutes.  
  • Heat 2 cups of water in a medium size vessel. Once the water becomes hot, add salt and sugar and boil it for 2 minutes. To this, add jack fruit pieces and cook it for a minute. 
  • Once the jack fruit pieces are cooked, add washed semolina. Stir it continuously to avoid lumps.
  • When the semolina is cooked and the kheer mixture becomes thick, add milk and cardamom powder. 
  • Allow it to boil for 2 minutes and switch off the flame. That's all, delicious kheer is ready to enjoy!


Tips:
  • Ripe jack fruit flesh gets cooked faster. So, take care and don't allow to overcook. If overcooked, it will become like a thick gravy.
ಕನ್ನಡದಲ್ಲಿ ಓದಲು ಇಲ್ಲಿ ಕ್ಲಿಕ್ ಮಾಡಿ.

The season of mangoes is coming to end now in India. I was in my native this year throughout the mango season. There are lot of mango trees in our backyard, but this year, we couldn't get any mangoes there! Of course we bought mangoes from the city, but its not at all equal to the home grown ones.
It was during our childhood days we were running to my Grandma's place to enjoy those delicious mangoes. Going to their place was the happiest thing for us during those times! Grand parents are no more now, but my Mom's brothers invite my Mom's family every year to enjoy the mangoes at their place. This year, nobody could visit their place during mango season even after frequent invites by them. Finally, the kind hearted brothers sent a big parcel of both ripened and unripened mangoes to my mom's place! Everybody felt so happy and enjoyed the delicious mangoes up to a week. Even my little one enjoyed eating mangoes :)
When it is the mango season, most common dessert we prepare at home is Mango Seekarane (Rasaayana). Either it can be served as dessert or as side dish with Dosa or Roti. Click here to know more about Mango Seekarane. 
Coming to the recipe part, its a sweet and tangy dish which I had recently at my sister's place. It was prepared from raw mango and they call it as 'Mango Sweet Pickle'. Just learned the preparation method from them and tried it at home. Everybody at our home liked this pickle. Hope you will also like it!


Preparation Time: 40 minutes
Difficulty level: Medium

Ingredients:
  • 1 large mango - unripened (preferably Totapuri Mango)
  • Liquid jaggery - 1 to 1 1/2 cup (adjust according to sweetness)
  • Salt - 1 tsp or to taste
  • Green chillies - 2 
  • Water - 1/2 cup

Method:
  • Peel off the mango and cut it into thin slices of medium size.
  • Heat water in a vessel. Add the mango slices to the hot water and cook it for a minute or till half done.
  • To this, add salt, jaggery, slit green chillies and cook till the syrup becomes thick (May be 2 1/2 string consistency). By the time the syrup becomes thick, mango slices will be cooked fully and they will become transparent. 
  • Transfer the prepared sweet pickle to an air tight jar and use it when required. This can be stored up to 2 - 3 weeks.
  • This pickle goes well with rice like any other pickle.
 
Tips:
  • Any unripened mango can be used for this recipe. But Totapuri Mango is the most suited one.
  • Red chilli powder can be used instead of green chillies for this recipe.
  • This pickle should be both sweet and tangy in taste. When the pickle is almost done, check and adjust the taste. If the mango does not have a sour taste, few drops of lime squeeze can be added to make the pickle more tasty. 
NewerStories OlderStories Home