ಕನ್ನಡದಲ್ಲಿ ಓದಲು ಇಲ್ಲಿ ಕ್ಲಿಕ್ ಮಾಡಿ.

Amatekayi is not a well known vegetable. But I'm sure, people from rural areas will be familiar with this veggie. Amatekayi (Ambatekayi) belongs to the family of tangy vegetables like tamarind, mango, etc. It is very well suited for various types of Indian curries, side dishes and pickles. Being away from native, we really miss this vegetable many a times. 
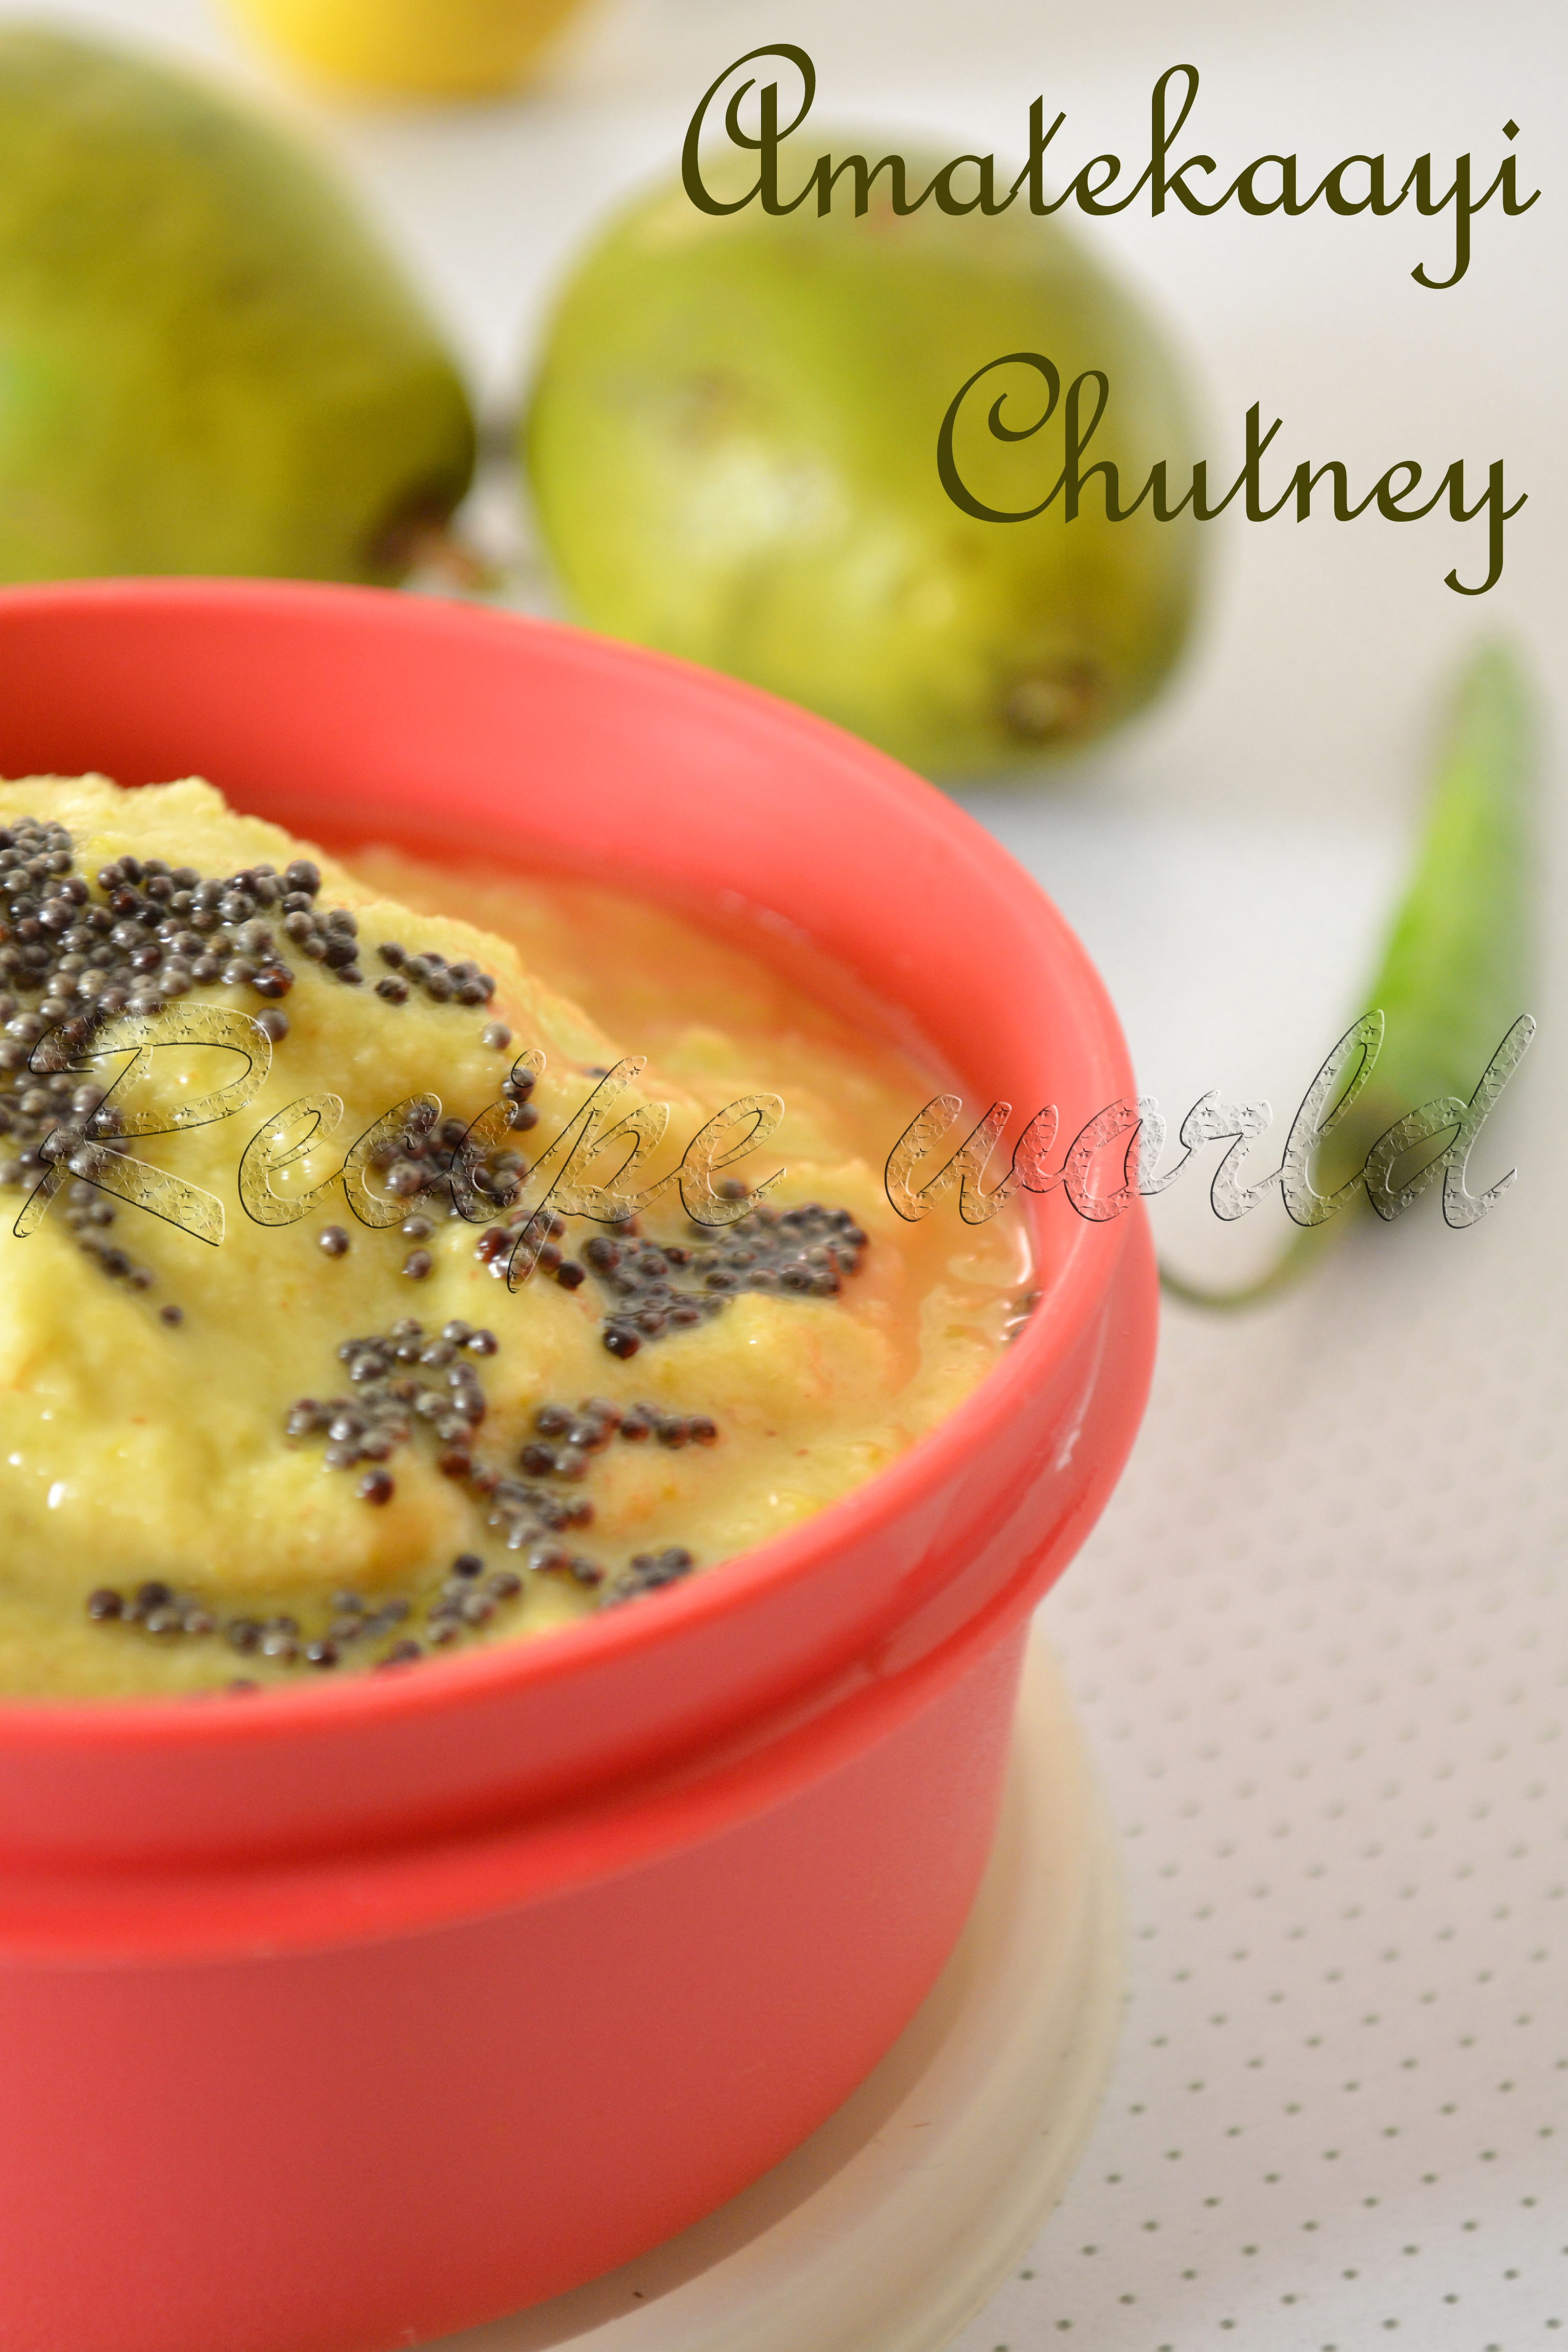
We prepare different dishes using Amatekayi. I have already posted the recipe of Amatekayi Sambar (Amati) long back. Here is one more recipe from Amatekayi, i.e., Amatekayi Chutney. Try this tangy and spicy chutney for your lunch and enjoy!


Preparation time: 20 minutes
Servings: 4
Difficulty level: Easy

Ingredients:
  • 1 medium sized Amatekayi
  • Shredded coconut - 1 cup
  • Green chillies - 2
  • Salt to taste
  • Half lime
  • Water - 1 cup

For Seasoning: Cooking oil (preferably coconut oil) - 1 tsp, Mustard Seeds - 3/4 tsp

Method:
  • Chop the amatekayi into medium size pieces. Don't remove the skin, but leave off the seed.
  • Cook the chopped pieces in one cup of water along with green chillies. Keep it half closed while cooking. Switch off the flame after 5 minutes.
  • Once it is cool, take out the cooked amatekayi pieces and green chillies and grind them coarsely along with shredded coconut and salt to taste. Keep aside the left out water after cooking the amatekayi pieces and can use the same while grinding the chutney mix. 
  • Check the taste and add the lime squeeze accordingly.
  • Heat oil in a small wok for seasoning. Add mustard seeds and roast it till you hear the crackling sound of mustard seeds. Add this seasoning to the prepared chutney and mix well. 
  • Enjoy this tangy and yummy chutney along with your lunch.

ಕನ್ನಡದಲ್ಲಿ ಓದಲು ಇಲ್ಲಿ ಕ್ಲಿಕ್ ಮಾಡಿ. 

Fruits and vegetables are part of our daily diet and of course, they are the main sources of nutrients needed for our body. Especially, green leaves like spinach, dill, etc. contain lot of iron, calcium and folic acid. Vegetarians has to depend on these leafy veggies which is the main source of folic acid for them. Regular usage of these leaves and vegetables is highly recommended for our well being. 
I was not a big fan of Dill leaves till my pregnancy. During my postpartum period, my mom used to prepare various healthy and delicious dishes using dill leaves. She told me the benefits of using dill leaves as part of our food. I enjoyed eating them, and these recipes were added to my recipe book quickly!
Below is the recipe of Dill Leaves Stir Fry which is very quick and easy. Just try it and enjoy eating!


Preparation Time: 15 minutes
Servings: 4 - 5
Difficulty level: Easy

Ingredients:
  • Dill leaves - 1 big bunch
  • Split urad dal - 1 tsp
  • Mustard seeds - 3/4 tsp
  • Pinch of asafoetida / hing
  • Grated coconut (optional) - 2 tbsp
  • Amchur powder - 1/4 tsp or to taste
  • Masala powder - 3 1/2 tsp or to taste (See Tips)
  • Sugar - 3/4 tbsp
  • Salt to taste
  • Cooking oil - 4 tbsp

Method:
  • Wash the dill leaves in running water and chop it finely.
  • Take a heavy bottom pan. Heat 4 tbsp of oil on medium flame. Add urad dal, asafoetida and mustard seeds. 
  • Once you hear the crackling sound of mustard seeds, add the masala powder and chopped dill leaves. Add salt, sugar and amchur powder according to taste and mix it well. Keep the lid half closed and cook it for 5 minutes. Saute it occasionally.    
  • Once it is cooked nicely, add 2 tbsp of grated coconut, if you wish. Saute it for 2 minutes and switch off the flame. 
  • Try this yummy n healthy side dish with rice or chapathi.


Tips:
  • Any kind of Sambar Powder can be used for this recipe. Adjust the quantity of masala powder according to its spiciness.
ಕನ್ನಡದಲ್ಲಿ ಓದಲು ಇಲ್ಲಿ ಕ್ಲಿಕ್ ಮಾಡಿ. 

Villages like my native are the places where people can stay happily by spending very less on the daily needs like fruits and veggies. What I mean to say is, villages are such heavens where almost every plant, bush or creeper is useful either as food, medicine or in some other way! People will prepare delicious and healthy food even when there is no vegetable at home, using these naturally available ingredients.
For instance, we use raw banana for cooking and ripened ones for eating directly. Many of us don't know that even the plantain / banana stem can be used for cooking! It has got lot of medicinal values and some healthy and tasty dishes can be prepared using plantain stem. As I heard, regular usage of plantain stem is very good for kidney stone problem. Also, its a good remedy for stomach pain and dry cough. These days, its not that difficult to get plantain stem in cities. Coz plantain stem is easily available in vegetable markets in cities like Bangalore.
Well, today's recipe is Plantain Stem Salad - a yummy and healthy starter for your lunch. Credit goes to my Mom who helped me in preparing and presenting this recipe. Traditional name for this salad is 'Hulilu' even though I called it as Salad! Below is the recipe of Plantain Stem Salad..


Preparation Time: 15 - 20 minutes
Servings: 4
Difficulty level: Easy

Ingredients:
  • Plantain stem - 1 small
  • Ginger - 1 inch
  • Green chilli - 1
  • Lime - half piece
  • Thick curd - 1/2 cup
  • Salt - 1/2 tsp or to taste  

Method:
  • Cut the plantain stem into thin slices. Remove the fiber and chop the slices finely. About one cup of chopped plantain stem is enough for this salad.
  • Chop the ginger and green chilli finely. Either you can chop them or crush them, its fine anyways.
  • Combine chopped plantain stem, chopped ginger and chilli, curd in a mixing bowl. Add salt and lime juice for taste. 
  • Enjoy this healthy and delicious salad with your lunch!


Tips:
  • Don't be scared if chopped plantain stem looks like oxidized. It will be back to its original color when you add lime juice to it.  
ಕನ್ನಡದಲ್ಲಿ ಓದಲು ಇಲ್ಲಿ ಕ್ಲಿಕ್ ಮಾಡಿ. 

As all of us know, fruits are very good source of nutrients needed for our body. For fruit lovers like me, anything that's made using fruits sounds delicious! Recently, we had enjoyed the season of grapes and enjoyed various dishes with fruits. Apart from regular fruit salad and ice creams, I wanted to try something new with fruits this time. What came to my mind is Fruit Sandwich which I had long back in a restaurant. I still remember the taste of that yummy sandwich filled with lots of seasonal fruits and cream. 
For various salads and ice creams, pineapple makes a good combo along with juicy grapes. I just used these two fruits along with cream for the filling. My family enjoyed eating this delicious sandwich for the evening snacks and everybody liked it. 
Below is the recipe of Fruit Sandwich for you! And here is a small tip before you go ahead for preparation..don't forget to keep all the ingredients refrigerated before using, coz the sandwich tastes better when its cool!


Preparation time: 30 - 35 minutes
Difficulty level: Medium
Yield: 8 pieces

Ingredients:
  • Sweet bread - 16 slices
  • Pineapple chunks - 2 cup
  • Fresh grapes - 2 cup
  • Powdered sugar - 1/4 cup
  • Water - 1 cup
  • Fresh cream - 200 gm

Method:
  • Dissolve 3 tsp of sugar powder in 1 cup of water and keep it aside.
  • Beat the fresh cream well and prepare the whipping cream. Add sugar powder for taste and mix it well. Keep it refrigerated till use.
  • Place two bread slices on the plate. Sprinkle 2 - 3 tsp of sugar syrup on both the sides. 
  • Spread a thick layer of whipping cream on one slice of bread. Top it generously with pineapple chunks and grapes.
  • Cover it with another slice of bread and serve immediately!


Tips:
  • Keep all the ingredients refrigerated before use. Fruit Sandwich tastes better when it is cool!

ಕನ್ನಡದಲ್ಲಿ ಓದಲು ಇಲ್ಲಿ ಕ್ಲಿಕ್ ಮಾಡಿ. 

I came across this recipe few days back. It was written on the back of All purpose flour packet. They had used orange zest in this recipe to give it a nice flavor. Orange zest means the grated peel of orange. This was the first time I used orange zest in my cooking. Loved this simple recipe and gave it a try! Shortbread was light and crispy with the nice aroma of orange zest.
I have tried this recipe several times already and the shortbread got over within 2 days every time. I'm sure, kids love this yummy and crispy shortbread. Also, you can give it as teething biscuits to babies for biting.
Wish you happy cooking :)

Preparation time: 40 minutes
Difficulty level: Medium
Yield: 25 pieces (depending on the size)


Ingredients:
  • Zest of 2 Naval Oranges
  • Sugar - 1/2 cup (plus 2 tsp if you want to make it sweet)
  • All purpose flour / Maida - 3 cups (approx)
  • Unsalted butter - 125 gm

Method:
  • Transfer the sugar to mixie jar and make a fine powder. 
  • Let the butter be in room temperature. Beat it nicely and then add powdered sugar. Beat it till its fluffy and creamy. Add the orange zest and mix it well.    
  • Fold in the all purpose flour little by little and make a smooth dough. Keep adding the flour till you are able to make a dough ball out of it.  
  • Dust the rolling surface with some dry flour. Roll out the big dough ball into a large circle using a rolling pin and cut it into desired shapes. Rolling is not compulsory, you can make it into any shape of your choice.
  • Pre heat the oven to 170°C. Arrange the shaped shortbread pieces in the oven tray and bake them for 15 - 20 minutes or till golden brown. Take them out after 5 minutes and allow to cool.
  • Shortbread will become crispy once they cool down. Store them in an air tight jar and enjoy with your cup of tea or coffee!
 
NewerStories OlderStories Home