ಕನ್ನಡದಲ್ಲಿ ಓದಲು ಇಲ್ಲಿ ಕ್ಲಿಕ್ ಮಾಡಿ.

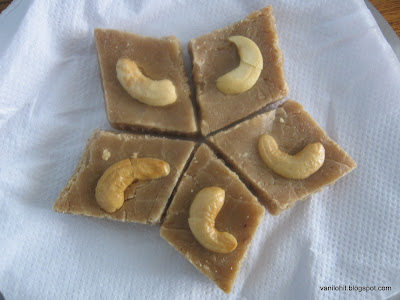
This Burfi is one of the special dishes which my Mom prepares. Using only 3 ingredients, this tasty and easy sweet can be prepared. Whenever I prepare this Burfi at home, I will get over within one day! 


Preparation Time: 40 minutes

Ingredients:
Groundnut - 1 cup
Sugar - 1 cup
Milk - 1 cup

Procedure:
Dry roast the groundnut and remove the skin.
Prepare a fine powder from the roasted groundnut.
Take a thick bottom pan, pour the milk and sugar, and bring to boil.
Once the sugar dissolves in milk, add the groundnut powder and mix well.
Keep mixing the mixture till it thickens, separates from the bottom and reach the Burfi consistency. 
Pour it on a greased plate and spread nicely. You can use the rolling pin to spread it evenly.
Cut it into desired shapes once it becomes cool.  

Tips:
  • If you are confused about the right consistency for the Burfi, just put few drops of the Burfi mixture on the plate. If it becomes solid when it becomes cool, that's the right consistency!
ಕನ್ನಡದಲ್ಲಿ ಓದಲು ಇಲ್ಲಿ ಕ್ಲಿಕ್ ಮಾಡಿ.

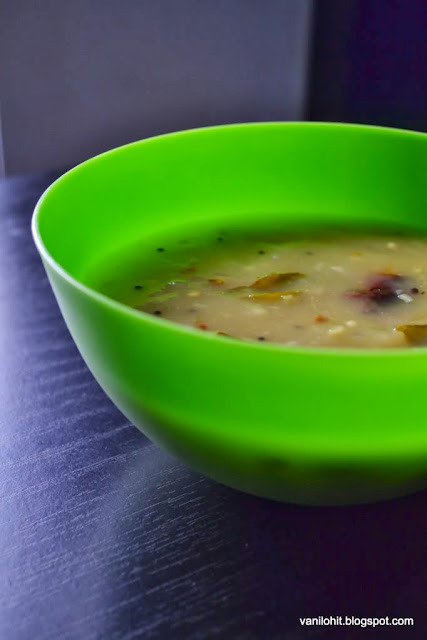
There is a big shopping complex in our area, which is at walkable distance from our house. Normally, we will go there frequently for our household needs. Last week, I had been there for browsing something and I found Totapuri mangoes in a shop there. I just rushed in and bought few mangoes with the idea of cutting and eating them. But it was too much tangy and I couldn't eat even a single pie! Then, I thought of preparing this Gojju (Thick gravy). 
More sour the mango is, its better for this Gojju. If boiled nicely, this can be preserved upto 4 - 5 days without refrigeration. Of course, you can use the mangoes preserved in salt water also instead of fresh ones. This gojju will be a good combination with rice.


Time required: 40 minutes

Ingredients:
1 big raw mango (sour)
Dry red chillies - 2
Green chillies - 6 (Adjust as per your taste)
Urad dal - 1/2 spoon
Mustard seeds - 1/2 spoon
Asafoetida
Few curry leaves
Pinch of turmeric
Sugar - 1/2 spoon
Salt - according to taste
Garlic pods 8 - 10 (crushed)
Oil - 3 spoon

Procedure:
Cook the raw mango in water till it becomes smooth.
After the mango is cooked, take it out from the water and allow to cool.
Take out all the pulp from the cooked mango. Use some water if needed.
Heat the oil in a pan. Add the red chilli pieces, urad dal, mustard seeds, asafoetida and turmeric. Once it splutters, add curry leaves and sliced green chillies.
Add the crushed garlic and saute for a while to remove the raw smell.
Add the mango pulp, sugar and salt. If it looks too thick, add some water to dilute it.
Boil the gojju at-least for 8 - 10 minutes and switch off the flame.
Store it in an airtight bottle once it becomes cool.
Enjoy the hot and sour Gojju with rice. 


Tips:
  • If you want to have more aroma of garlic, just skip adding garlic while preparing the Gojju; and once the Gojju is done, do the tempering with garlic.
  • No need to boil the mangoes if raw mangoes preserved in salt water are used. Because, they will be boiled before preserving in salt water.

This is my entry to the Event 'Herbs and Flowers - Garlic' hosted by Vardhini, which was started by PJ.


Also, sending this to 'Flavours of South India', ongoing event at Simply Food.

    ಕನ್ನಡದಲ್ಲಿ ಓದಲು ಇಲ್ಲಿ ಕ್ಲಿಕ್ ಮಾಡಿ.

    Probably everybody is busy with the festival preparation now.. coz its Ganesh Chaturthi tomorrow! Even I was doing the preparations, and thought of doing this month's last posting :) I will be sharing an easy recipe today, which is very special for this festival! I already prepared some items for tomorrow because I can't prepare all the dishes alone quickly. Today, I prepared Sesame seeds laddoo, which is one of the favorite dishes of Lord Ganesha. One of my Aunt prepares these laddoos very nicely. They will celebrate Sankashtahara Chaturthy every month and she won't miss these laddoos for the Naivedyam. We used to wait for the pooja to end and eat the tasty laddoos!! I have adopted some tips from her for this recipe. But these laddoos will be more tasty and chewy if you use the liquid jaggery which you can get only in rural areas.


    Preparation time: 40 minutes
    Yield: 20 - 21 small laddoos

    Ingredients:
    Powdered jaggery - 1 1/4 cup
    Sesame seeds - 1 1/4 cup
    Cardamom - 1
    Pinch of cooking soda
    Water


    Procedure:
    Roast the sesame seeds to golden color or until you get nice aroma.
    Add little water to the jaggery and bring to boil.
    Keep the cardamom powder ready.
    Crush the sesame seeds in mixer just for 1 - 2 seconds and take out. 
    When the jaggery reaches a thick, one thread consistency, add the cooking soda, crushed sesame seeds and cardamom powder. Mix them well.
    Then, switch off the flame and wait till the mixture cools down little bit.
    Prepare small balls (laddoos) when the mixture is still warm.
    Sesame seed laddoos are ready now. Let me wait till tomorrow to enjoy these laddoos!
    Happy Ganesh Chaturthy to one and all!! Take care :)


    ಕನ್ನಡದಲ್ಲಿ ಓದಲು ಇಲ್ಲಿ ಕ್ಲಿಕ್ ಮಾಡಿ.

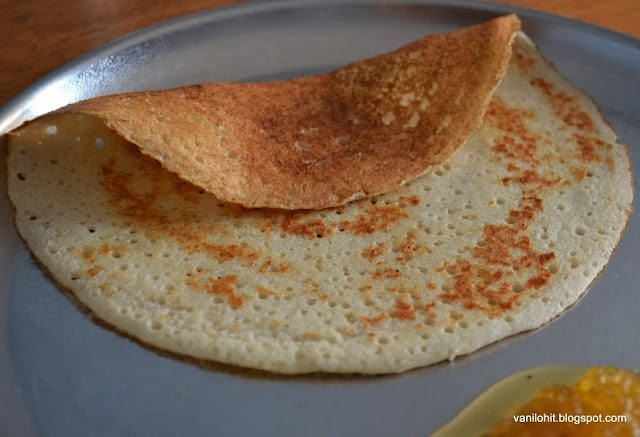
    Normally, most of the dosas we prepare need some quantity of rice or rice flour to prepare the batter. But this Rava dosa is prepared without using the rice. Only ingredients used here are - semolina (sooji rava) and urad dal. This type of rava dosa will be prepared for breakfast mostly on festival days when people won't prefer having anything made with rice before doing the Pooja. Procedure to prepare the batter for rava dosa is almost similar to the Idli batter.


    Preparation time: 30 minutes
    Fermentation time: 7 - 8 hours
    Servings: 3

    Ingredients:
    Urad dal - 1/2 cup (soak in water for 2 - 3 hours)
    Semolina / sooji rava - 2 cups
    salt to taste

    Procedure:
    Wash the soaked urad dal and grind it into a fine paste by adding little water.
    Wash the semolina and drain all the water.
    Mix the semolina with urad dal paste and prepare the batter. 
    Consistency of the batter will be the same as regular dosa batter. If the batter looks watery, little more semolina can be added to the batter.
    Let the batter rest in a warm place for 7 - 8 hours or overnight.
    Before preparing the dosa, add salt and mix well. 


    Heat the tava and pour a large spoonful of batter on it. Spread the batter a little.
    You can add few drops of oil or ghee while cooking the dosa. But this is just optional.
    Cook the dosa on both the sides and serve hot with chutney or any other side dish.


    ಕನ್ನಡದಲ್ಲಿ ಓದಲು ಇಲ್ಲಿ ಕ್ಲಿಕ್ ಮಾಡಿ.

    This is one more variety of dish which I prepare using bamboo shoot. Bamboo shoot Bajji or Fritters is a perfect treat for snack time. To be frank, all the credit for this recipe goes to my sister ;)


    Preparation Time: 35 - 40 minutes
    Servings: 2

    Ingredients:
    Bamboo shoot - 3/4 bowl (squeeze off all the water)
    Gram flour - 3/4 cup
    Rice flour 2 - 3 spoon
    Chilli powder - 2 spoon
    Salt to taste
    Oil for deep frying

    Procedure:
    Finely chop the bamboo shoot and roast them on medium flame for 7 - 8 minutes.
    Mix the bamboo shoot, gram flour, rice flour, chilli powder, salt and prepare a thick batter using little water.
    Heat the oil nicely.
    Drop small balls of batter into the hot oil and deep fry them.
    Enjoy the hot Bajji with a cup of tea or coffee :)


    Tips: 
    • You can add little more rice flour to make the Bajji more crispy.
    ಕನ್ನಡದಲ್ಲಿ ಓದಲು ಇಲ್ಲಿ ಕ್ಲಿಕ್ ಮಾಡಿ.

    Capsicum is one of the vegetables which I like most. There will be a stock of capsicum in my fridge all the time. If we add capsicum to any dish, it will increase the taste of the dish with its nice aroma. Capsicum will get cooked very quickly; so, cooking process won't take much time. When the dish is almost done, add the capsicum and 5 - 6 minutes will be enough for it to get cooked!
    I learned this curry recipe from my sister. It has a unique taste with the aroma of fenugreek seeds and capsicum. It will be a good combo with rice or rotis.


    Servings: 2
    Preparation time: 30 minutes

    Ingredients:
    1 medium size capsicum
    1 medium size potato (Aloo)
    Fenugreek seeds - 1 tbsp
    Green chilli - 1
    Ginger - 1 inch
    Oil - 2 spoon
    Salt to taste

    Procedure:
    Cut the capsicum and peeled potato into small pieces lengthwise.
    Chop the green chilli and crush the ginger.


    Heat the oil and roast the fenugreek seeds nicely. Add the chopped green chilli and potato pieces and mix it well. Mixing helps the potato pieces to get coated in oil they won't stick to each other. 
    Close the lid and cook the potato pieces. Saute occasionally to prevent them sticking to the bottom.
    Once the potato pieces are almost done, add the capsicum pieces, salt and crushed ginger. 
    Cook for 4 - 5 minutes and switch off the flame.
    Serve this curry with rice, roti or chapathi.


    Tips:
    • Do not over cook the capsicum pieces anytime. It will be nice to eat when the capsicum is cooked without losing its crunchiness.

    Sending this over to CWF - WS - FENUGREEK, an event with fenugreek varieties hosted by Priya of Now Serving.

      ಕನ್ನಡದಲ್ಲಿ ಓದಲು ಇಲ್ಲಿ ಕ್ಲಿಕ್ ಮಾಡಿ.

      Tambuli is an authentic recipe of Karnataka. People prefer having Tambuli mainly during the summer time. Main ingredient here is buttermilk and other things / spices will be added to give a nice flavor and different tastes. Different varieties of tambuli can be prepared using sesame - cumin seeds, fenugreek seeds, ginger, raw mango, raw turmeric, Ondelaga (Brahmi or Centella Asiatica), lemon grass, etc.  
      Let me share the recipe to prepare the Shunthi (Ginger) Tambuli now!


      Servings: 4 people
      Preparation time: 15 minutes

      Ingredients:
      Ginger - 1 1/2 inch
      Green chilli - small piece
      Grated coconut - 3/4 cup
      Buttermilk - 1 cup
      Salt to taste
      For tempering:oil - 1 spoon, mustard seeds - 1/2 spoon, cumin seeds - 1/2 spoon, few curry leaves

      Procedure:
      Grind the ginger along with grated coconut into fine consistency by adding enough water.
      Transfer the ground mixture into a vessel and add buttermilk and salt. Add some more water, if tambuli looks thick.
      Heat the oil and do the tempering. pour it on the tambuli and mix well.
      Serve the tambuli with rice and pickle. 
      Also, you can drink the tambuli like juice during the lunch!


      Tips:
      • Tambuli won't last for long time since we add the coconut. So, you can keep it in the fridge if you are using it after 4 - 5 hours.
      ಕನ್ನಡದಲ್ಲಿ ಓದಲು ಇಲ್ಲಿ ಕ್ಲಿಕ್ ಮಾಡಿ.

      Pineapple is the fruit which is liked by many people due to its taste and nice flavor. It can be eaten in many forms; just we can remove its peel and the innermost hard part and eat them as slices. Also, it will be used for preparing varieties of sweets, juices, ice-cream, cakes, etc.  
      Last time when I prepared the Pineapple Jam, I thought of posting it in the blog and took some photos. It was sitting idle in my photo bucket for long time and I couldn't post the recipe at all!! So, I thought of posting this recipe at-least today :) This jam can be used as bread spread or as a combination with dosa or chapathi. But don't eat this jam too much, because it will increase the body heat :-&


      Preparation time: 30 - 35 minutes

      Ingredients:
      Grated pineapple (peel removed) - 5 1/2 cups (including the juicy content)
      Sugar - 4 1/2 cups (depending on sweetness of pineapple)
      Cardamom 2 - 3
      Lime fruit - 2
      Pepper powder (purely optional) - 1/4 spoon

      Procedure:
      Combine the grated pineapple, sugar and lime juice in a vessel and bring it to boil.  
      Let it boil on medium flame for some time to get a thick syrup consistency like Honey.
      Once you get the thick syrup consistency, add cardamom powder and pepper powder.
      Remove it from the flame and close the lid. Transfer the jam to an airtight container once it is cool.
      If you boil them nicely, it will last up-to 2 months.
      Enjoy the tasty jam with bread, dosa or chapathi!


      Tips:
      • While removing the peel, also remove the innermost hard layer of the fruit.
      • This jam needs lot of sugar! You can reduce the quantity of sugar little-bit if the pineapple you are using is really sweet.
      NewerStories OlderStories Home