-->
Skip to main content
Search
Search This Blog
Recipe world
Exploring Flavours: From South Indian Roots to Fusion Creations
Home
About
Recipe List
More…
Posts
Latest Posts
April 05, 2026
Snap Melon Cooler | Mekkehannu Payasa
June 17, 2025
Finger Millet Biscuits | Ragi biscuits
May 09, 2025
Carrot Burfi
February 15, 2025
Tindora Leaves Tambli | Yogurt Based Curry With Ivy Gourd Leaves
June 30, 2024
Pumpkin Sambar | Temple style Sambar
January 07, 2024
Tondekayi Paladya | Tindora (Ivy Gourd) Majjige Huli - sweet version
August 17, 2023
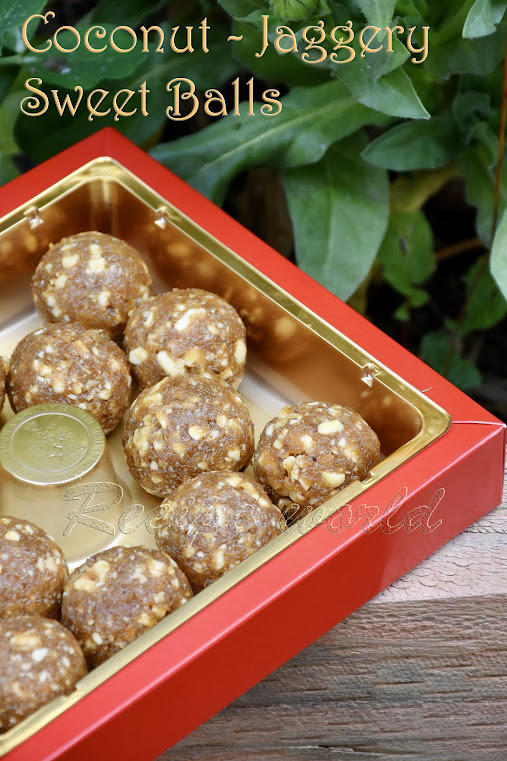
Coconut - Jaggery Sweet Balls | Kaayi Unde
February 28, 2023
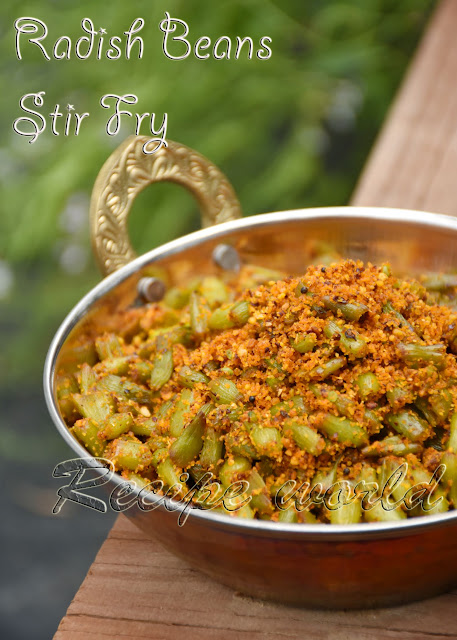
Radish(Daikon) Beans Stir Fry | Mulangi Beans Palya
February 11, 2023
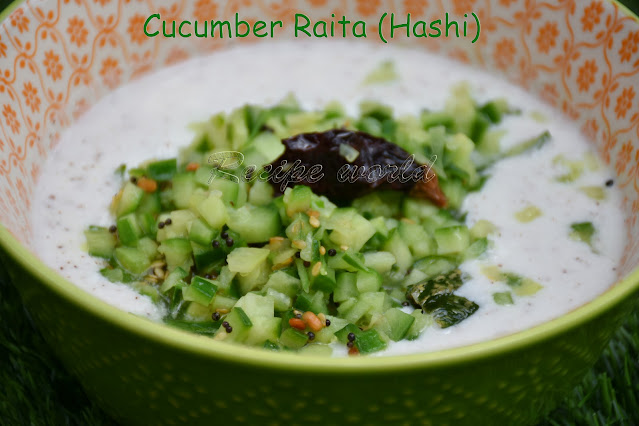
Savatekayi Hashi | Cucumber Raita
November 15, 2022
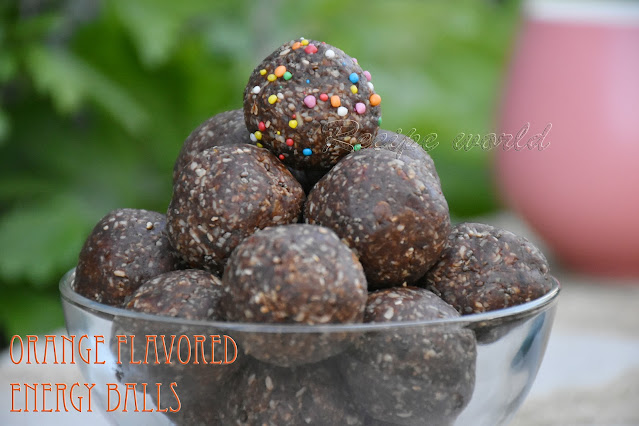
Orange Flavoured Energy Balls | Orange Flavoured Bliss Balls
October 06, 2021
Zucchini - Rice Flour Rotti | Zucchini Vadape
Older Posts