Recipe world

Exploring Flavours: From South Indian Roots to Fusion Creations

  • Home
  • Recipe List
  • About
    ಕನ್ನಡ ಆವೃತ್ತಿ

    Biscuits are the snack time favorites of people of all the ages. We are also biscuit lovers and keep browsing for new varieties of them. Apart from store bought ones, I would love to prepare different types of biscuits at home. When it comes to bakery style food like Benne (Butter) Biscuit, Nippattu, etc., hubby prefers and love to eat the home made ones.
    Many of you must have heard of Karachi Bakery in Hyderabad. They are famous for their food products especially Fruit Biscuit and Cashew Biscuits. When we were in Bangalore, we were sure to get a parcel of these goodies if anybody among the friends or family is visiting Hyderabad! My sister's family who stays in Hyderabad, will bring Karachi Biscuits every time when they are coming for vacation. These days, we can find these biscuits in some of the shops in Bangalore as well. 
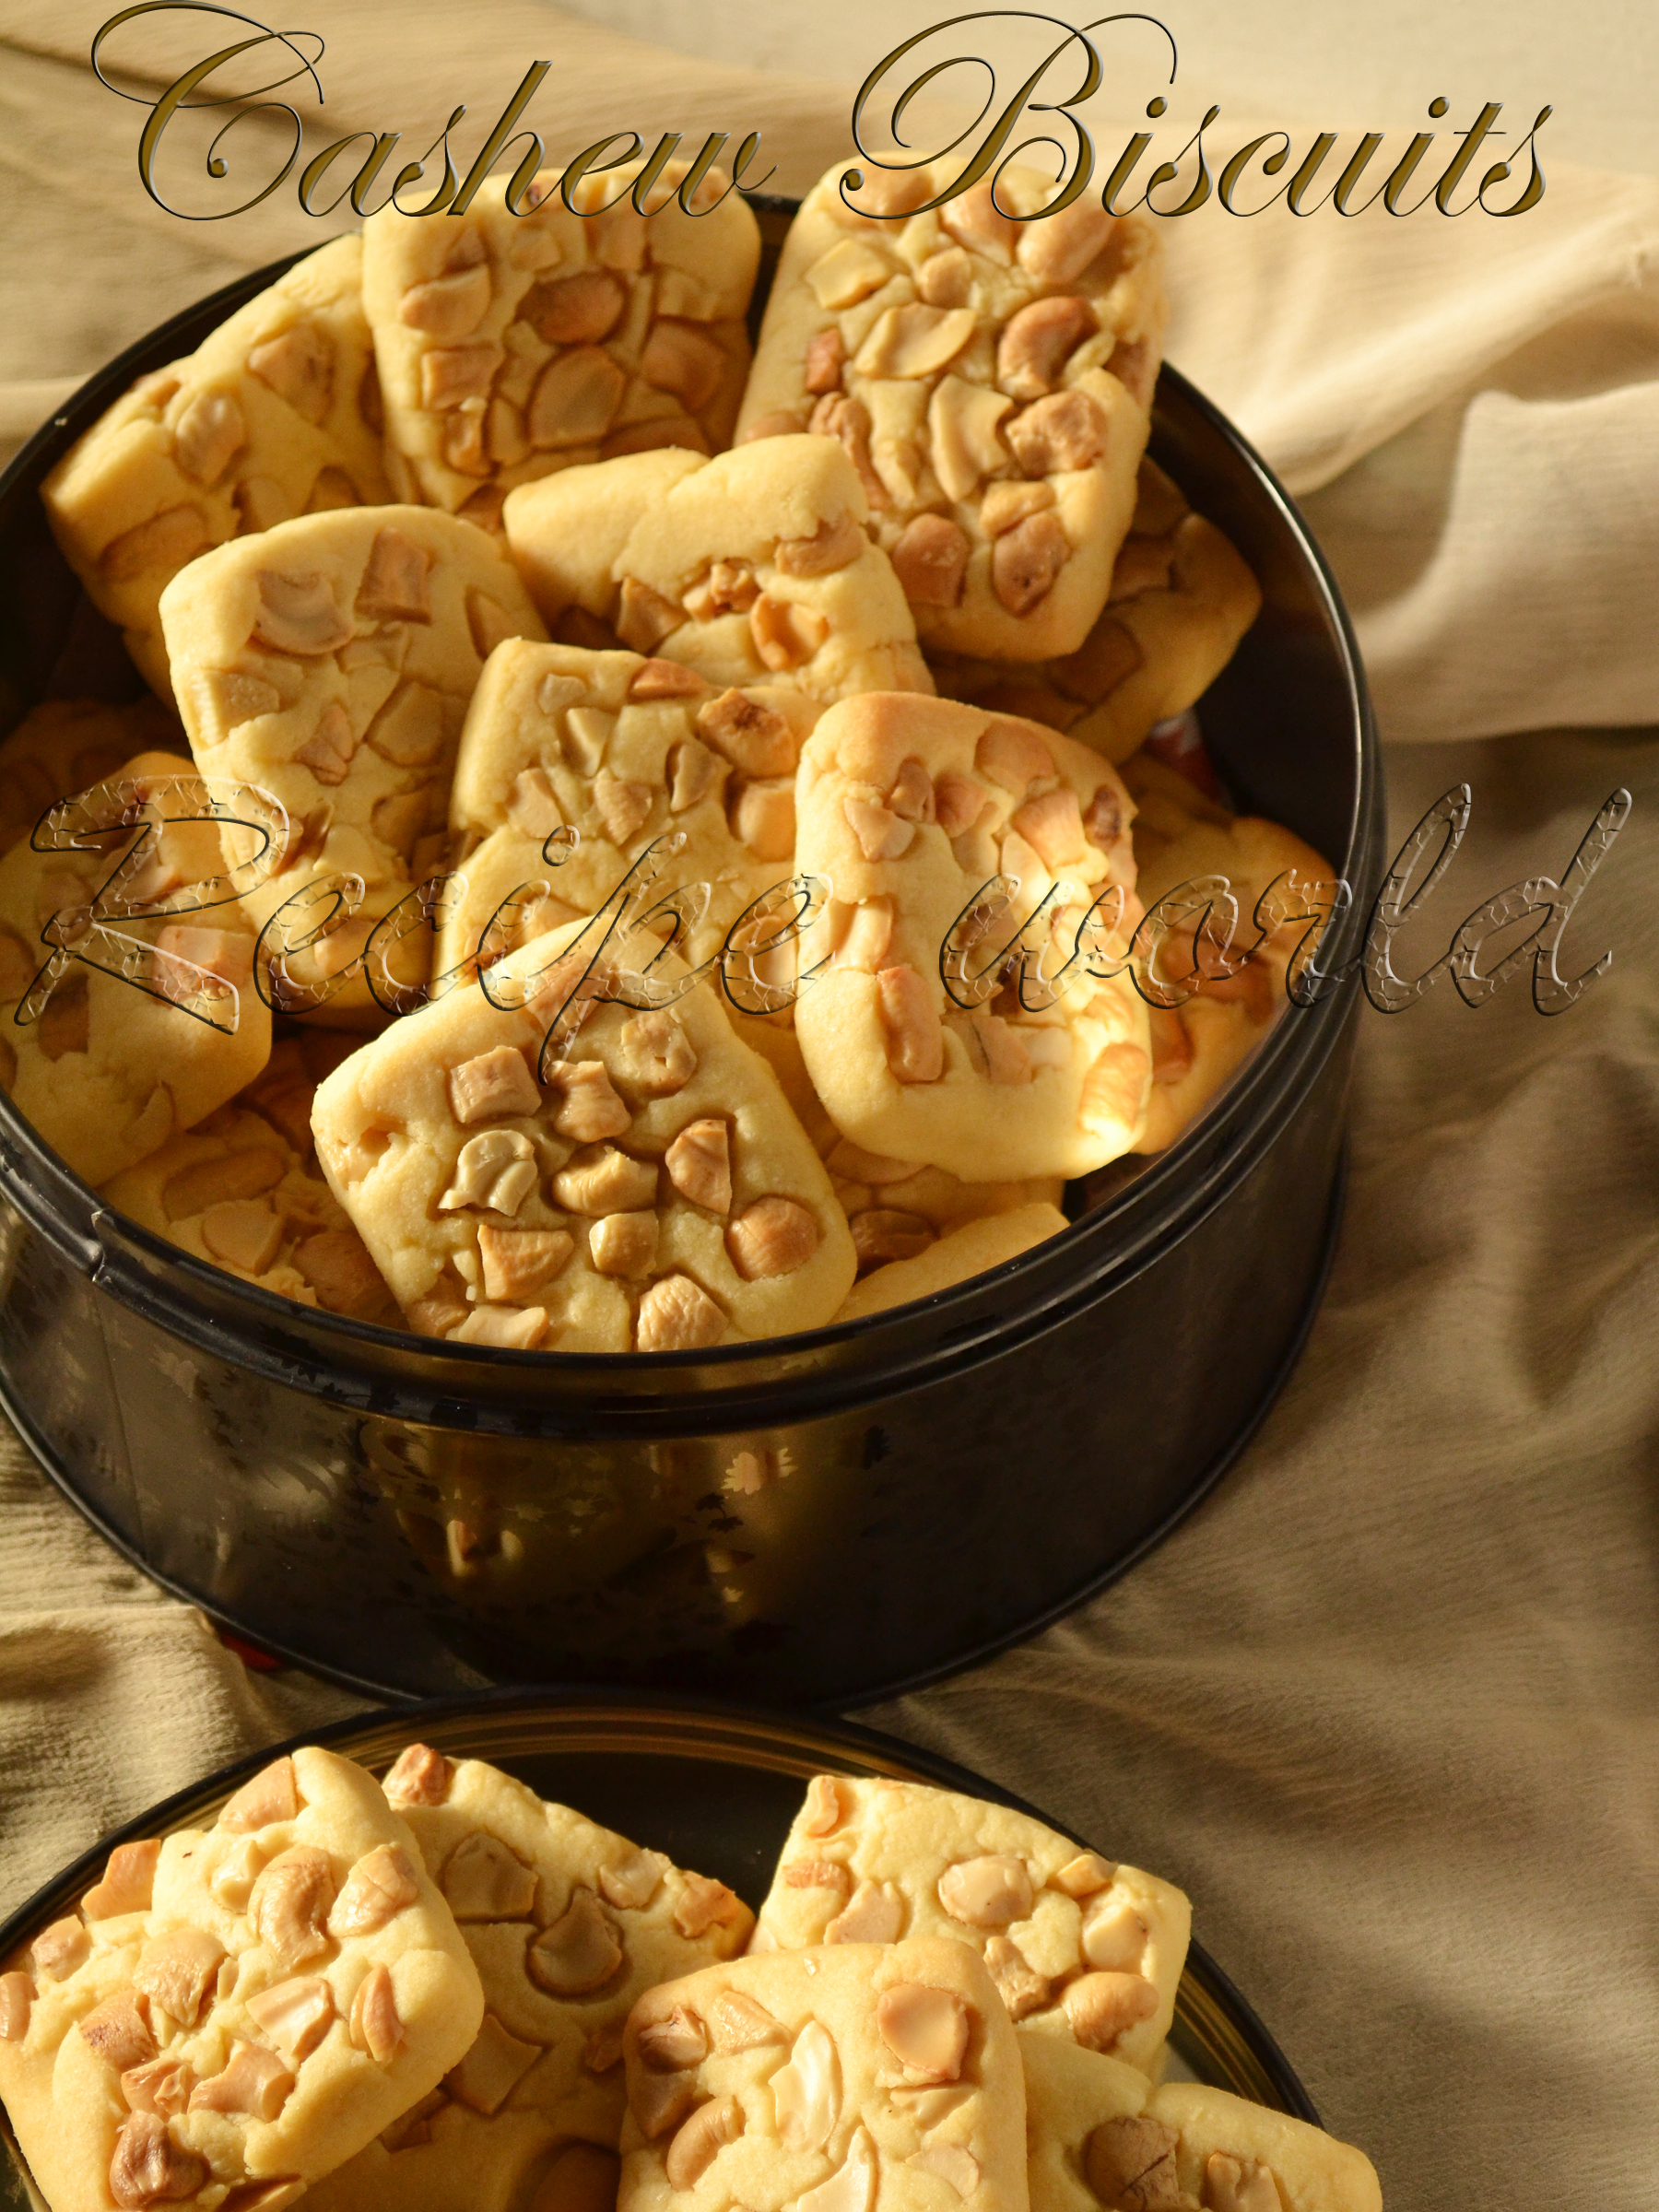
    I was planning to prepare this kind of biscuits at home and was not sure how to prepare. I just went with my recipe of Orange Shortbread, made slight changes and prepared Cashew Biscuits. Hubby and daughter appreciated these biscuits a lot and I was up in the air! Prepared it several times already and the biscuits were sold out quickly! 
    Sharing the recipe of these tasty and addictive Cashew Biscuits here with you. Merry Christmas to all!


    Preparation Time: 25 - 30 minutes
    Baking Time: 20 minutes
    Yield: 30 biscuits (depending on the size)
    Difficulty level: Medium

    Ingredients:
    • All purpose flour / Maida - 4 1/2 cup
    • Butter (at room temperature) - 185 gm
    • Sugar - 3/4 cup + 1 tbsp
    • Vanilla essence - 3/4 tsp
    • Broken cashews - 1 1/4 cup (as desired)


    Method:
    • Take out the sugar and make a fine powder using an electric mixer or blender.
    • Beat the butter till its creamy. I have used hand mixer for beating. It can be done using the egg beater as well.
    • Add the sugar powder in 2 - 3 batches to this butter and beat till its fluffy and creamy. Finally add the vanilla essence and beat it for a while.
    • Add the all purpose flour gradually and make a soft, non - sticky dough ball. 
    • Pre-heat the oven to 170°C and line the baking tray with parchment paper. 
    • Divide the dough into two or three equal parts according to your convenience. Roll each dough ball into a square or rectangle of half inch thickness. 
    • Spread the broken cashews generously on the top of rolled dough. Roll it gently to make sure that the cashews are fixed into the dough properly. 
    • Cut them into squares or rectangles and line them on the baking tray. 
    • Bake the biscuits for about 18 - 20 minutes till they turn into light golden color. Mine got done exactly at 20 minutes. 
    • Take the biscuits out after 4 - 5 minutes and allow to cool on a cooling rack.
    • Enjoy the delicious biscuits with a cup of tea or coffee!
    ಕನ್ನಡ ಆವೃತ್ತಿ

    Normally it happens every time when we bring big bag of onions to home. We won't use them daily and hence, most of them will be spoiled and become waste. This time also, leaves started coming out from the onions. What I did was I just planted those onions in the backyard. They grew up nicely and I was so happy to use those spring onions for cooking! 
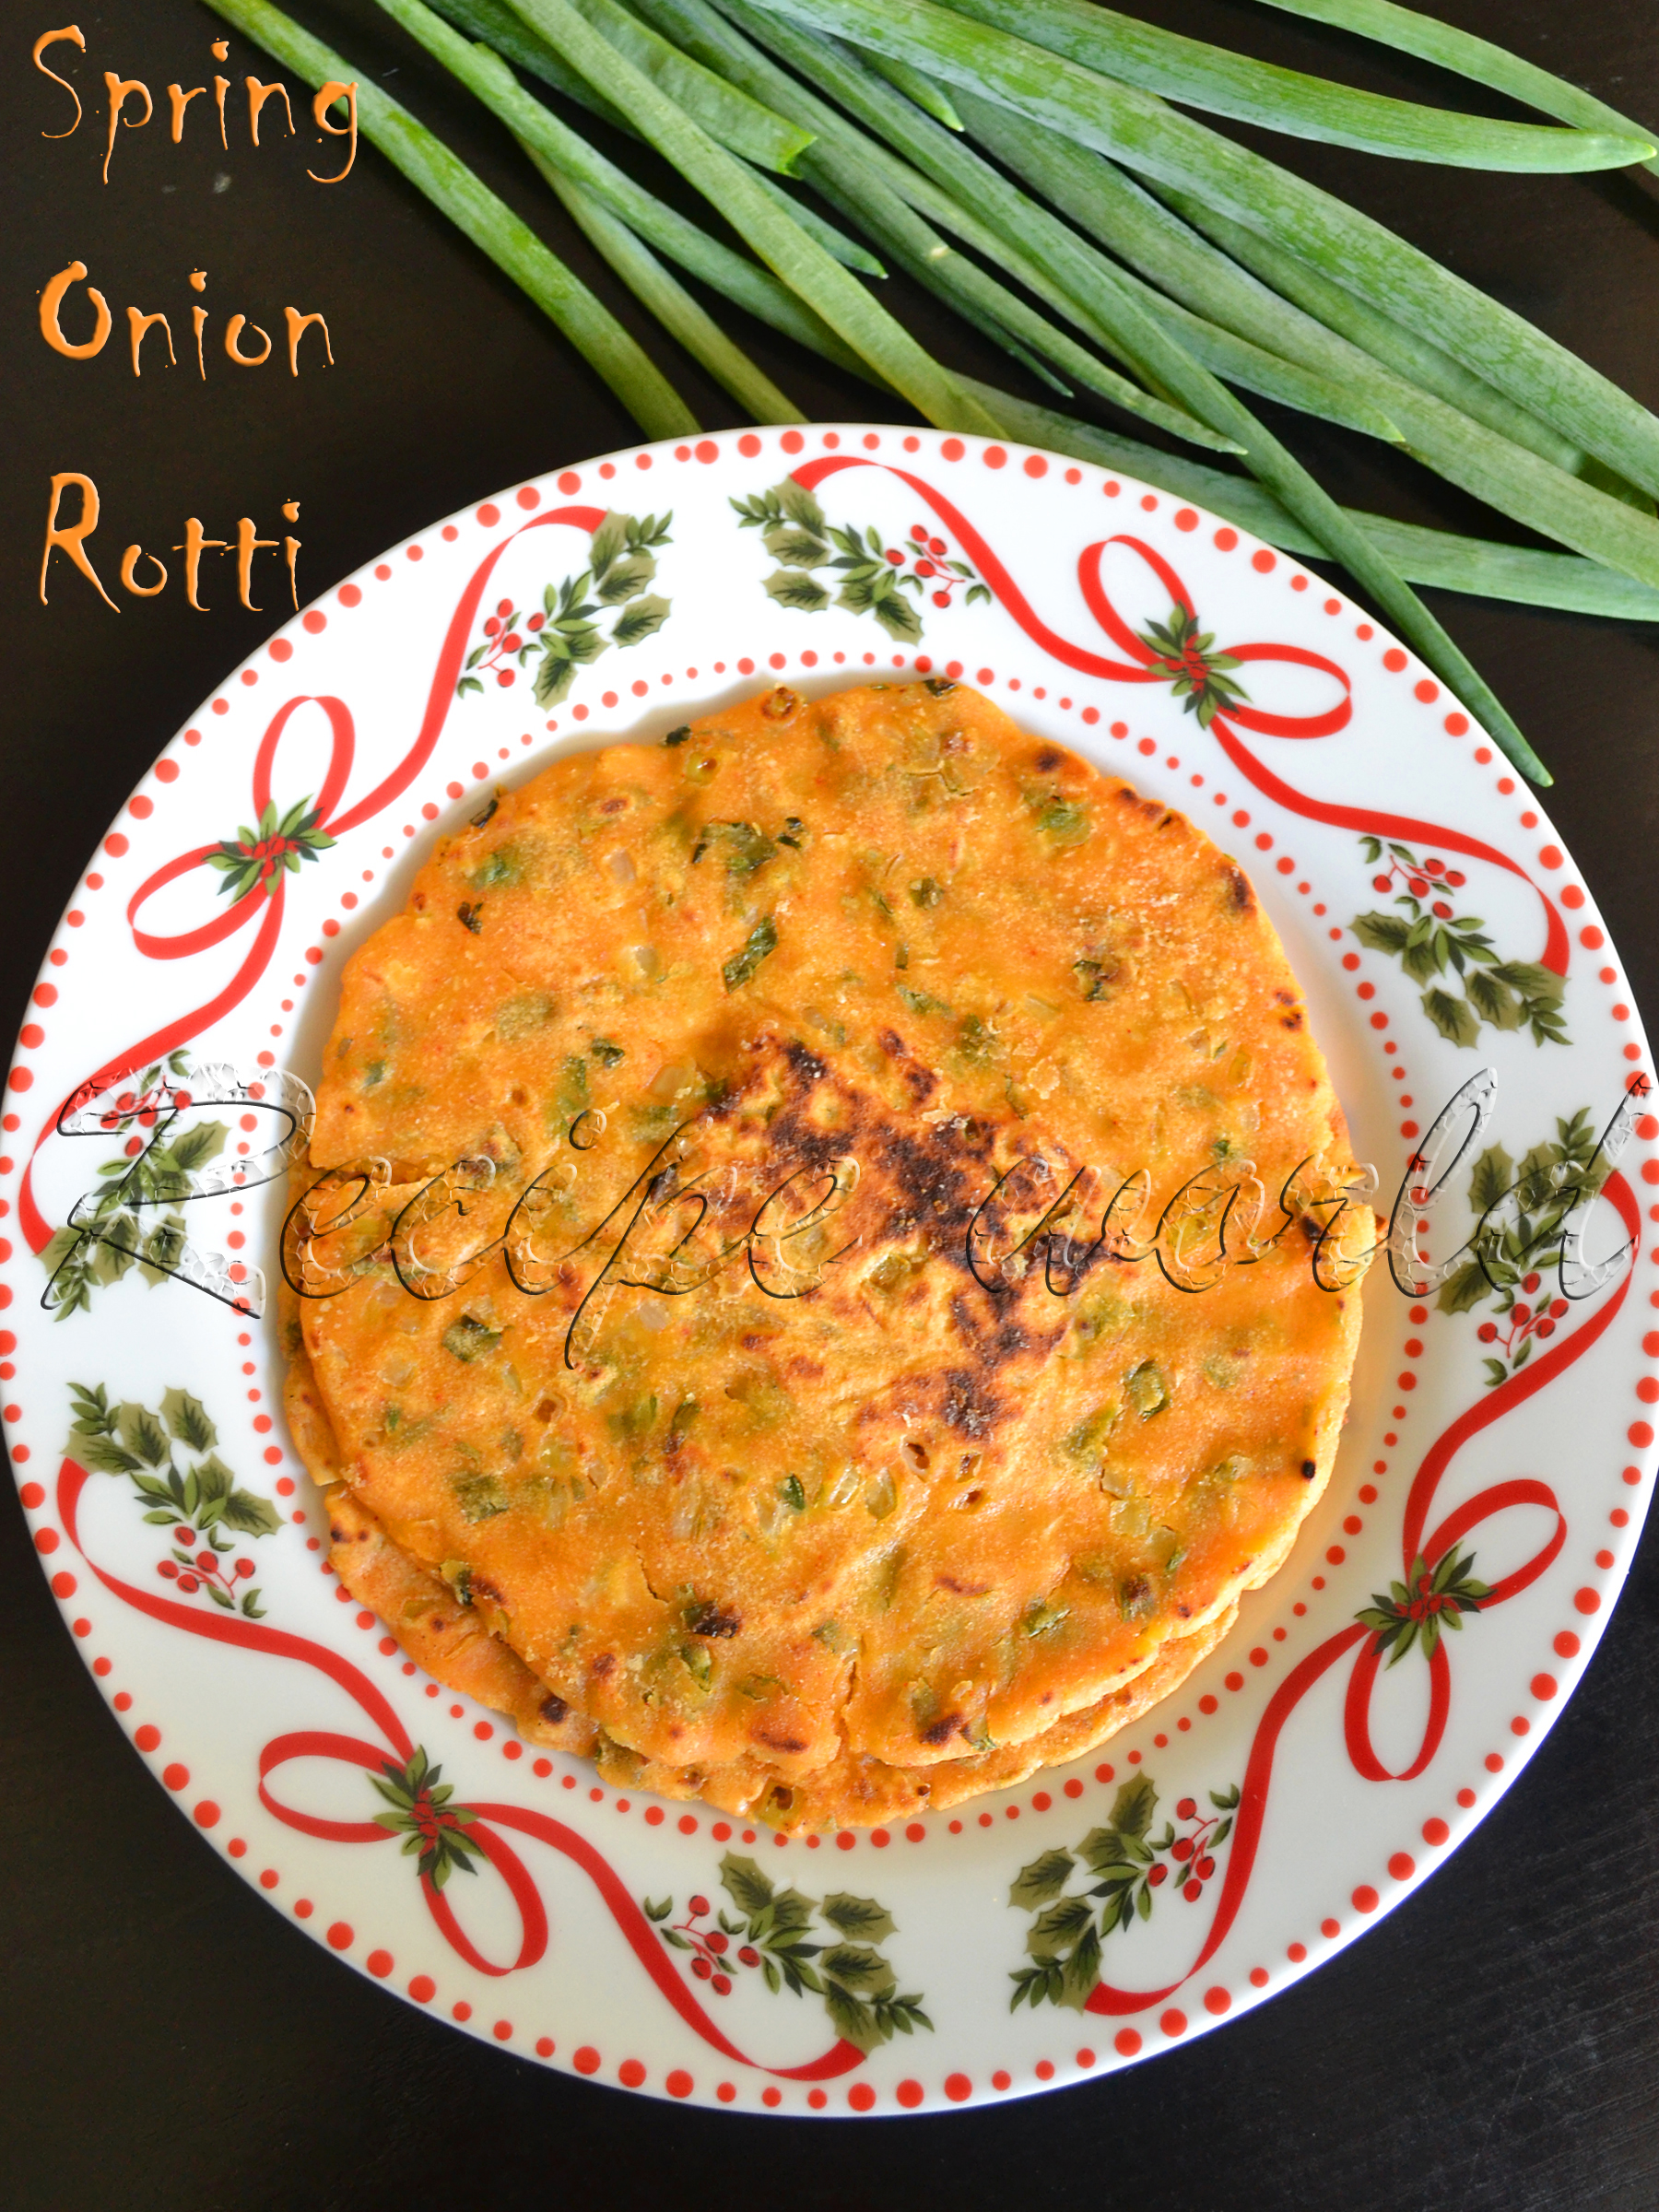
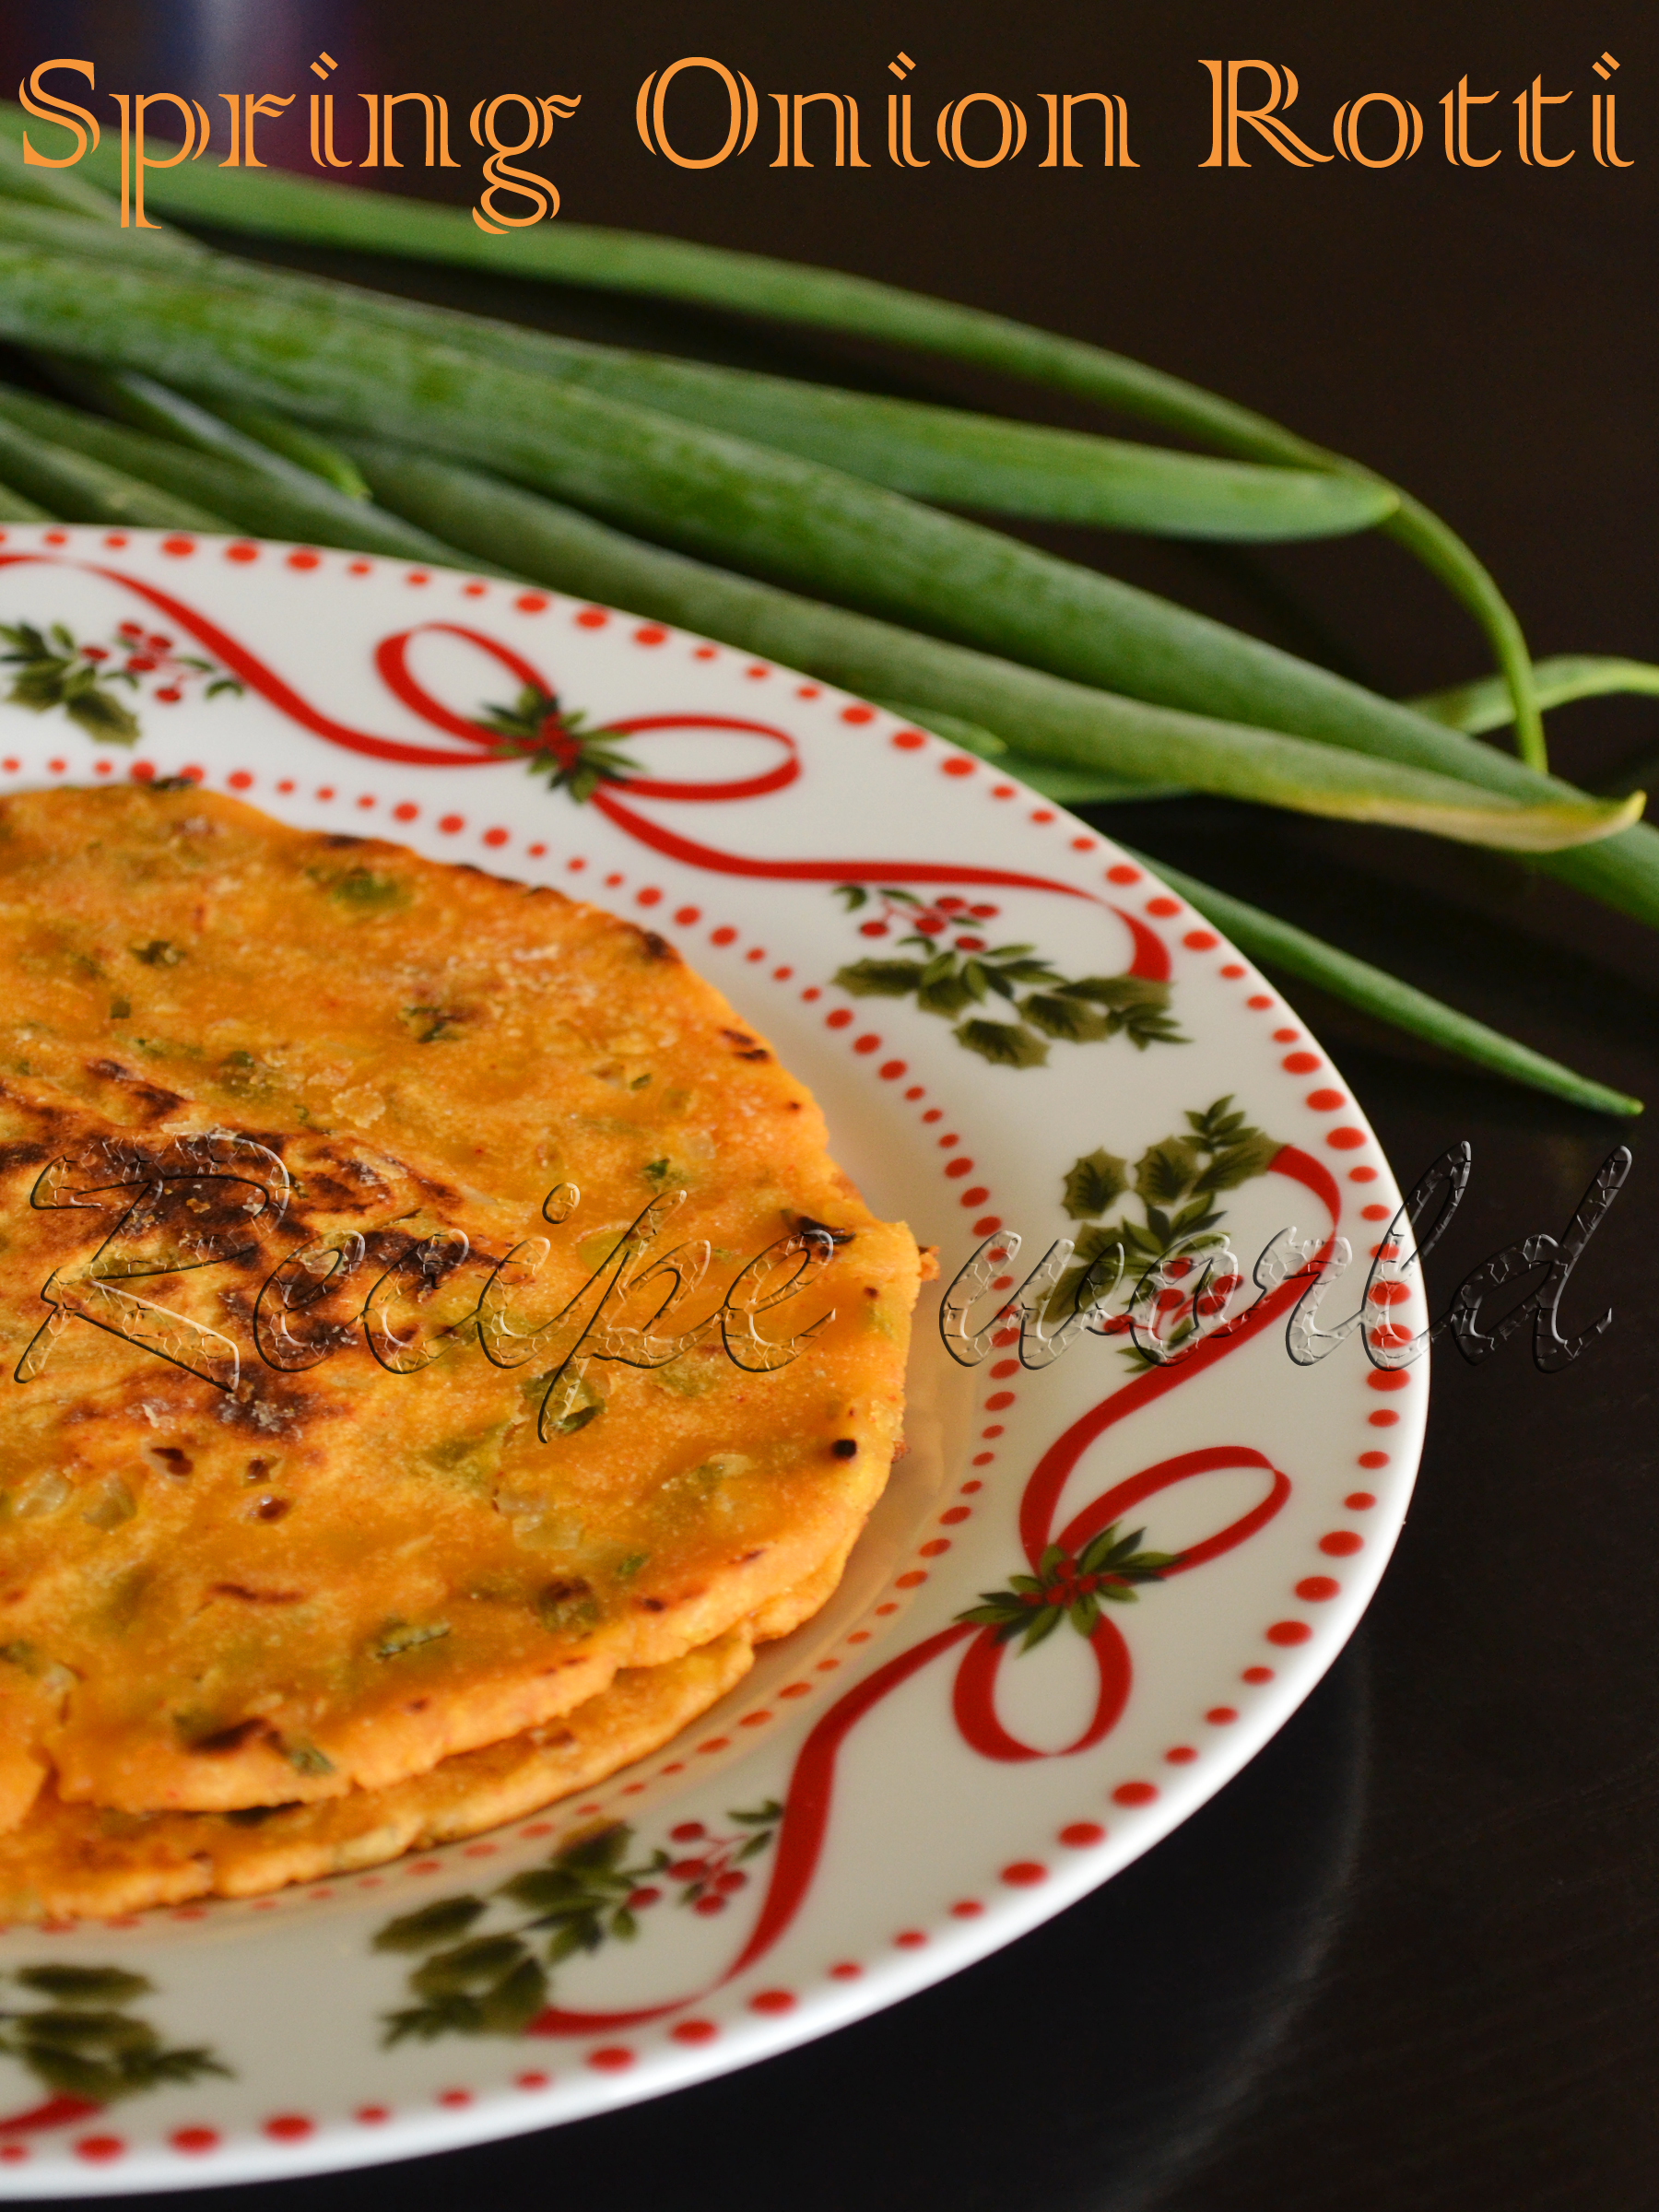
    Spring Onion Rotti is my new experiment using these home grown spring onions. We usually prepare different varieties of roties with various vegetables. How about preparing Rotti with spring onion? I just tried it and rotti came out really well! Since these leaves won't have much water content like most other vegetables, I have used some curd and little water in this recipe. 
    Below is the recipe of Spring Onion Rotti..hope you like it and give it a try!


    Time required: 1 hour
    Yield: 8 roties of medium size
    Difficulty level: Medium

    Ingredients:
    • Spring onion - 1 bunch
    • Onion - 2 (large)
    • Rice flour -1 1/2 cup (my cup weighs around 200 gms)
    • Green chillies - 2 or red chilli powder - 1 1/2 tsp (adjust according to taste)
    • Curd - 3/4 cup (see Tips)
    • Salt to taste
    • Sugar (optional) - 3/4 tsp
    • Water - 1/4 cup
    • Oil or butter - for cooking the Rotti

    Method:
    • Chop the spring onion, green chillies (if using) and onions finely and and combine in a mixing bowl. 
    • Add salt and sugar to this mixture and mix it well. Keep it for 10 minutes and allow them to leave off the water content. 
    • Then, add the rice flour and mix it nicely. If not using green chillies, add the red chilli powder at this stage. 
    • Add the curd little by little and prepare a smooth, non sticky dough ball. Add some water (I added 1/4th cup), if needed. 
    • If you have time, leave the dough for 10 minutes before using. If in a hurry, it can be used instantly, no worries!
    • Prepare big lemon size balls from the dough. Grease the plantain leaf or plastic sheet with a tea spoon of oil. Pat the ball into a thin circle using your fingers. 
    • Take out the rotti carefully and cook it on the hot tawa on both the sides. Add little oil or butter while roasting the rotti which makes it more tasty.
    • Serve the hot Rotti along with butter. This Rotti tastes better when its hot.


    Tips:
    • I have used sweet curd (regular ones) here. If the curd is sour in taste, use less curd and increase the quantity of water you are adding.
    ಕನ್ನಡ ಆವೃತ್ತಿ

    Mangoes are my all time favorite. For mango lovers like me, anything with mango tastes good! This year, we had enjoyed the mango season in India to the full extent and now, its the time for mangoes here in Australia! Last week, we had been to the market and saw plenty of delicious mangoes on the store racks. I just picked some and brought them home. Whenever there are plenty of mangoes, I love to prepare Mango Seekarane / Rasayana. This time also, I prepared Mango Seekarane and wanted my daughter to taste it. She is not very much fond of sweets and said 'no' to it, as expected. Instead, she wanted me to bake a cake for her. I just googled for the mango cake recipes and finally, this is the outcome!
    This was my first baking attempt using mango. While searching the recipes, I just stopped at Julie's space and found her Mango Cake recipe interesting. I have made some small changes in the original recipe according to my preferences and prepared this delicious loaf cake. This cake is perfect for tea time and also for kids snacks. Give it a try and enjoy eating!


    Preparation time: 15 minutes
    Baking time: 35 - 40 minutes
    Yield: 1 loaf
    Difficulty level: Medium

    Ingredients:
    • Maida / All purpose flour - 2 cups (my cup weighs around 75 gms)
    • Fine rava (semolina) - 1/2 cup
    • 1 large mango - fully ripened (which amounts to 2 cups of puree)
    • Sugar - 1 1/2 cup
    • Big pinch of salt
    • Milk - 1/2 cup
    • Oil - 1/2 cup
    • Baking powder - 2 tsp
    • Baking soda - 1 tsp
    • Saffron strands (optional) - 8 to 10

    Method:
    • Combine maida and baking powder in a mixing bowl and sieve it 2 - 3 times. Fold in the rava and mix it once.
    • Pre heat the oven to 175 °C. Grease the loaf pan and keep it ready.
    • Remove the peel and the seed part of mango. Chop it and blend them along with saffron strands and make a thick puree.  
    • Add salt, sugar and milk to this puree and mix it till sugar dissolves completely. Add beking soda and oil and mix it lightly. 
    • Fold in the sieved maida little by little and prepare the dough.
    • Transfer the dough onto the greased loaf pan and bake it for 35 - 40 minutes until the toothpick inserted comes out clean. Mine got done exactly at 38 minutes. 
    • Allow it to cool down and cut into slices once it becomes cool. 


    Tips:
    • You can substitute the fresh mango puree with store bought mango pulp.
    Newer Posts Older Posts Home

    SUBSCRIBE & FOLLOW

    POPULAR POSTS

    • Event Announcement: Love Lock with Juices & Milkshakes
    • Rice Kesaribath / ಅನ್ನದ ಕೇಸರಿಬಾತ್ - For Blog Anniversary!
    • Oats and Coconut Biscuits । ANZAC Biscuits
    • Ash Gourd Majjige Huli (Yogurt Based Curry) | ಬೂದುಗುಂಬಳಕಾಯಿ ಮಜ್ಜಿಗೆ ಹುಳಿ (ಪಳದ್ಯ)
    • Mango Smoothie / ಮಾವಿನಹಣ್ಣಿನ ಸ್ಮೂತಿ
    • Ridge Gourd Tambli / ಹೀರೆಕಾಯಿ ತಂಬ್ಳಿ
    • Jaggery Juice (Jaggery Cool Drink) | ಬೆಲ್ಲದ ಪಾನಕ
    • Avarekaalu Rotti (Talipittu) | ಅವರೆಕಾಳು ರೊಟ್ಟಿ (ತಾಲಿಪಿಟ್ಟು)
    • Chakke Paladya | ಚಕ್ಕೆ ಪಳದ್ಯ
    • Girmit / ಗಿರ್ಮಿಟ್

    Advertisement

    Categories

    • Baby Food 1
    • Bakery items 13
    • Basic Ingredients for cooking 4
    • Chaats Counter 7
    • Chutney 9
    • Cookies & Biscuits 2
    • Curries 30
    • Dosa varieties 11
    • Drinks 8
    • Egg-less Baking 9
    • Events and Announcements 4
    • Fasting Recipes 1
    • Festival Special recipes 11
    • Ganesh Chaturthi Recipes 5
    • Happala - Sandige - Baalaka 2
    • Havyaka Recipes 40
    • Idli Varieties 1
    • Jam 2
    • Kids recipes 8
    • No Fire Cooking 1
    • No onion - no garlic recipes 26
    • Pickles 6
    • Powders 6
    • Product Review 1
    • Rice varieties 7
    • Rotti and more 15
    • Salads 2
    • Side dishes 38
    • Snacks 28
    • Starters 4
    • Sweets / Desserts 41
    • Upma 2
    • Vegan Recipes 15
    Powered by Blogger

    Report Abuse

    My photo
    Recipe world
    Hi, I’m Vani — a passionate home cook, recipe creator, and food lover. I enjoy exploring new dishes from cookbooks, magazines, cooking shows, and fellow food bloggers. My love for cooking — and for capturing those delicious moments — inspired me to start this blog. Many of the recipes you’ll find here come from my mother, mother‑in‑law, and the traditional flavors I grew up with. I especially cherish authentic Havyaka and South Indian recipes, and this space helps me preserve and share them with anyone who wants to bring those homely, comforting tastes into their kitchen. Whether you’re trying a simple everyday dish or exploring something new, I hope my step‑by‑step recipes make your cooking experience enjoyable and easy.
    Visit profile

    Search This Blog

    Archive

    • October 20261
    • April 20261
    • June 20251
    • May 20251
    • February 20251
    • June 20241
    • January 20241
    • August 20231
    • February 20232
    • November 20221
    • October 20211
    • November 20201
    • September 20201
    • August 20201
    • June 20203
    • May 20204
    • April 20208
    • March 20202
    • February 20201
    • October 20181
    • September 20181
    • August 20181
    • July 20182
    • May 20181
    • March 20182
    • March 20171
    • January 20171
    • December 20161
    • October 20161
    • September 20161
    • August 20161
    • July 20162
    • June 20161
    • May 20161
    • February 20161
    • January 20165
    • December 20151
    • November 20151
    • October 20152
    • September 20152
    • August 20152
    • July 20152
    • June 20152
    • May 20152
    • April 20153
    • March 20153
    • February 20153
    • January 20152
    • December 20143
    • November 20142
    • October 20143
    • September 20141
    • August 20142
    • July 20141
    • June 20141
    • May 20141
    • March 20141
    • February 20142
    • January 20141
    • December 20131
    • November 20131
    • September 20131
    • August 20132
    • June 20131
    • May 20131
    • April 20131
    • March 20131
    • February 20131
    • November 20123
    • October 20121
    • September 20121
    • August 20124
    • July 20127
    • June 20125
    • May 20123
    • April 20122
    • March 20126
    • February 20125
    • January 201210
    • December 20118
    • November 201111
    • October 201114
    • September 201112
    • August 201117
    • July 201123
    • June 20113
    Show more Show less

    Popular Posts

    • Oats and Coconut Biscuits । ANZAC Biscuits
    • Event Announcement: Love Lock with Juices & Milkshakes
    • Rice Kesaribath / ಅನ್ನದ ಕೇಸರಿಬಾತ್ - For Blog Anniversary!

    Labels

    Copyright © Foodicious Theme. Designed by OddThemes