Recipe world

Exploring Flavours: From South Indian Roots to Fusion Creations

  • Home
  • Recipe List
  • About
    Most of you are familiar with the famous Indian sweets Kaju Katli and Badam (Almond) Katli. These sweets taste heavenly and were mostly store bought when I was a kid. These days, many of us are able to prepare these famous sweets at the convenience of our homes. 
    OPOS (One Pot One Shot) is an innovative or rather I can say, more simplified way of cooking which is becoming famous these days. I was introduced to OPOS cooking few months back by one of my friends. Many thanks to Rama Krishnan Sir for making cooking so simple through OPOS.
    Basically, OPOS cooking needs a 2 litre pressure cooker which I didn't have. But I was eager to try OPOS cooking and hence, started experimenting my dishes using my 3 litre pressure cooker. Luckily, my experiments went well and I'm preparing most of my side dishes in OPOS way now a days. 
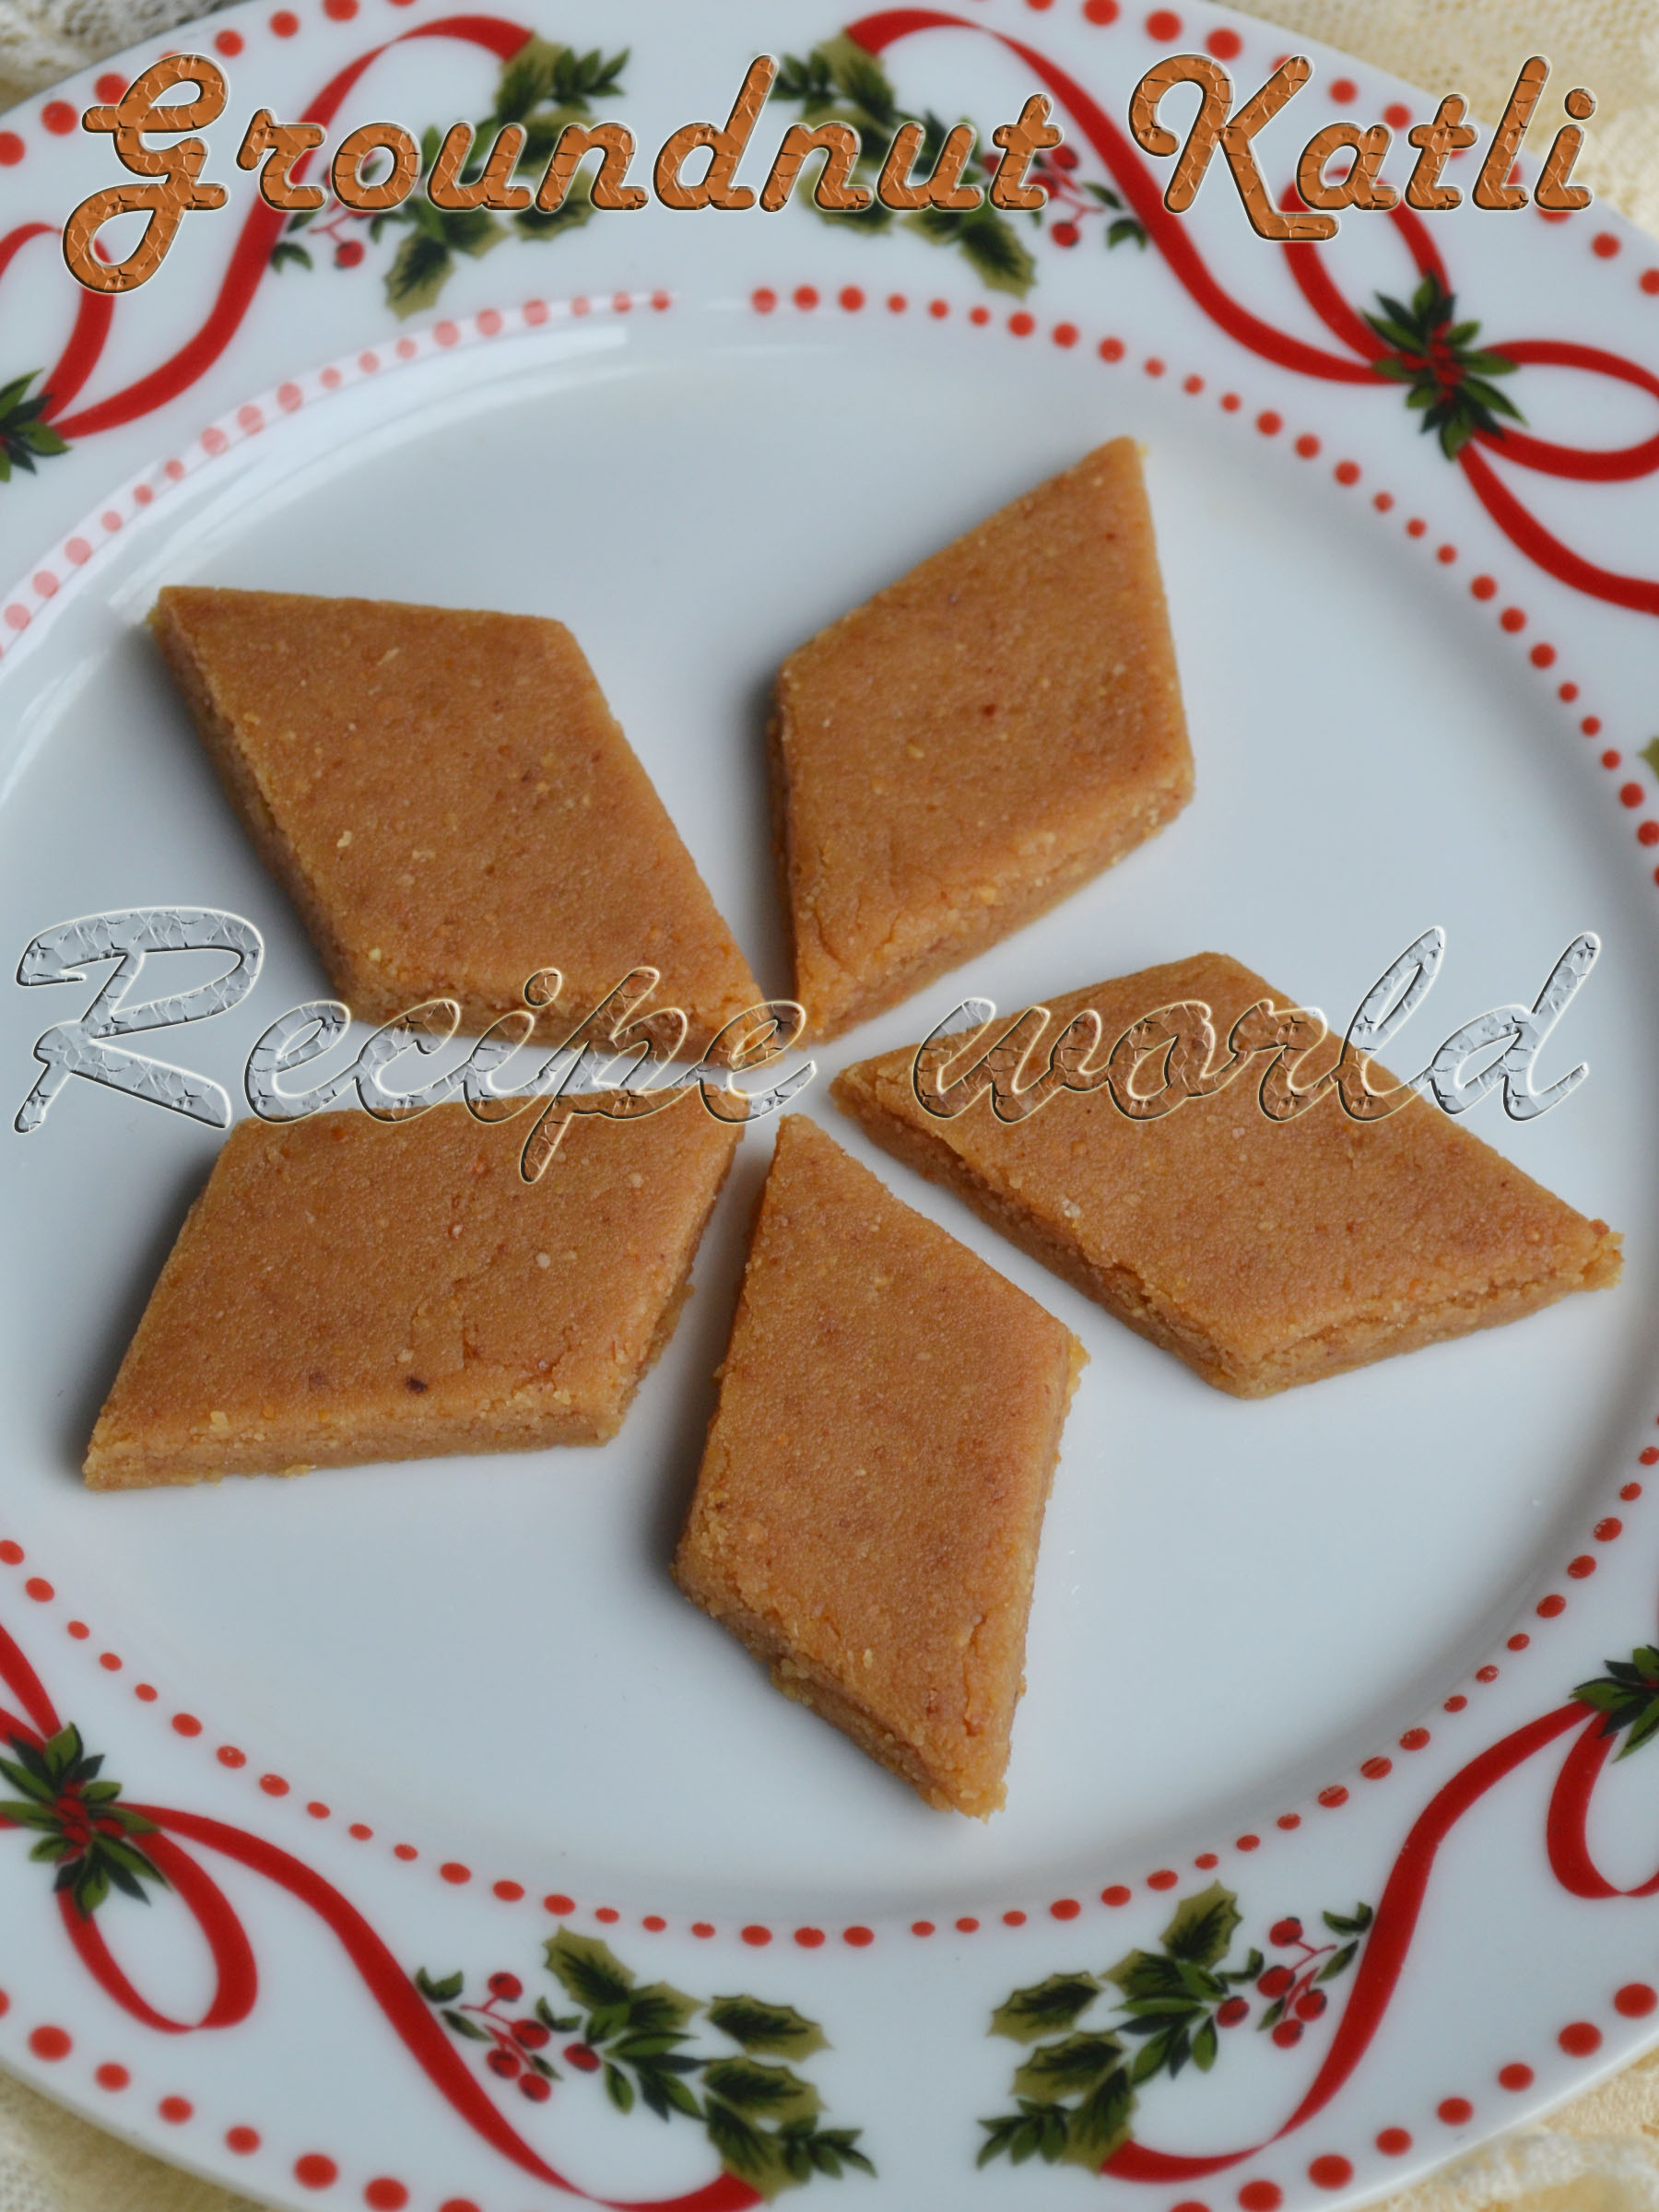
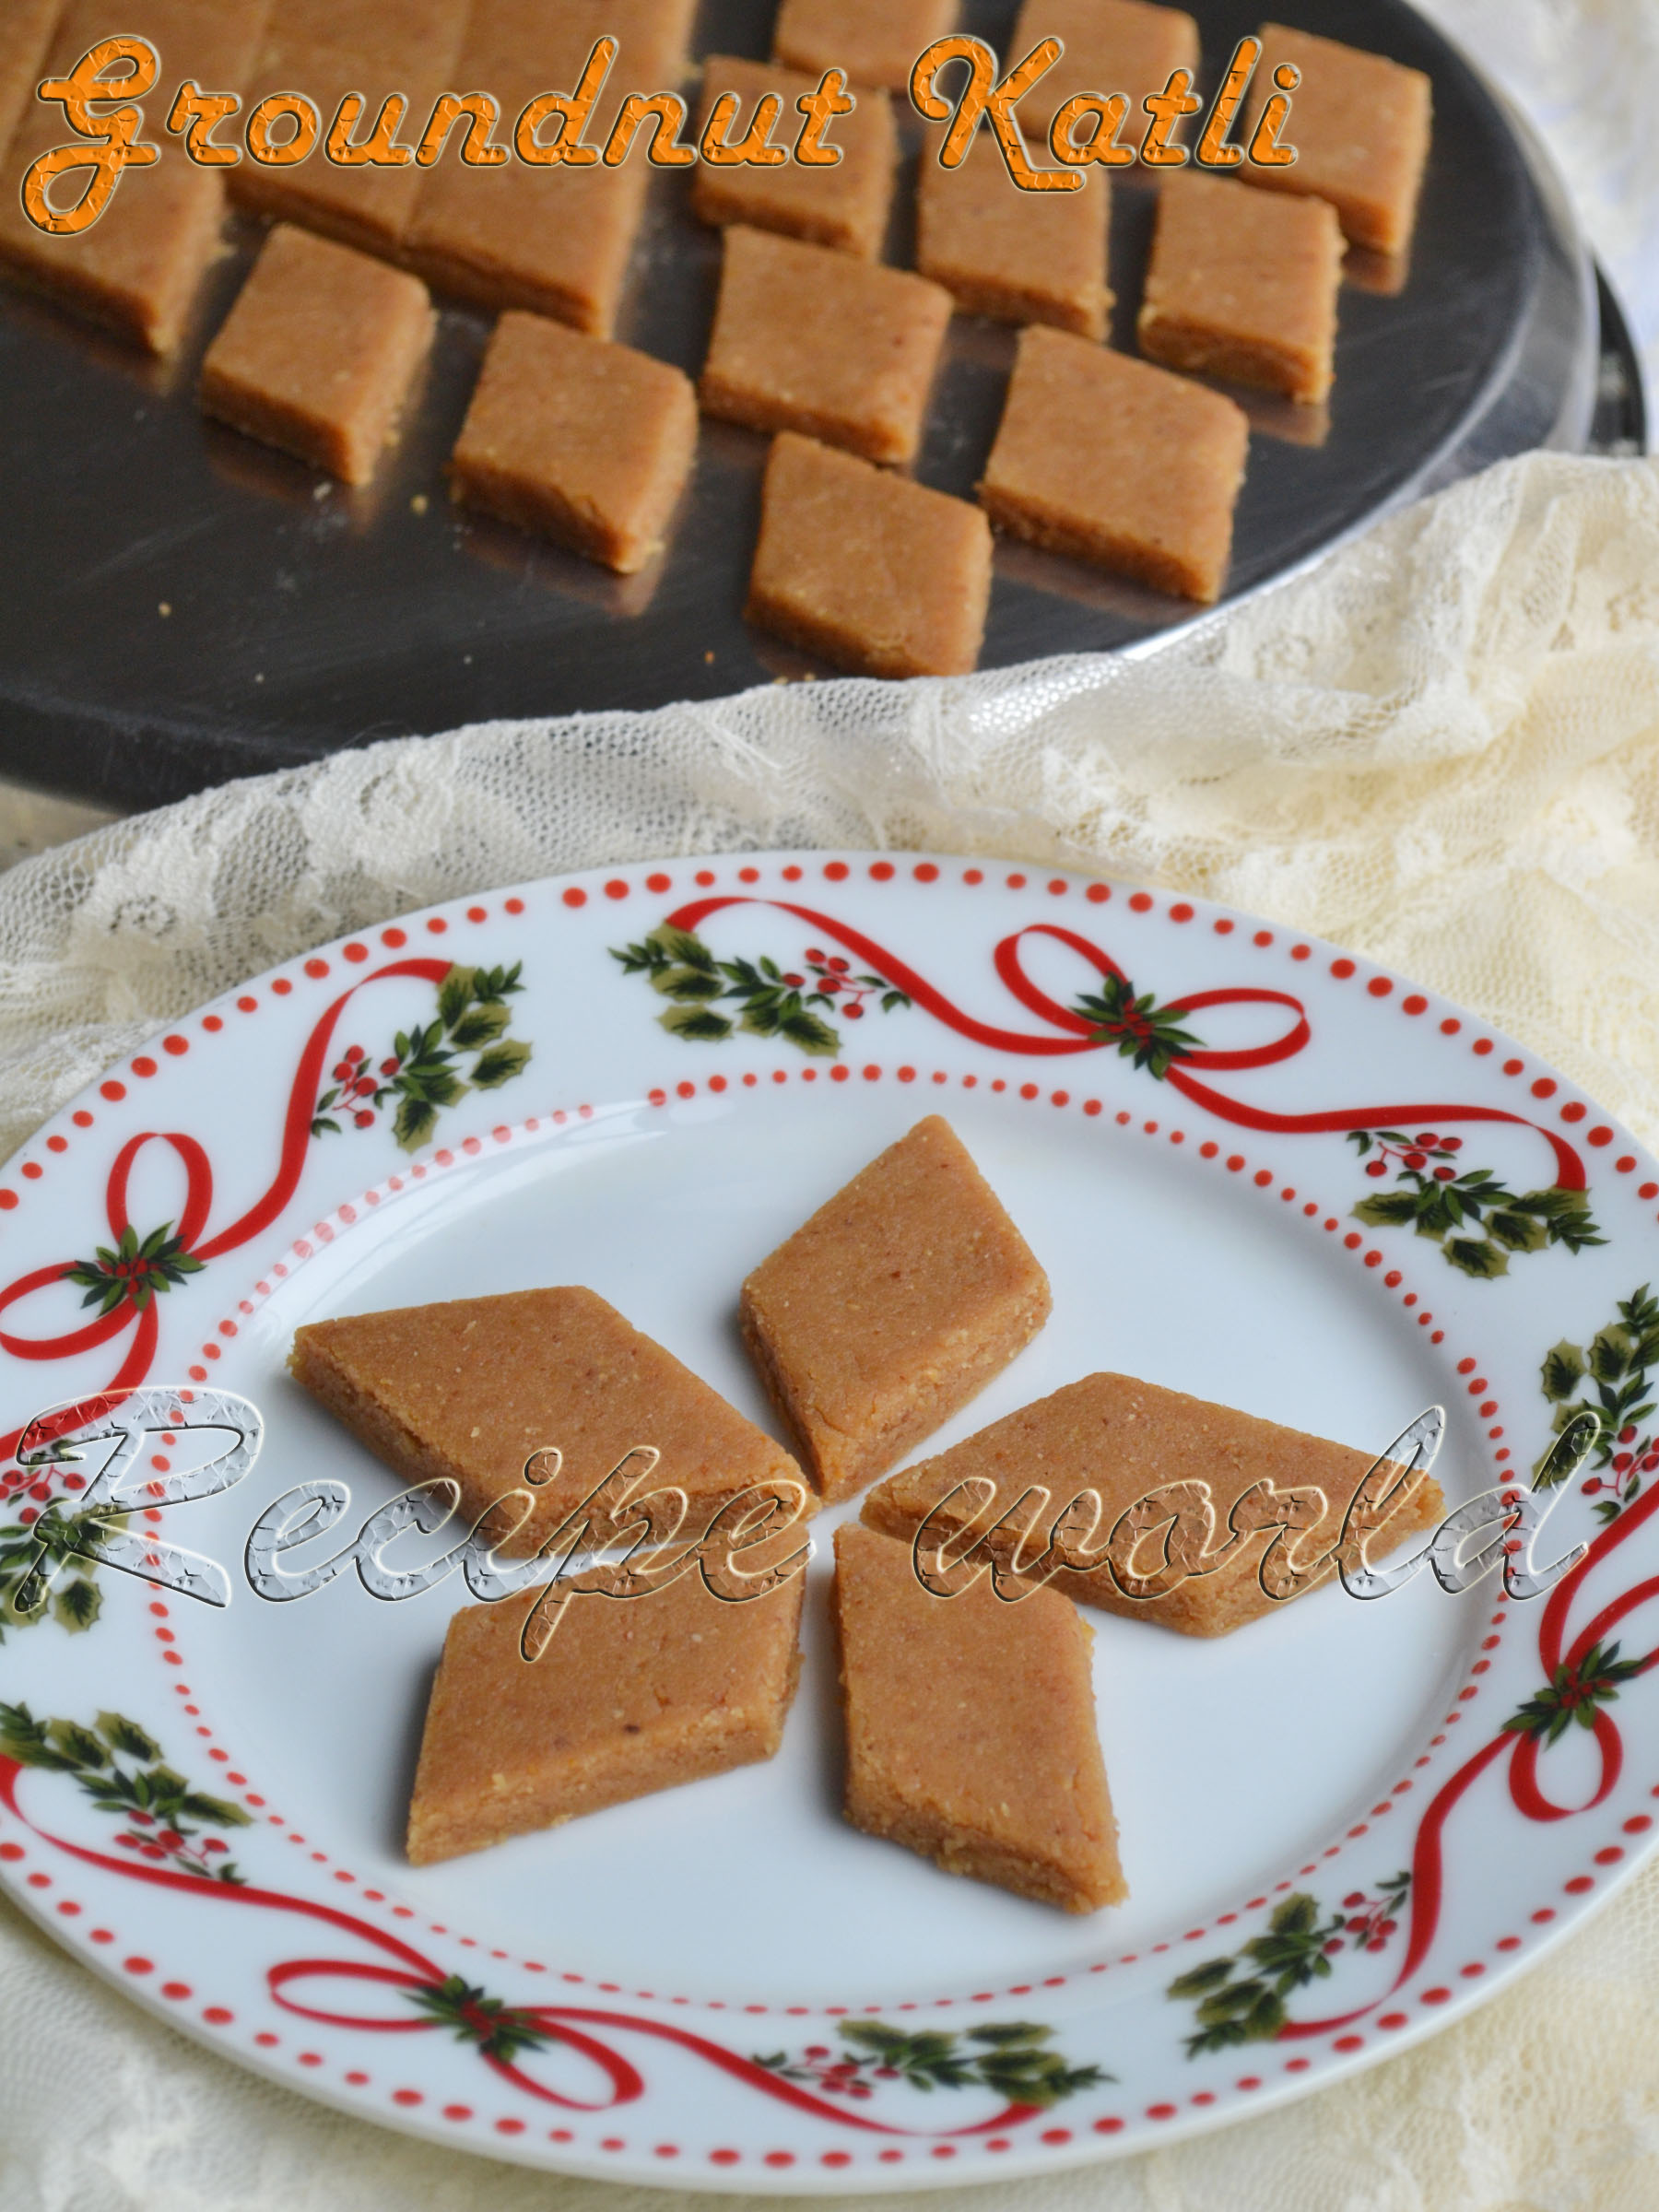
    After seeing the OPOS Kaju Katli recipe, I thought to prepare Katli using groundnuts. My Mom makes Groundnut Burfi, which takes a lot of time stirring the mixture on the stovetop. I just modified my Mom's Groundnut Burfi recipe to suit the OPOS way. Groundnut Katli turned out very well and tasted amazing! My daughter loved them a lot and I ended up preparing one more batch of Groundnut Katli the very next day. Believe me, they are really addictive!

    Preparation time: 7 - 8 minutes
    Time to set: 20 minutes
    Difficulty level: Easy
    Yield: 35 pieces

    Ingredients:
    • Sugar - 1 cup minus 1 tbsp (1 cup = 200 gm)
    • Milk - 1/2 cup
    • Groundnut powder (Roast, remove the skin and make fine powder) - 1 cup 
    • Ghee / Clarified butter - 1 tbsp (for greasing)
    • Pressure cooker - 2 litre or 3 litre (I have used 3 litre pressure cooker)

    Method:
    • Combine milk and sugar in the pressure cooker and give it a stir. If the sugar crystals are bigger, stir the mixture nicely till sugar dissolves. 
    • Close the lid and cook on high till 6 whistles. Make sure to wipe off the sugar water which comes out with every whistle; else, it won't whistle properly.
    • Turn off the flame and release all the pressure using a spoon. 
    • Take the lid out and fold in the groundnut powder. Mix it quickly without lumps and close the lid again. Allow it to set for 20 minutes.
    • Open the cooker lid after 20 minutes and by that time, the mixture will become like a thick dough. Grease your palms with ghee and mix the dough once. Transfer the dough onto a greased plate and pat it thinly. 
    • Cut them into desired shapes and enjoy the delicious Groundnut Katli!

    Tips:
    • Since the cooking needs to be done on high flame, you have to use either induction or gas stove. 
    • While preparing groundnut powder, don't run the mixie / blender continuously; instead, try to whip and powder. 
    ಕನ್ನಡ ಆವೃತ್ತಿ 
    Hi everybody,
    I am here with a new recipe after long time. Life has made me busy with the arrival of our second baby. Taking care of two naughty kids is not an easy task. But I'm not exhausted, I'm enjoying this phase of life with them :)
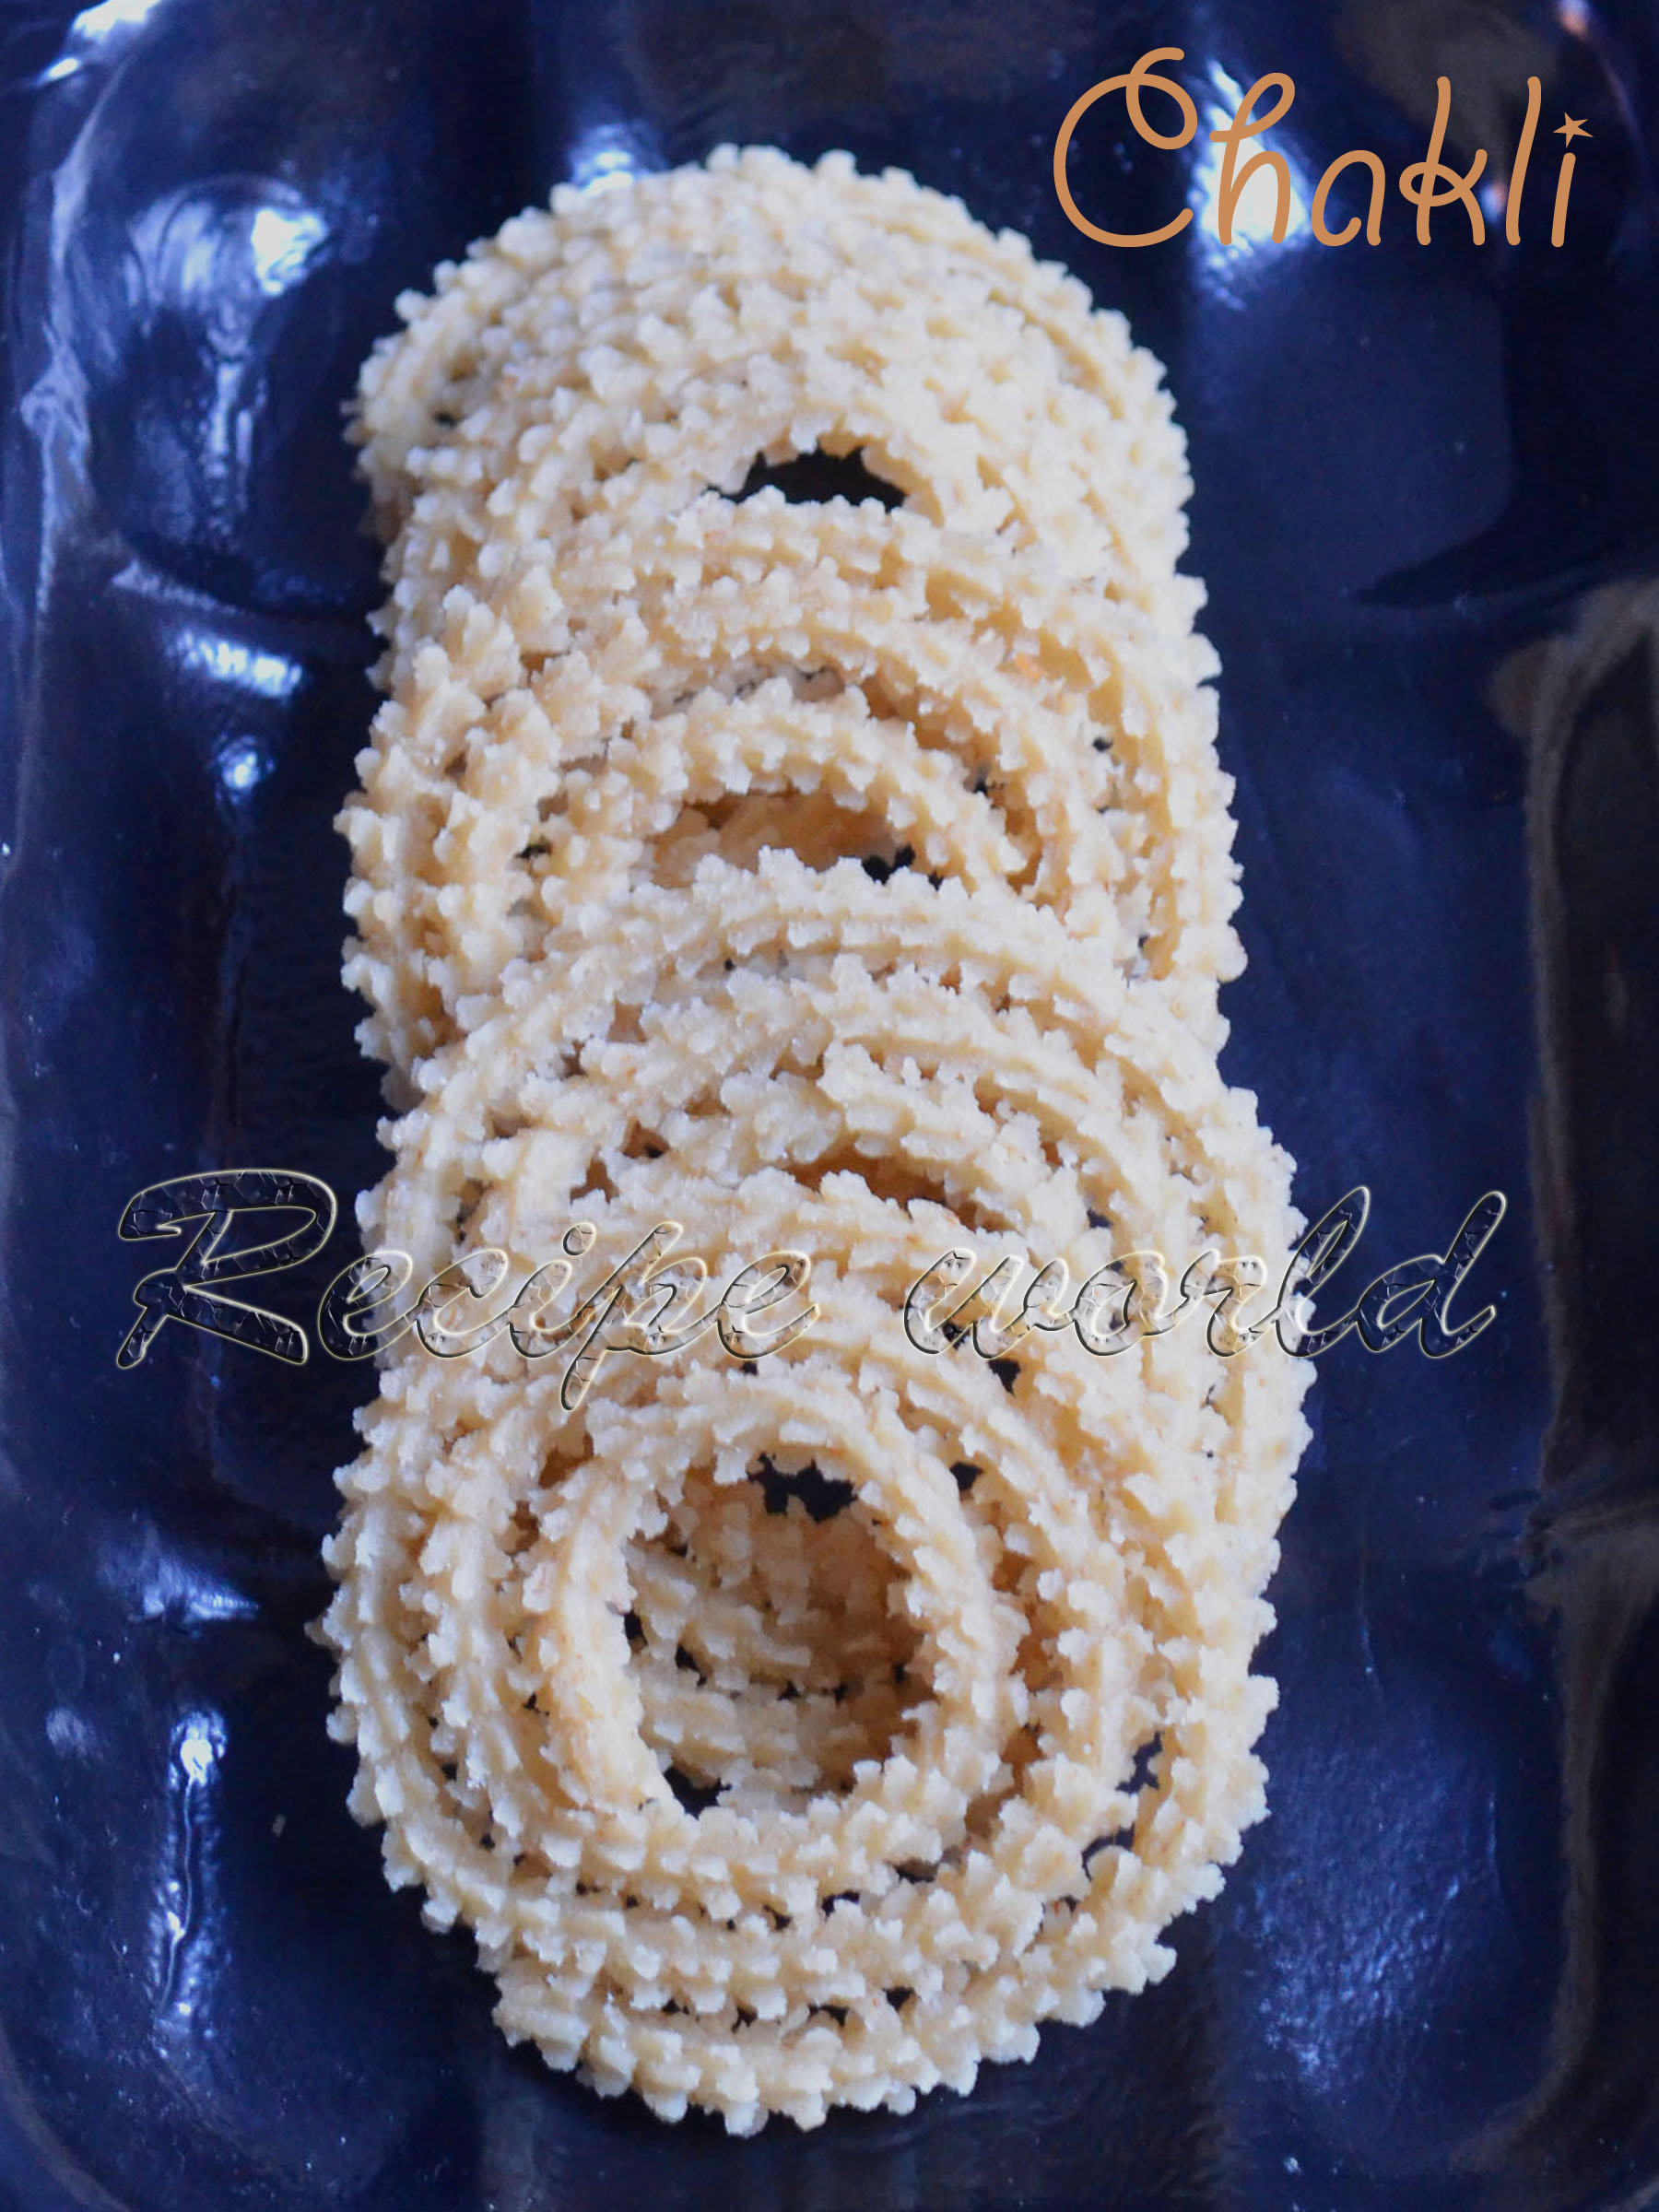
    Well, this is the recipe of Chakli which my Mom prepared during her stay with us. My daughter is a big fan of Chakli and this was made on her demand. Try this melt in mouth Chakli and I'm sure you will love it!


    Preparation time: 2 hours
    Soaking time: 2 - 3 hours
    Difficulty level: Difficult
    Yield: 60 Chaklis (depending on the size)

    Ingredients:

    • Rice - 1 big cup full (1 cup = 175 gms)
    • Roasted rice flour - 3 1/2 cup (approx)
    • Till seeds - 4 tsp
    • Cumin seeds - 2 tsp
    • Carom seeds - 2 tbsp
    • Butter - lemon size
    • Salt to taste
    • Oil for deep frying
    • Water for grinding


    Method:

    • Wash the rice 2 times and soak it in water for 2-3 hours. 
    • Drain the soaked rice and grind it along with till seeds, cumin seeds and carom seeds into fine paste. Add water as required. Consistency should be like the Dosa batter.
    • Add 2 1/2 tsp salt and 2 cups of water to the prepared batter and mix well. 
    • Transfer the batter to a thick bottomed vessel and keep stirring on medium flame for few minutes. Add lemon size butter while heating up the batter.
    • When the batter thickens, add around 3 1/2 cups (or as needed) of roasted rice flour and mix it when its still hot.
    • Knead the dough well and prepare a soft, non sticky dough ball. Keep the dough covered with a wet cloth and take out small portions as needed.
    • Fill the dough in a Chakli press and make them into spirals. 
    • Deep fry in hot oil and crispy Chaklis are ready to eat!
    ಕನ್ನಡ ಆವೃತ್ತಿ 
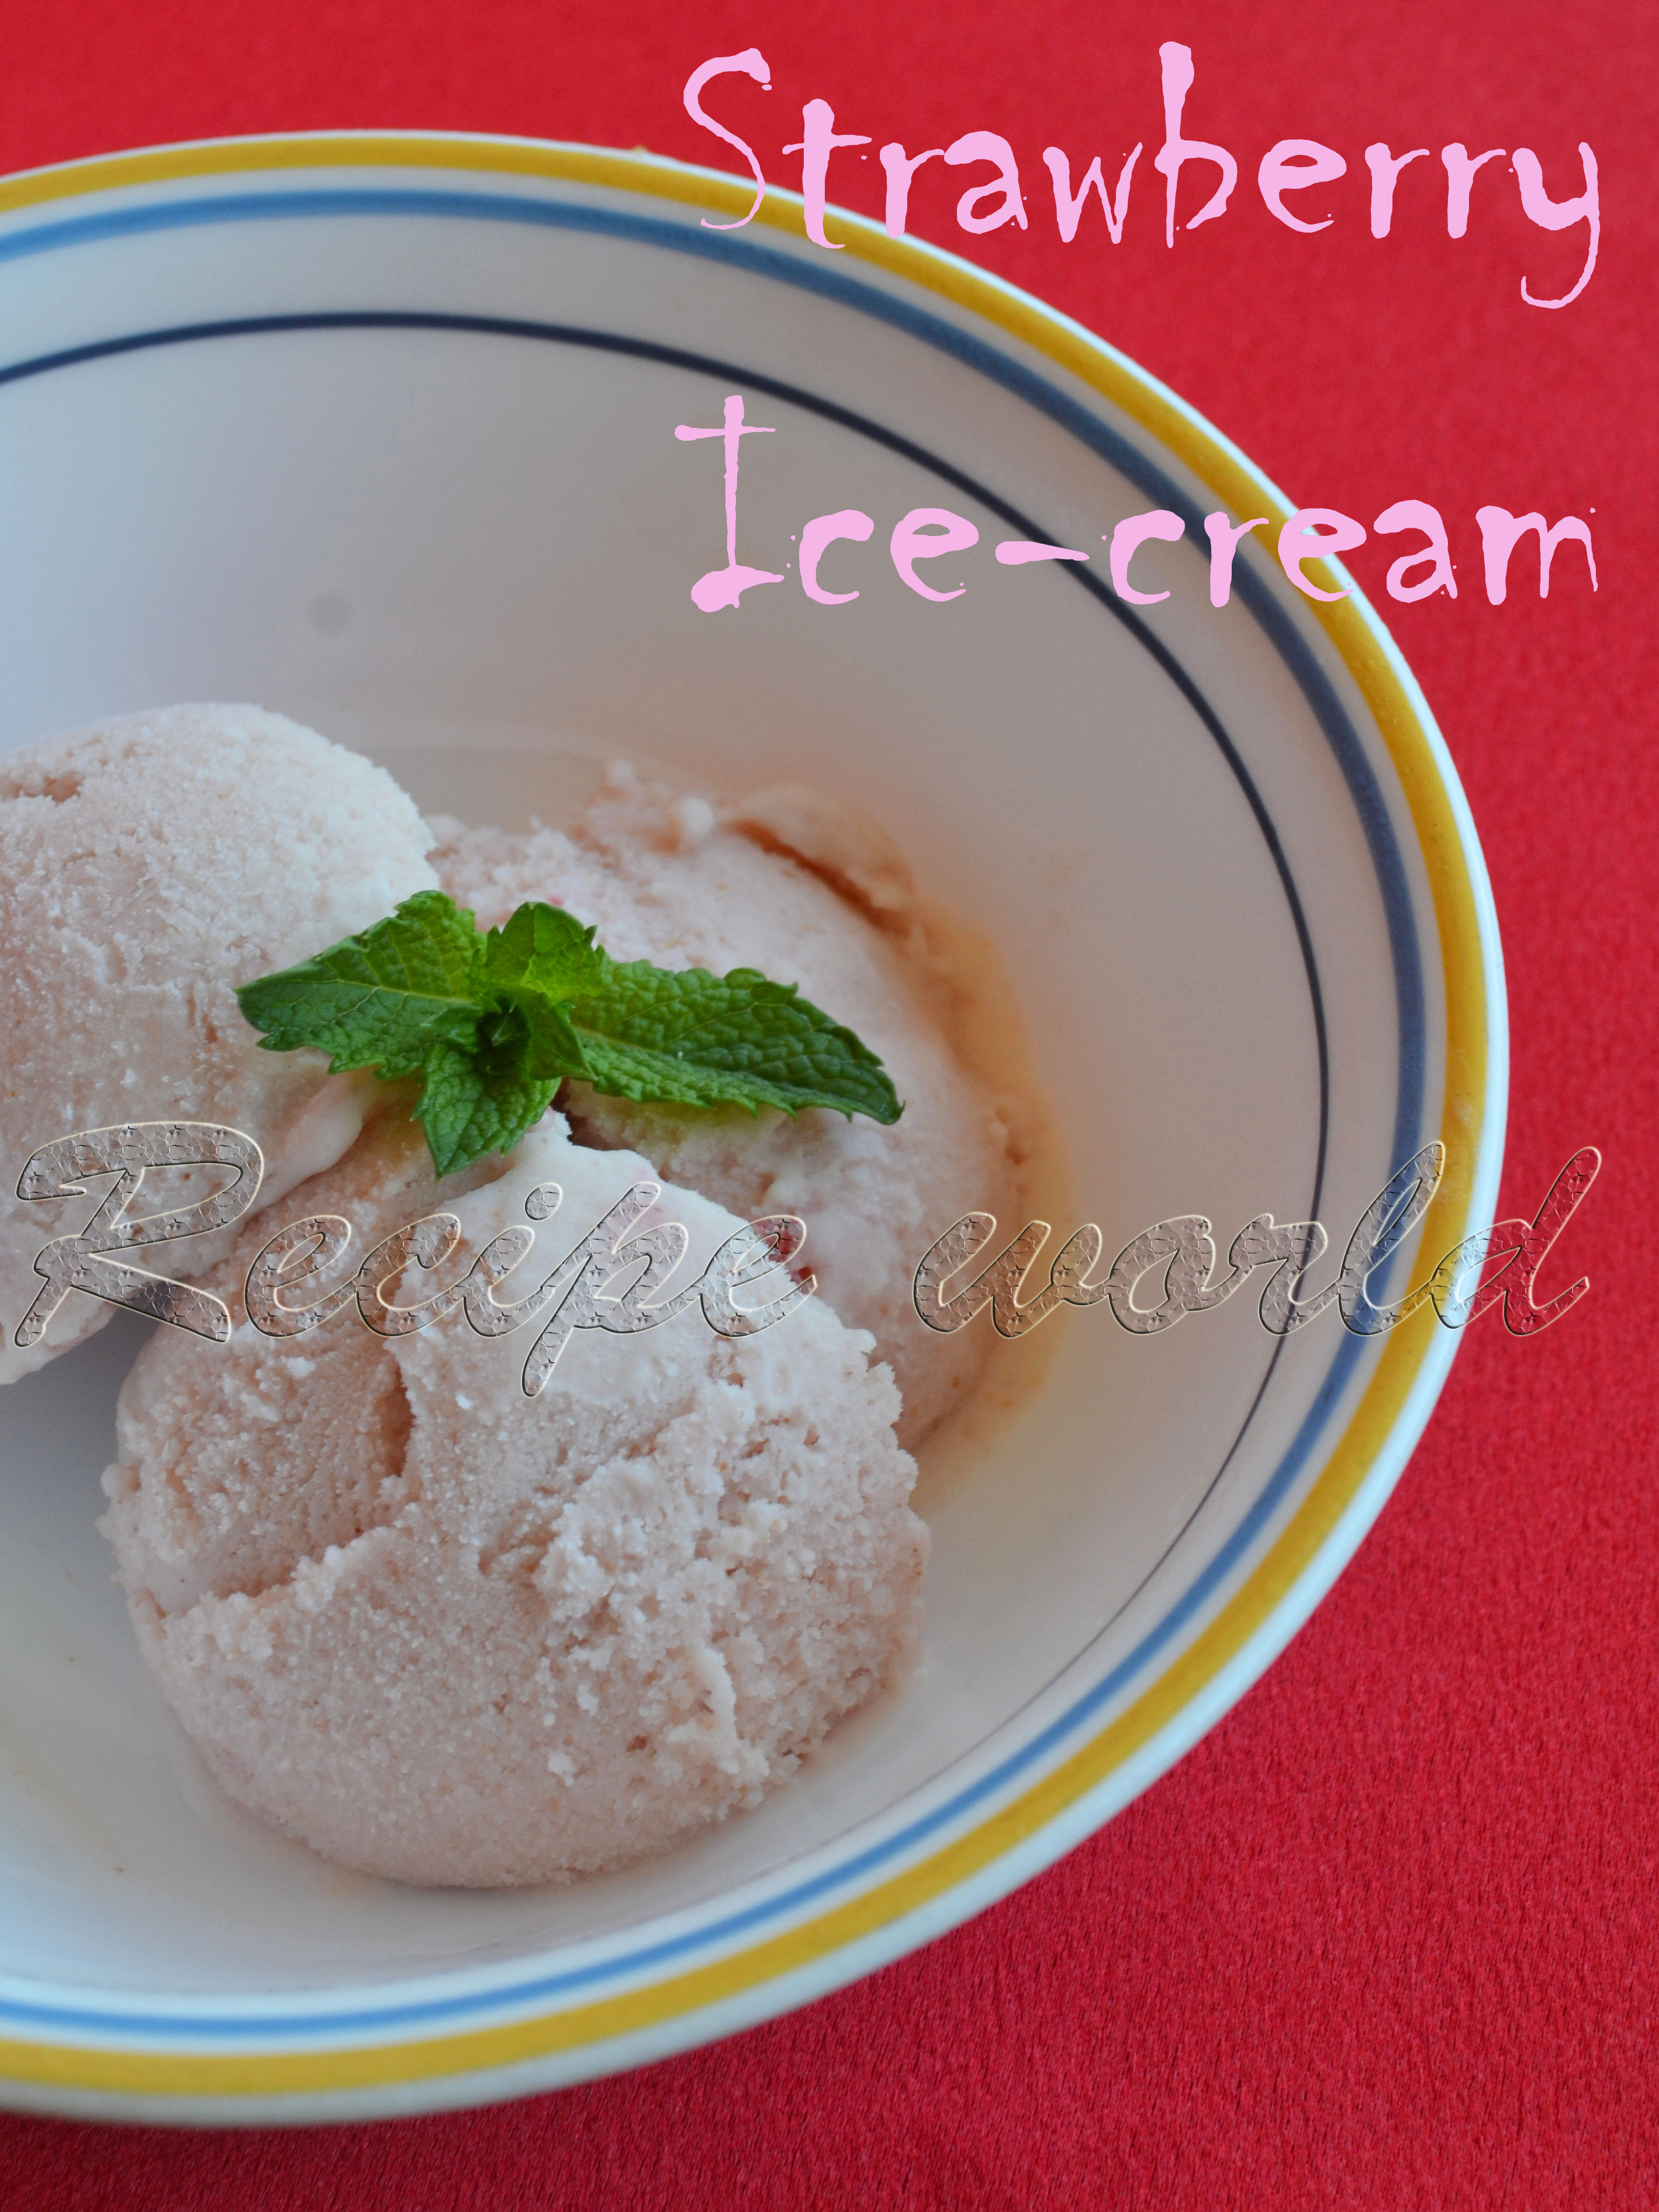
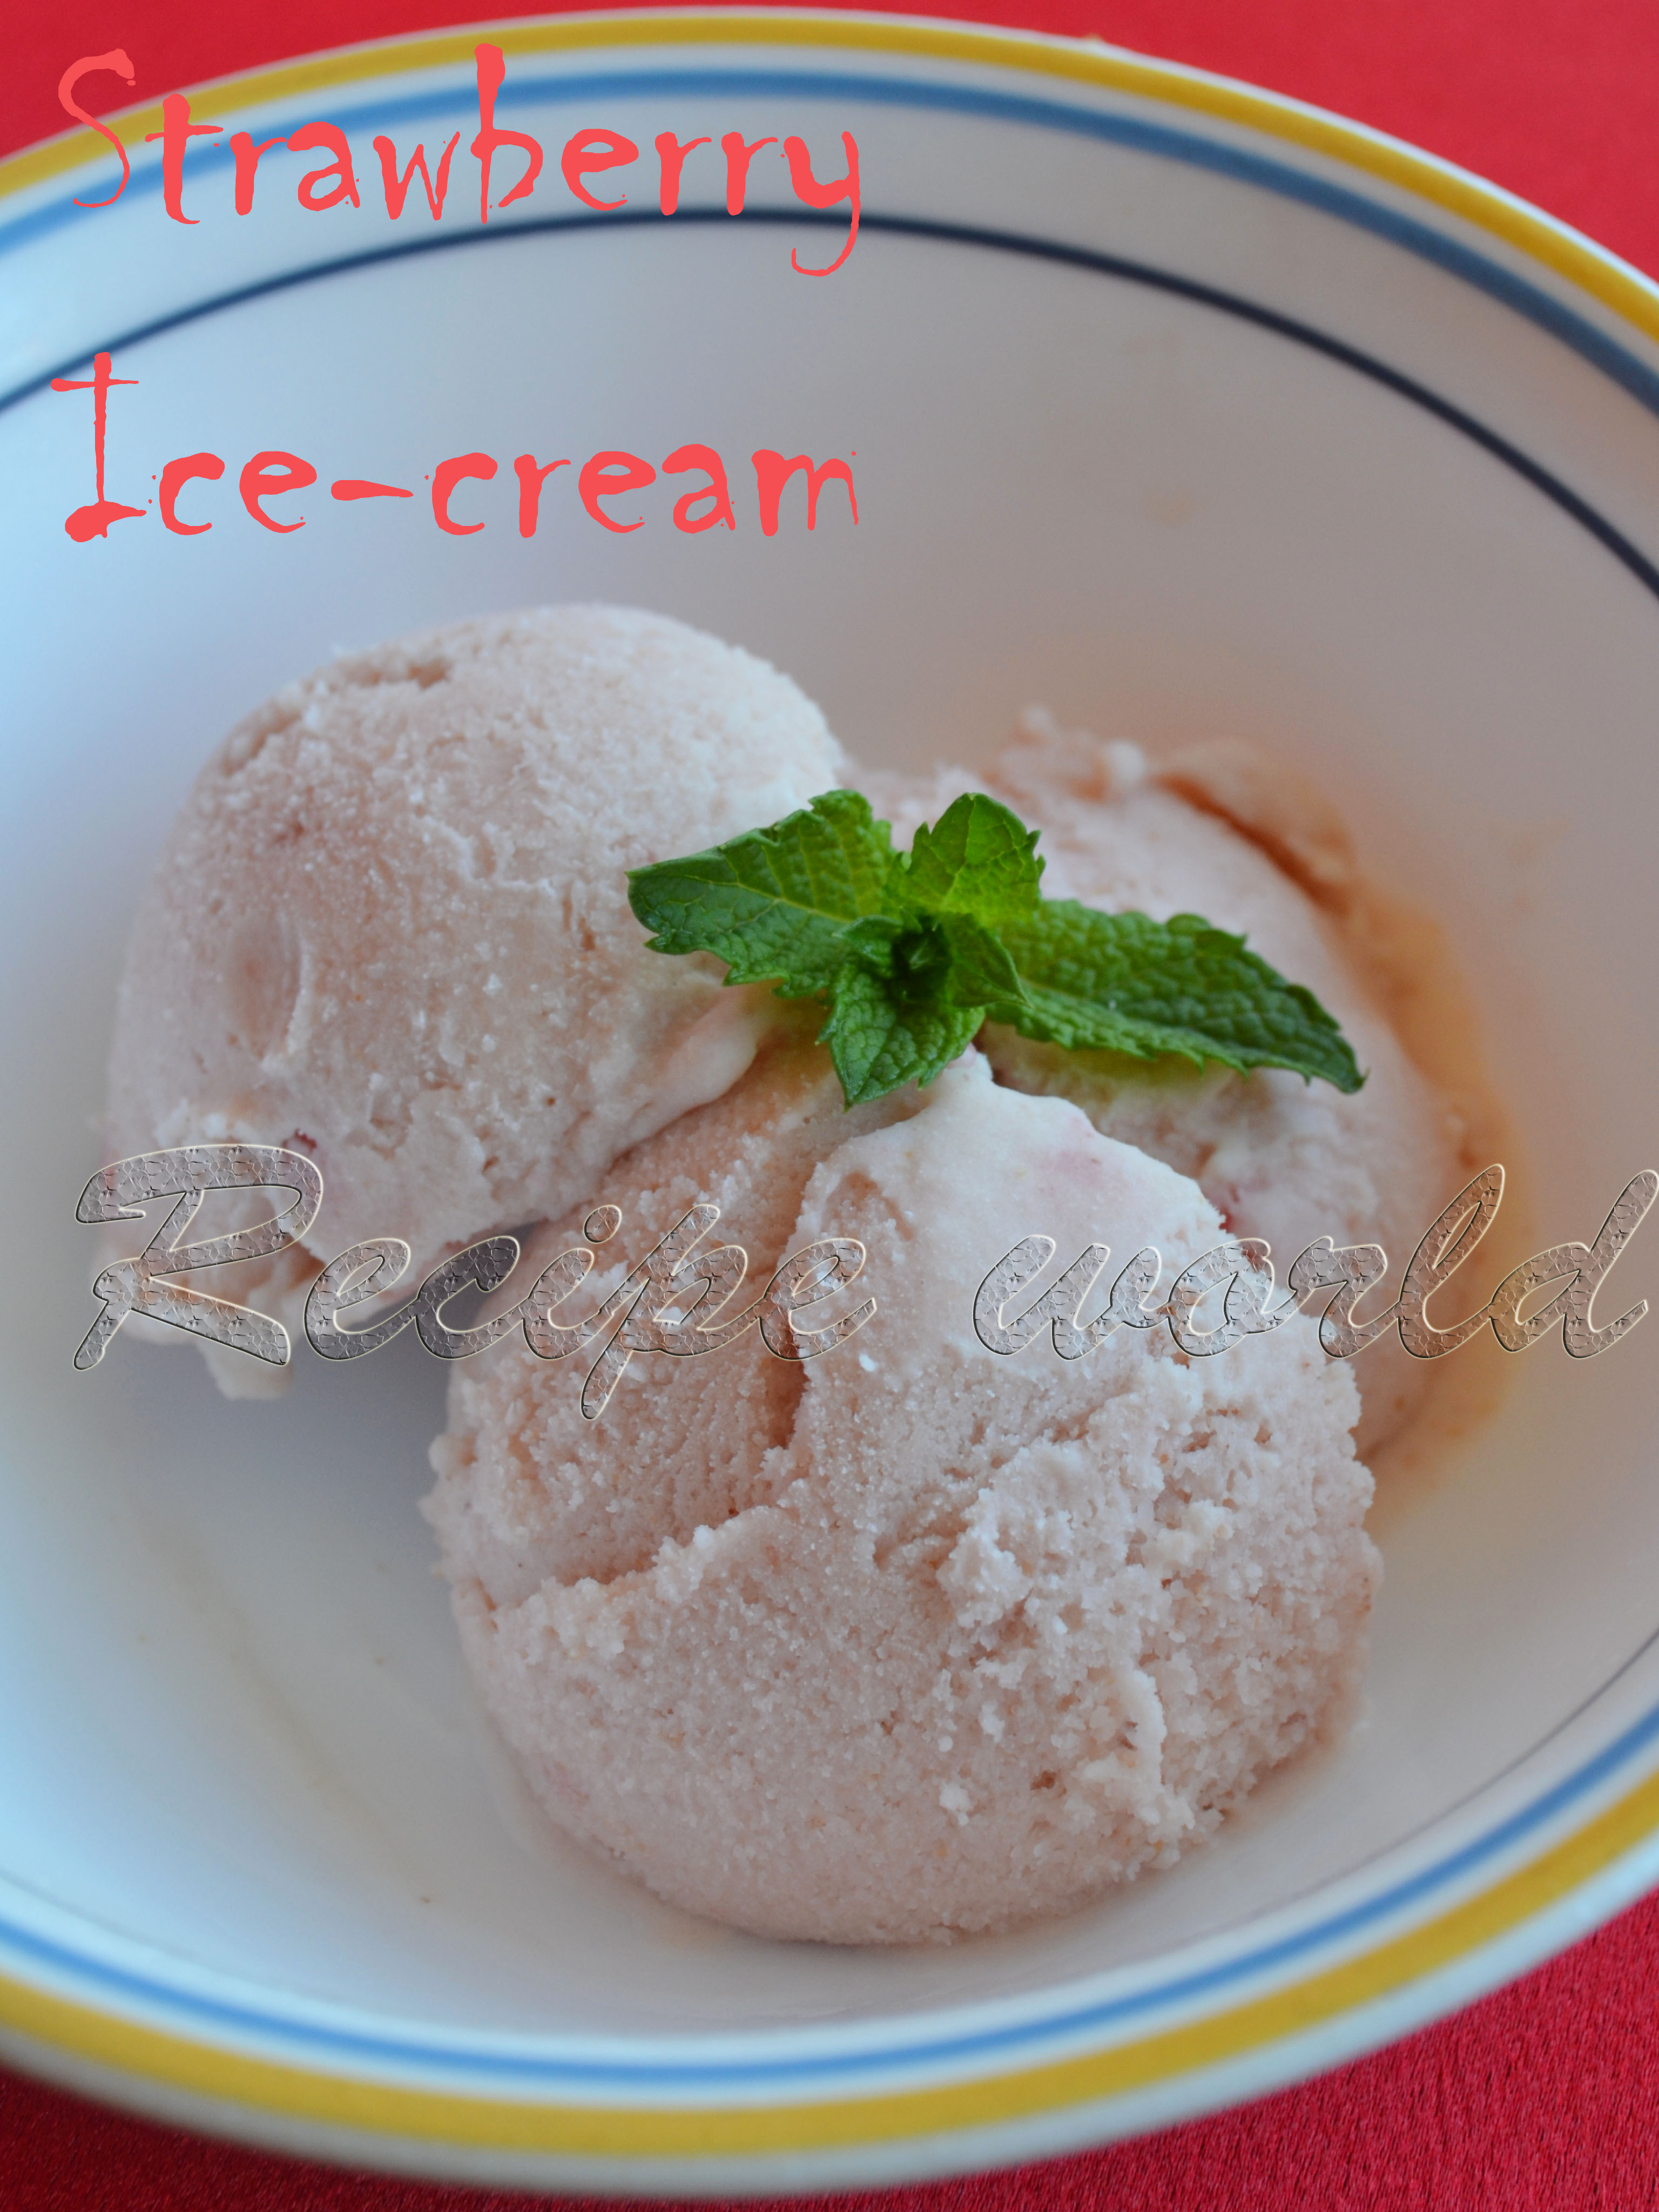
    Strawberry is one of my kiddo's favourite fruits. She demands for it everytime when we go for buying  fruits. Strawberries are tend to spoil very quickly, even when we refrigerate them. So whenever we buy 2-3 boxes of strawberries, I will end up preparing some milkshake, jam or ice-cream. Home made ones are free from artificial colors, flavours and preservatives and delicious too! 
    Here is my simple recipe of Strawberry Ice-cream..


    Preparation time: 25 minutes
    Refrigeration time: 5 - 6 hours
    Serves - 7 to 8

    Ingredients:
    • Strawberries - 250 gm
    • Thick cream - 250 gm
    • Sugar - 2 tbsp or to taste

    Method:
    • Wash and clean the strawberries, remove the stems. Chop them into small / medium chunks.
    • Combine them with thick cream and sugar and blend smoothly using a mixer or blender. 
    • Transfer the blended mixture to an airtight container and refrigerate for 2 - 3 hours or till it becomes hard.
    • Take out the ice-cream mixture and blend it for 4 - 5 minutes or till smooth and keep it back into the freezer. Repeat this step 2 - 3 times to get a smooth textured ice-cream.
    • Scoop the ice-cream and serve it!


    Tips:
    • If you want some strawberry chunks in the ice-cream, add 4 - 5 tsp of finely chopped strawberries after blending the mixture for the final time. Mix it well and refrigerate.
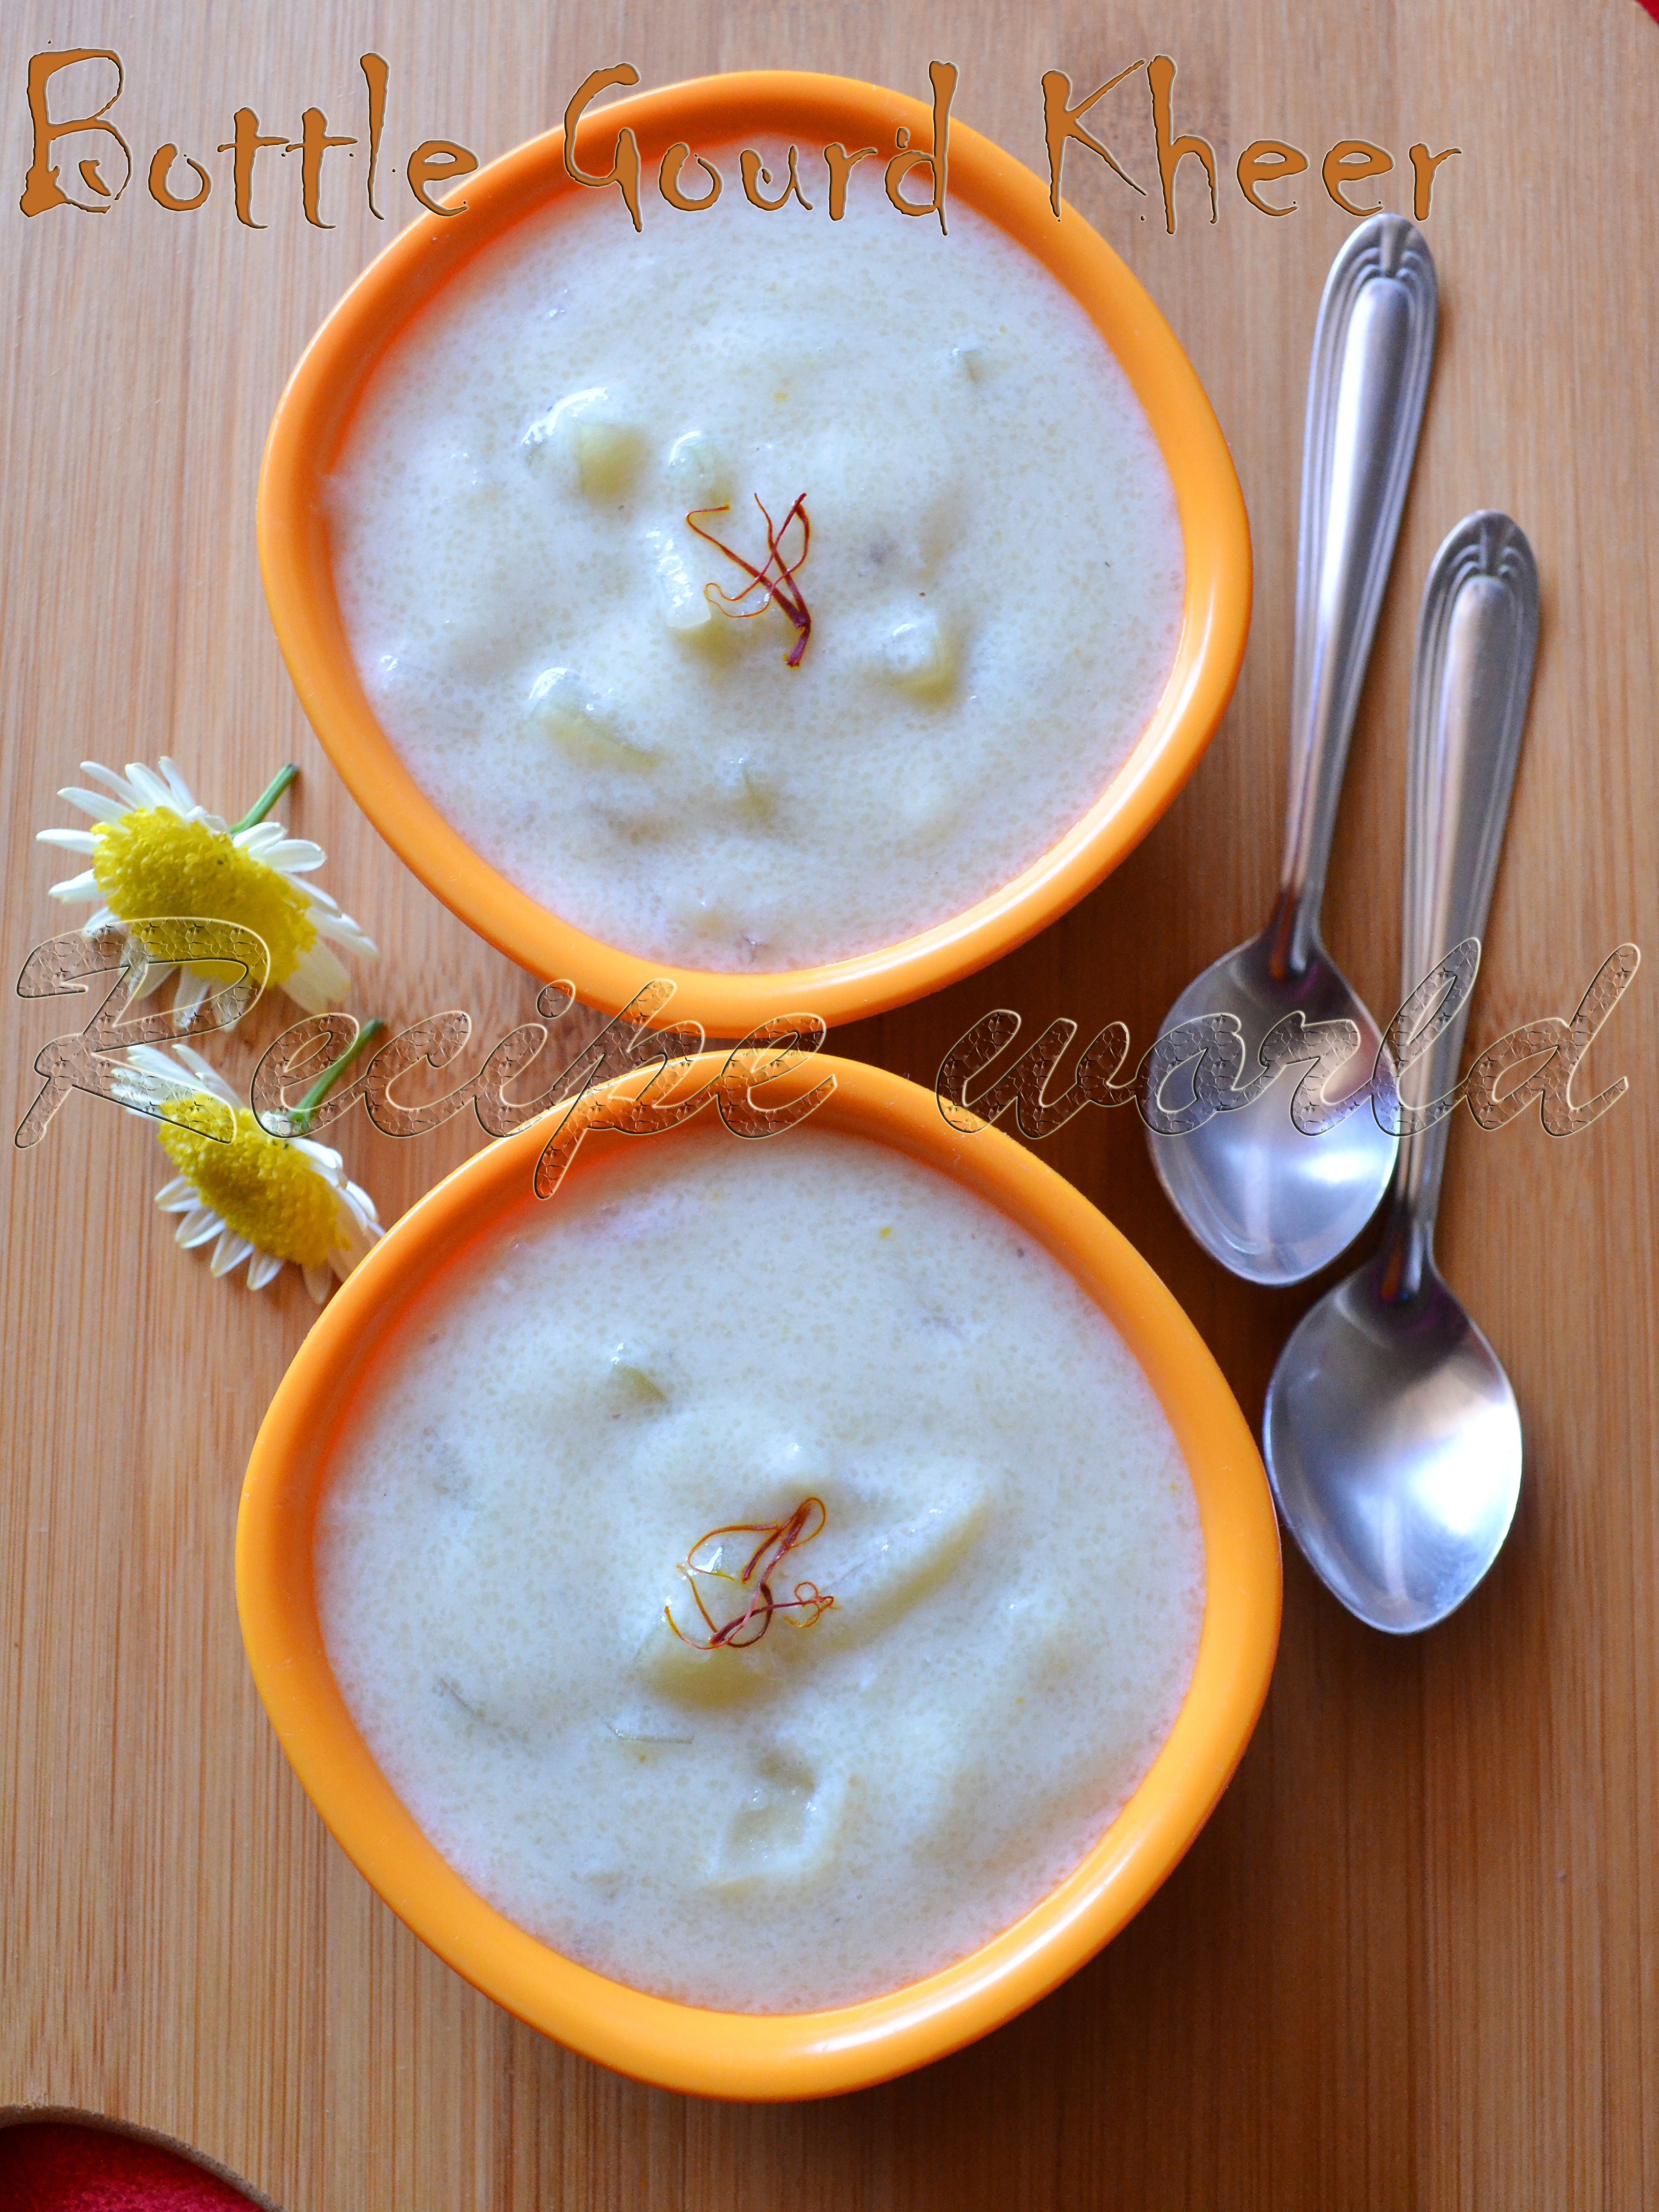
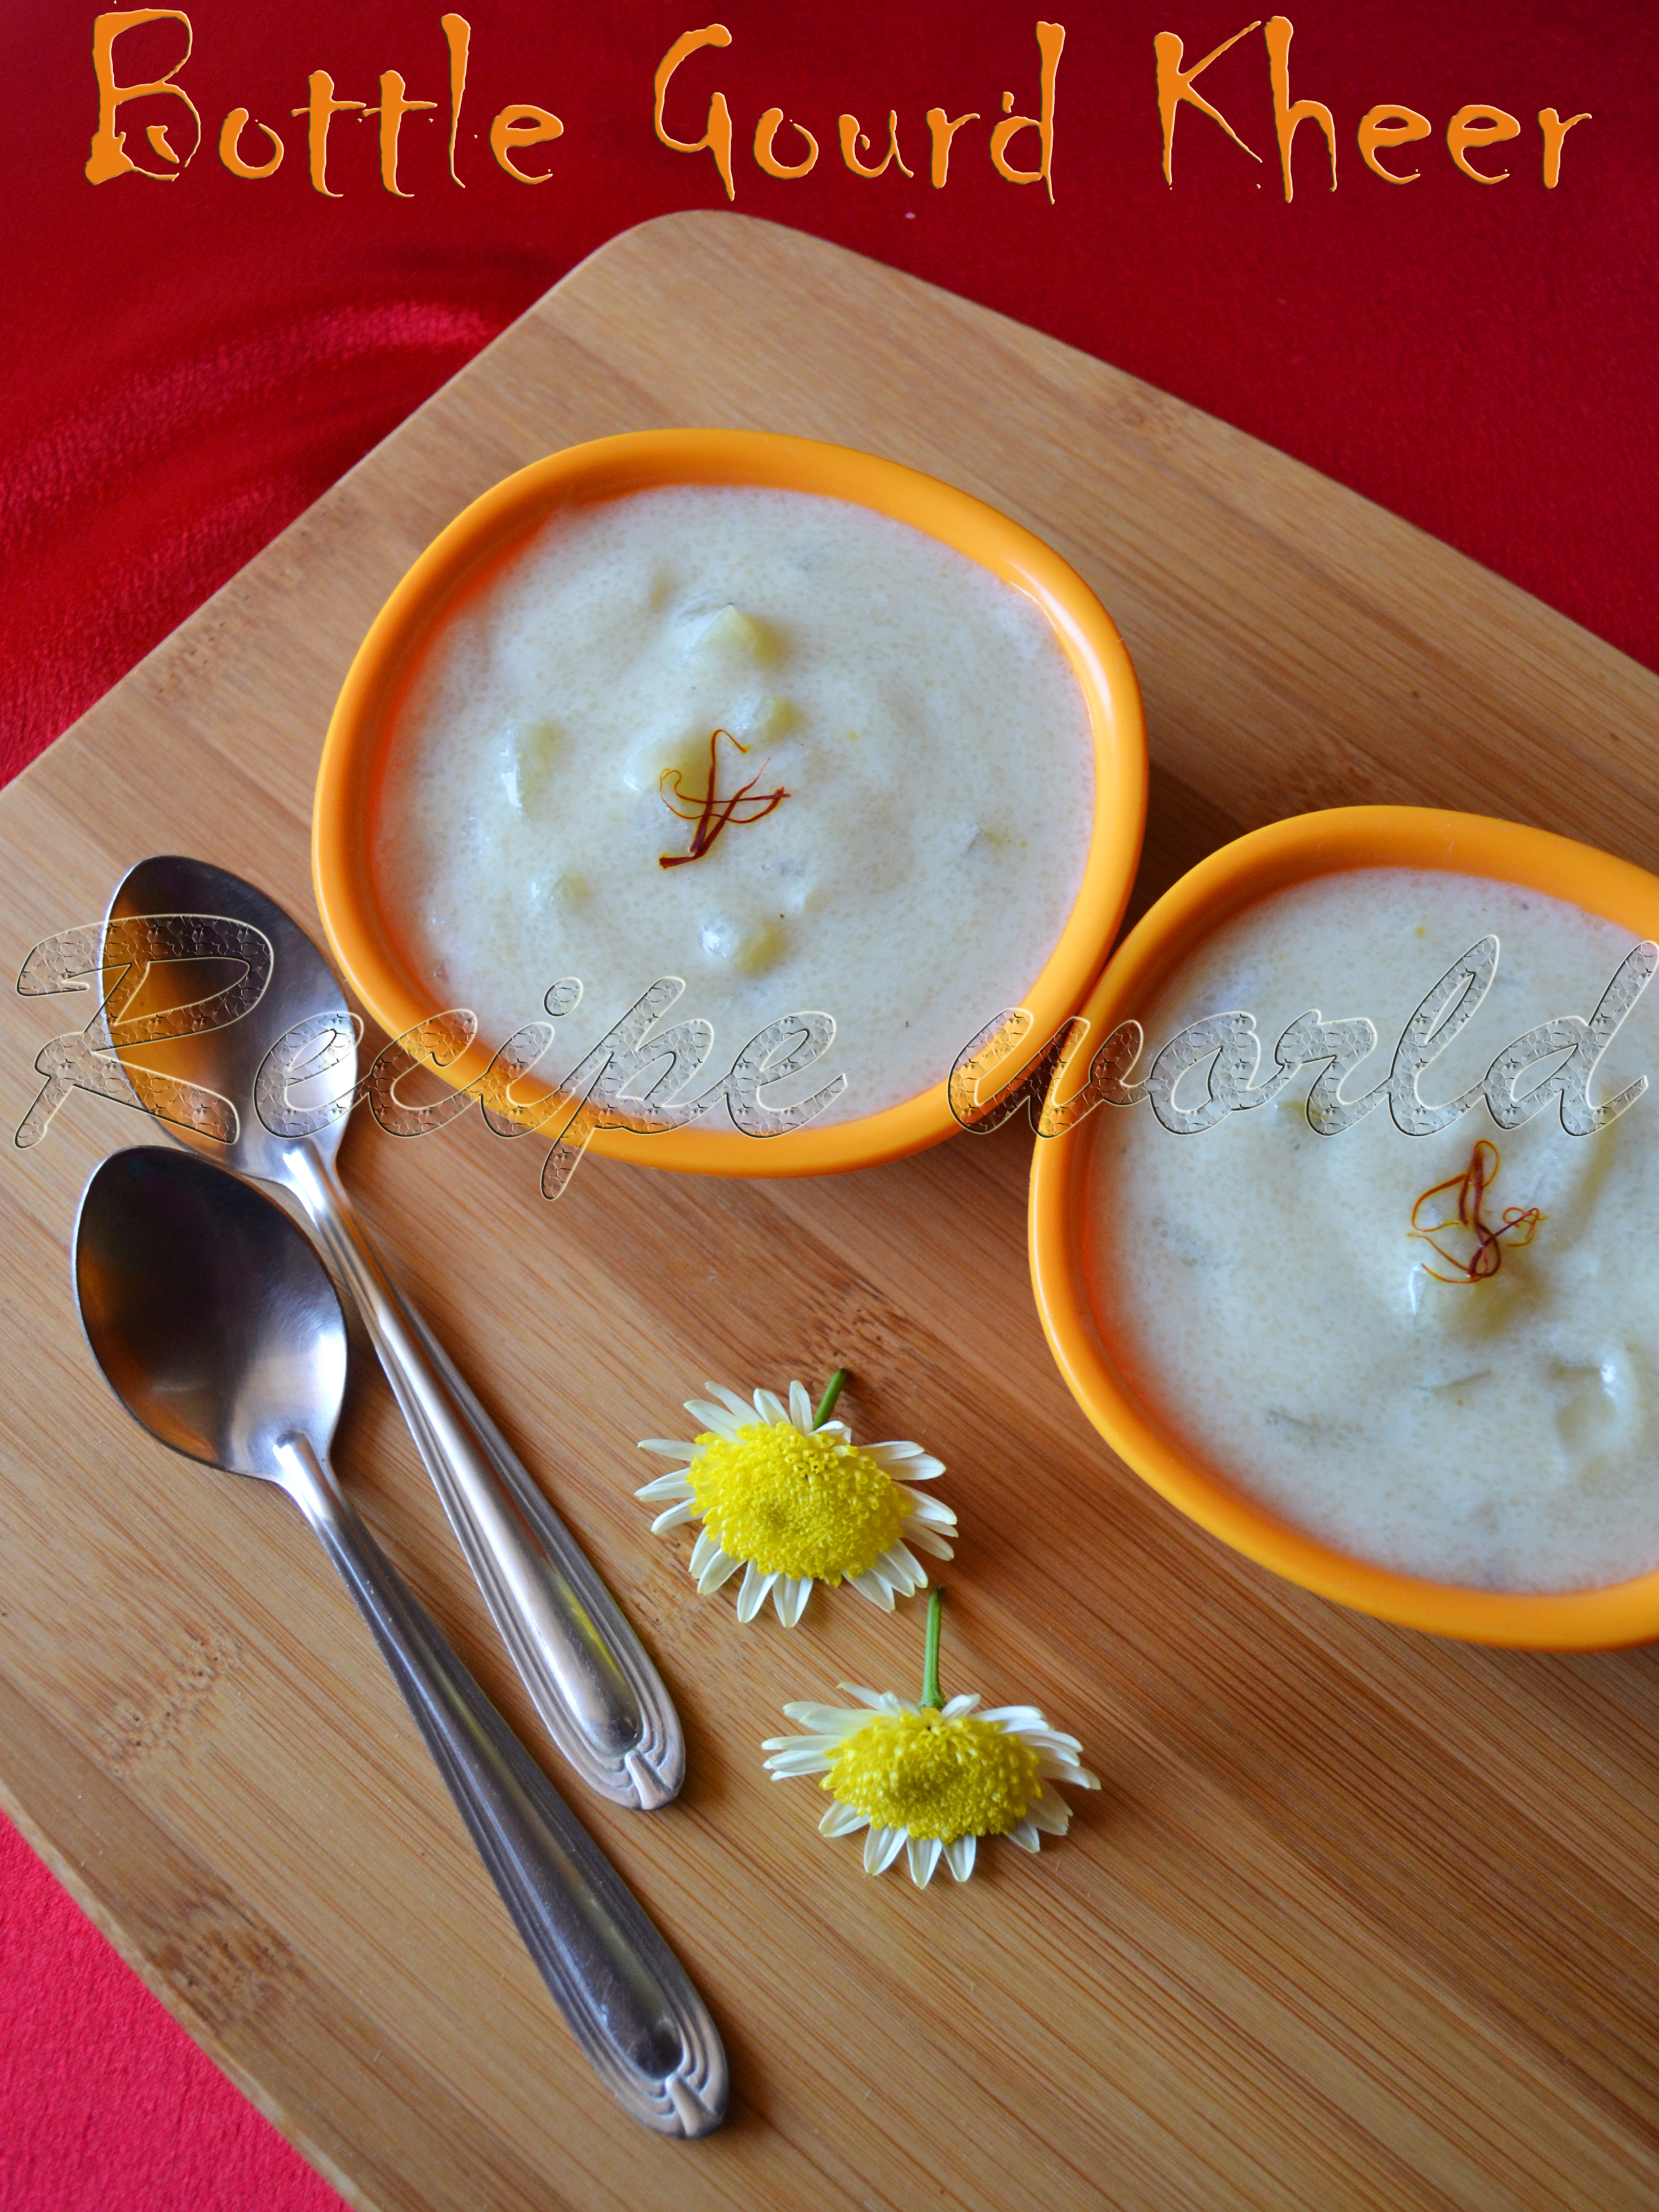
    Bottle Gourd is one of those vegetables which are available throughout the year. Here in Australia, it is commonly available not only in Indian grocery stores, but also in most of the Asian grocery stores. Bottle gourd is a good of vitamins and minerals and hence, regular consumption of this veggie is good for our health.
    In our home, we would prefer typical Indian style food most of the time. We buy bottle gourd more frequently to prepare different Indian dishes. I have shared the recipe of Bottle Gourd Palya / Spiced Bottle Gourd long back. Here is one more delicacy made with Bottle Gourd. Do try this Bottle Gourd Payasa when you buy bottle gourd next time and let me hear your feedback! 😊


    Time required: 35 - 40 minutes
    Serves - 3
    Difficulty level: Medium

    Ingredients:

    • Sugar - 3/4 cup (1 cup = 
    • Bottle gourd peeled, seeded and chopped into small or medium pieces - 2 cups
    • Semolina (medium) - 1/3 cup
    • Jaggery - 2 tbsp (see Tips)
    • Salt - big pinch 
    • Ghee / clarified butter - 1 tsp
    • Milk - 2 1/2 cup
    • Water - 2 1/2 cup
    • Cardamom powder - 1 tsp
    • Saffron strands - 8 to 10 (optional)


    Method:

    • Heat the water in a pan. Once it becomes nicely hot, add a teaspoon of ghee and chopped bottle gourd. Continue cooking till bottle gourd pieces become soft.
    • In the meanwhile, wash the semolina by adding some water and drain it off.
    • Add this semolina to the cooked mixture and mix it continuously for 2 - 3 minutes to avoid lumps.
    • Add sugar, salt, jaggery (optional), milk and saffron strands. Allow the Payasa to boil for 8 - 10 minutes. 
    • Add cardamom powder before switching off the flame.
    • Serve this delicious Payasa hot or cold. This Payasa goes well with Poori, if you are a sweet lover.


    Tips:


    • If you don't like jaggery, you can replace it with sugar. If you like to use jaggery, use more jaggery and reduce the quantity of sugar accordingly. If using more jaggery, no need to add saffron as the flavour will be dominated by jaggery. 
    Christmas is already round the corner. Joy of the festival is visible everywhere in the form of lights, decorations and of course, shopping! We just roamed everywhere and did enough shopping. Actually speaking, we won't celebrate Christmas in our home. But we are very much fond of Christmas Fruit Cake / Plum Cake. So, all the preparations are done to prepare the Fruit Cake!
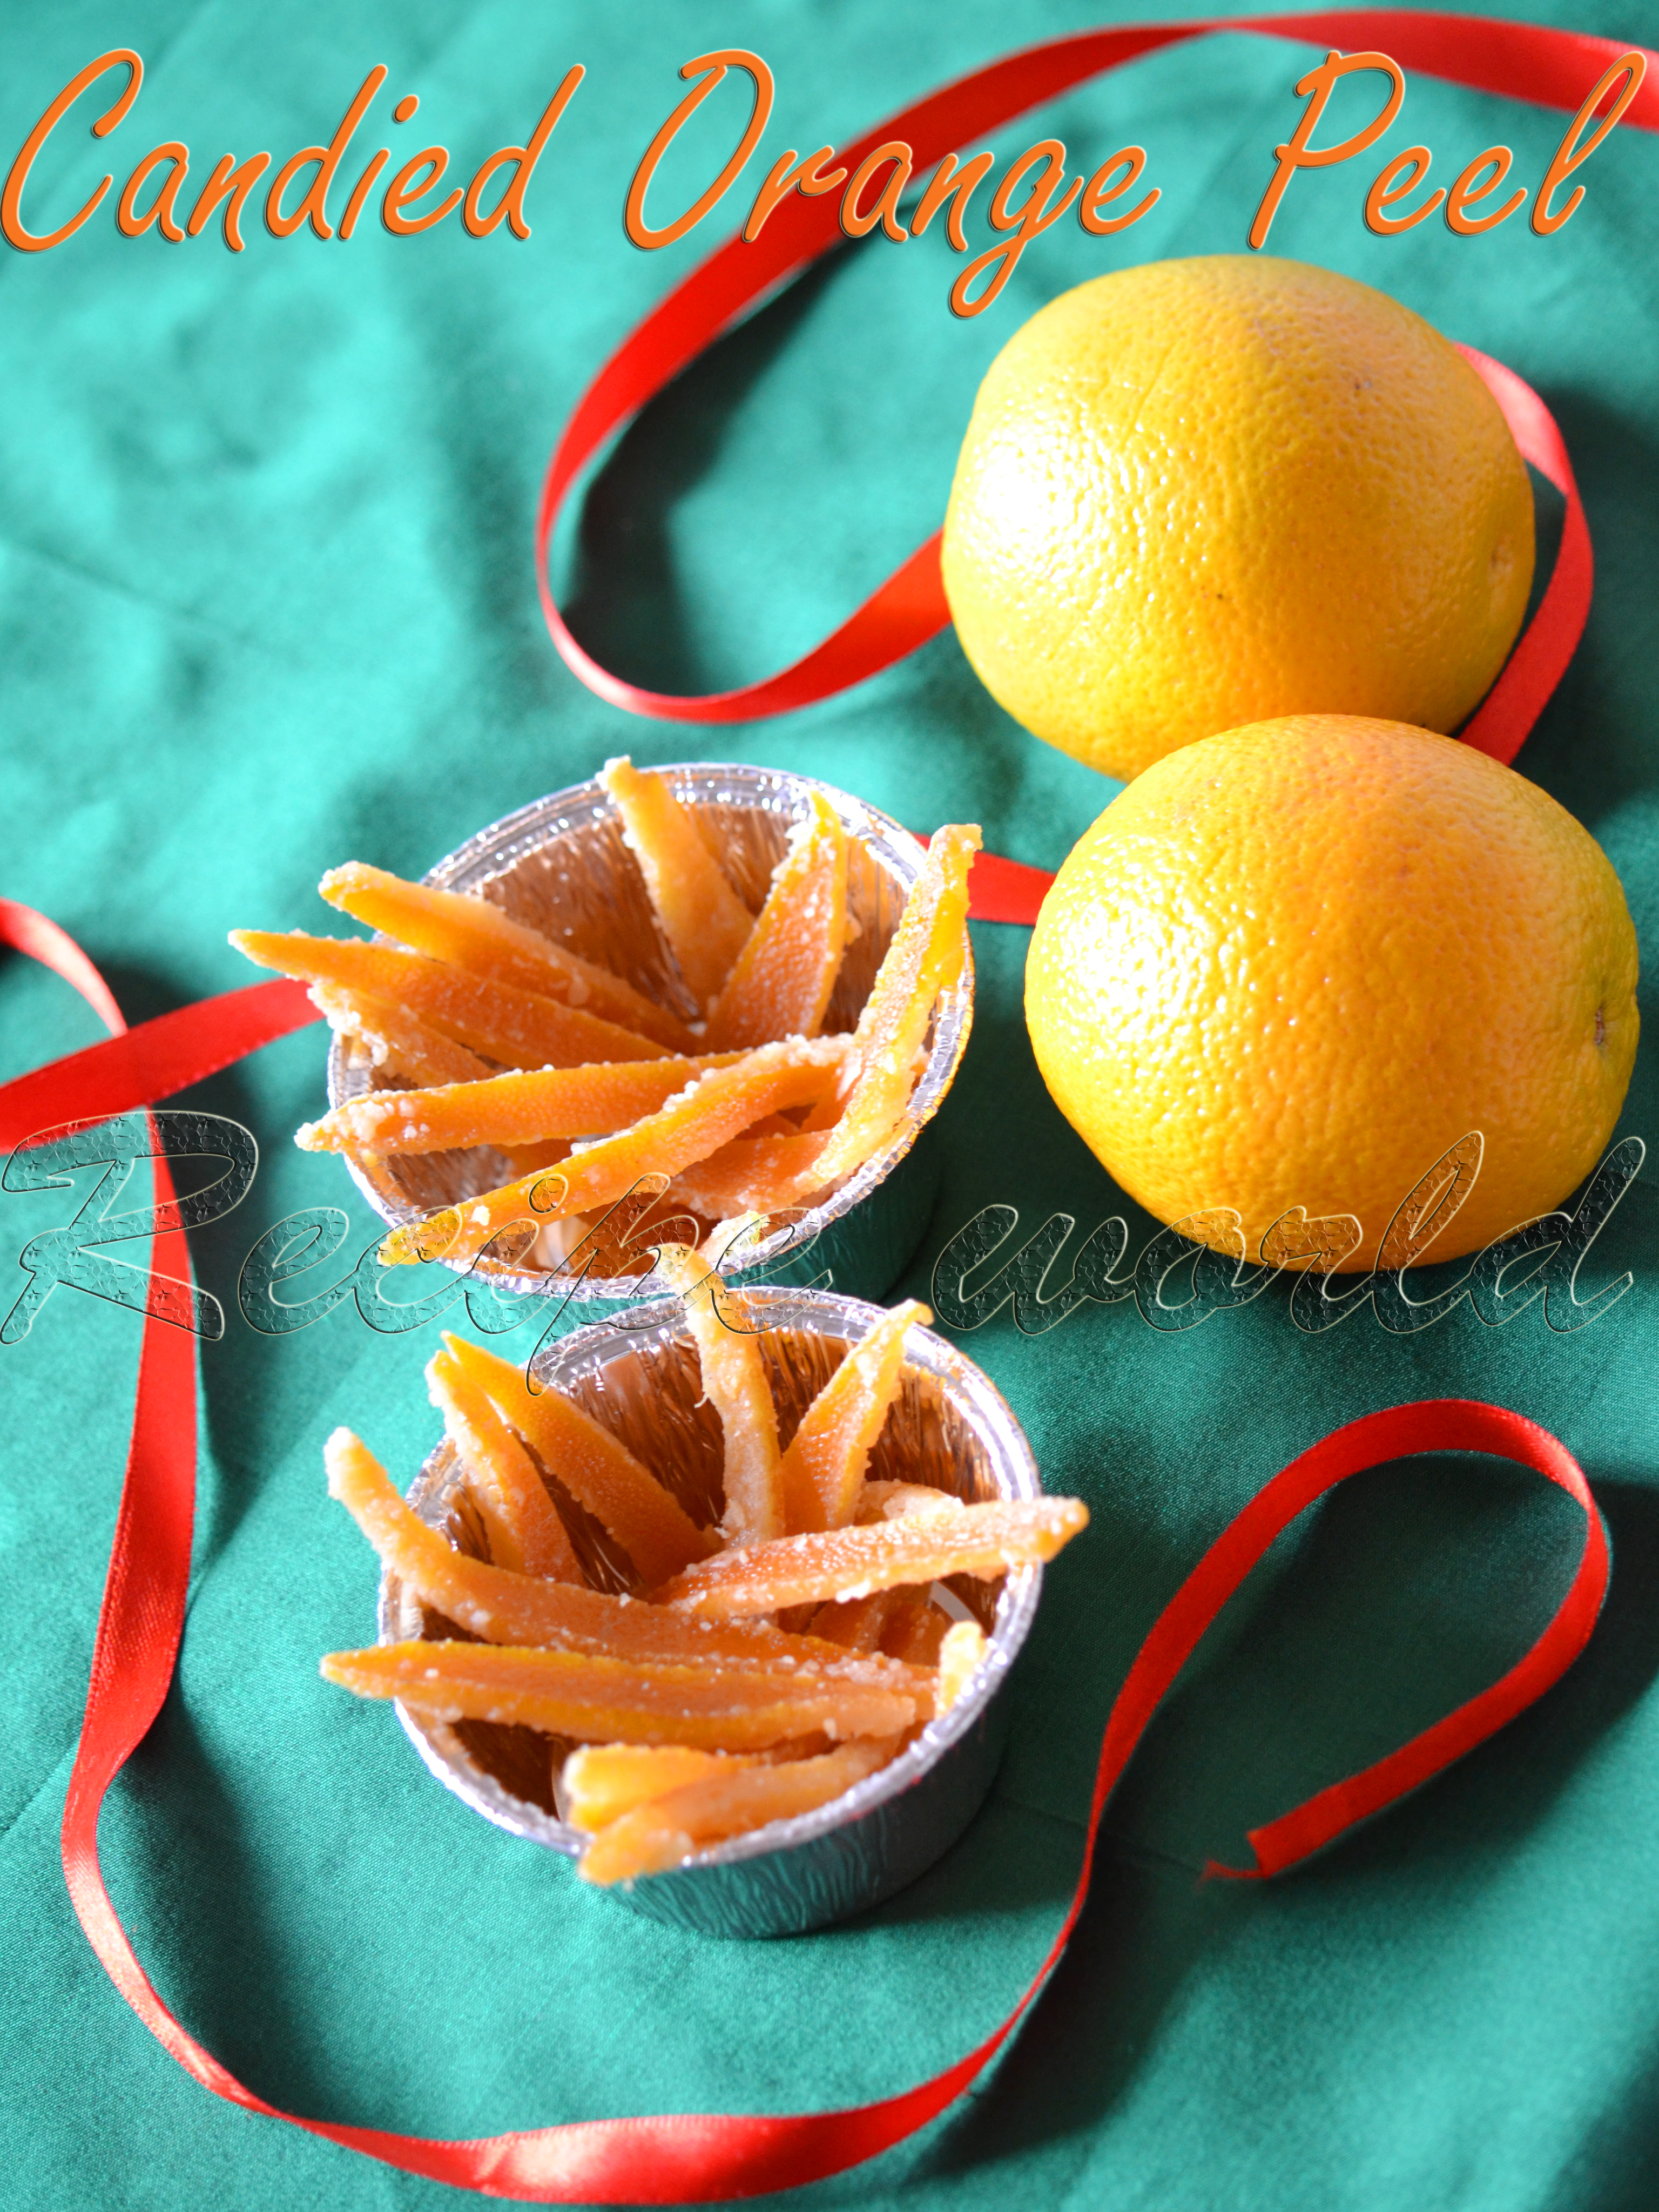
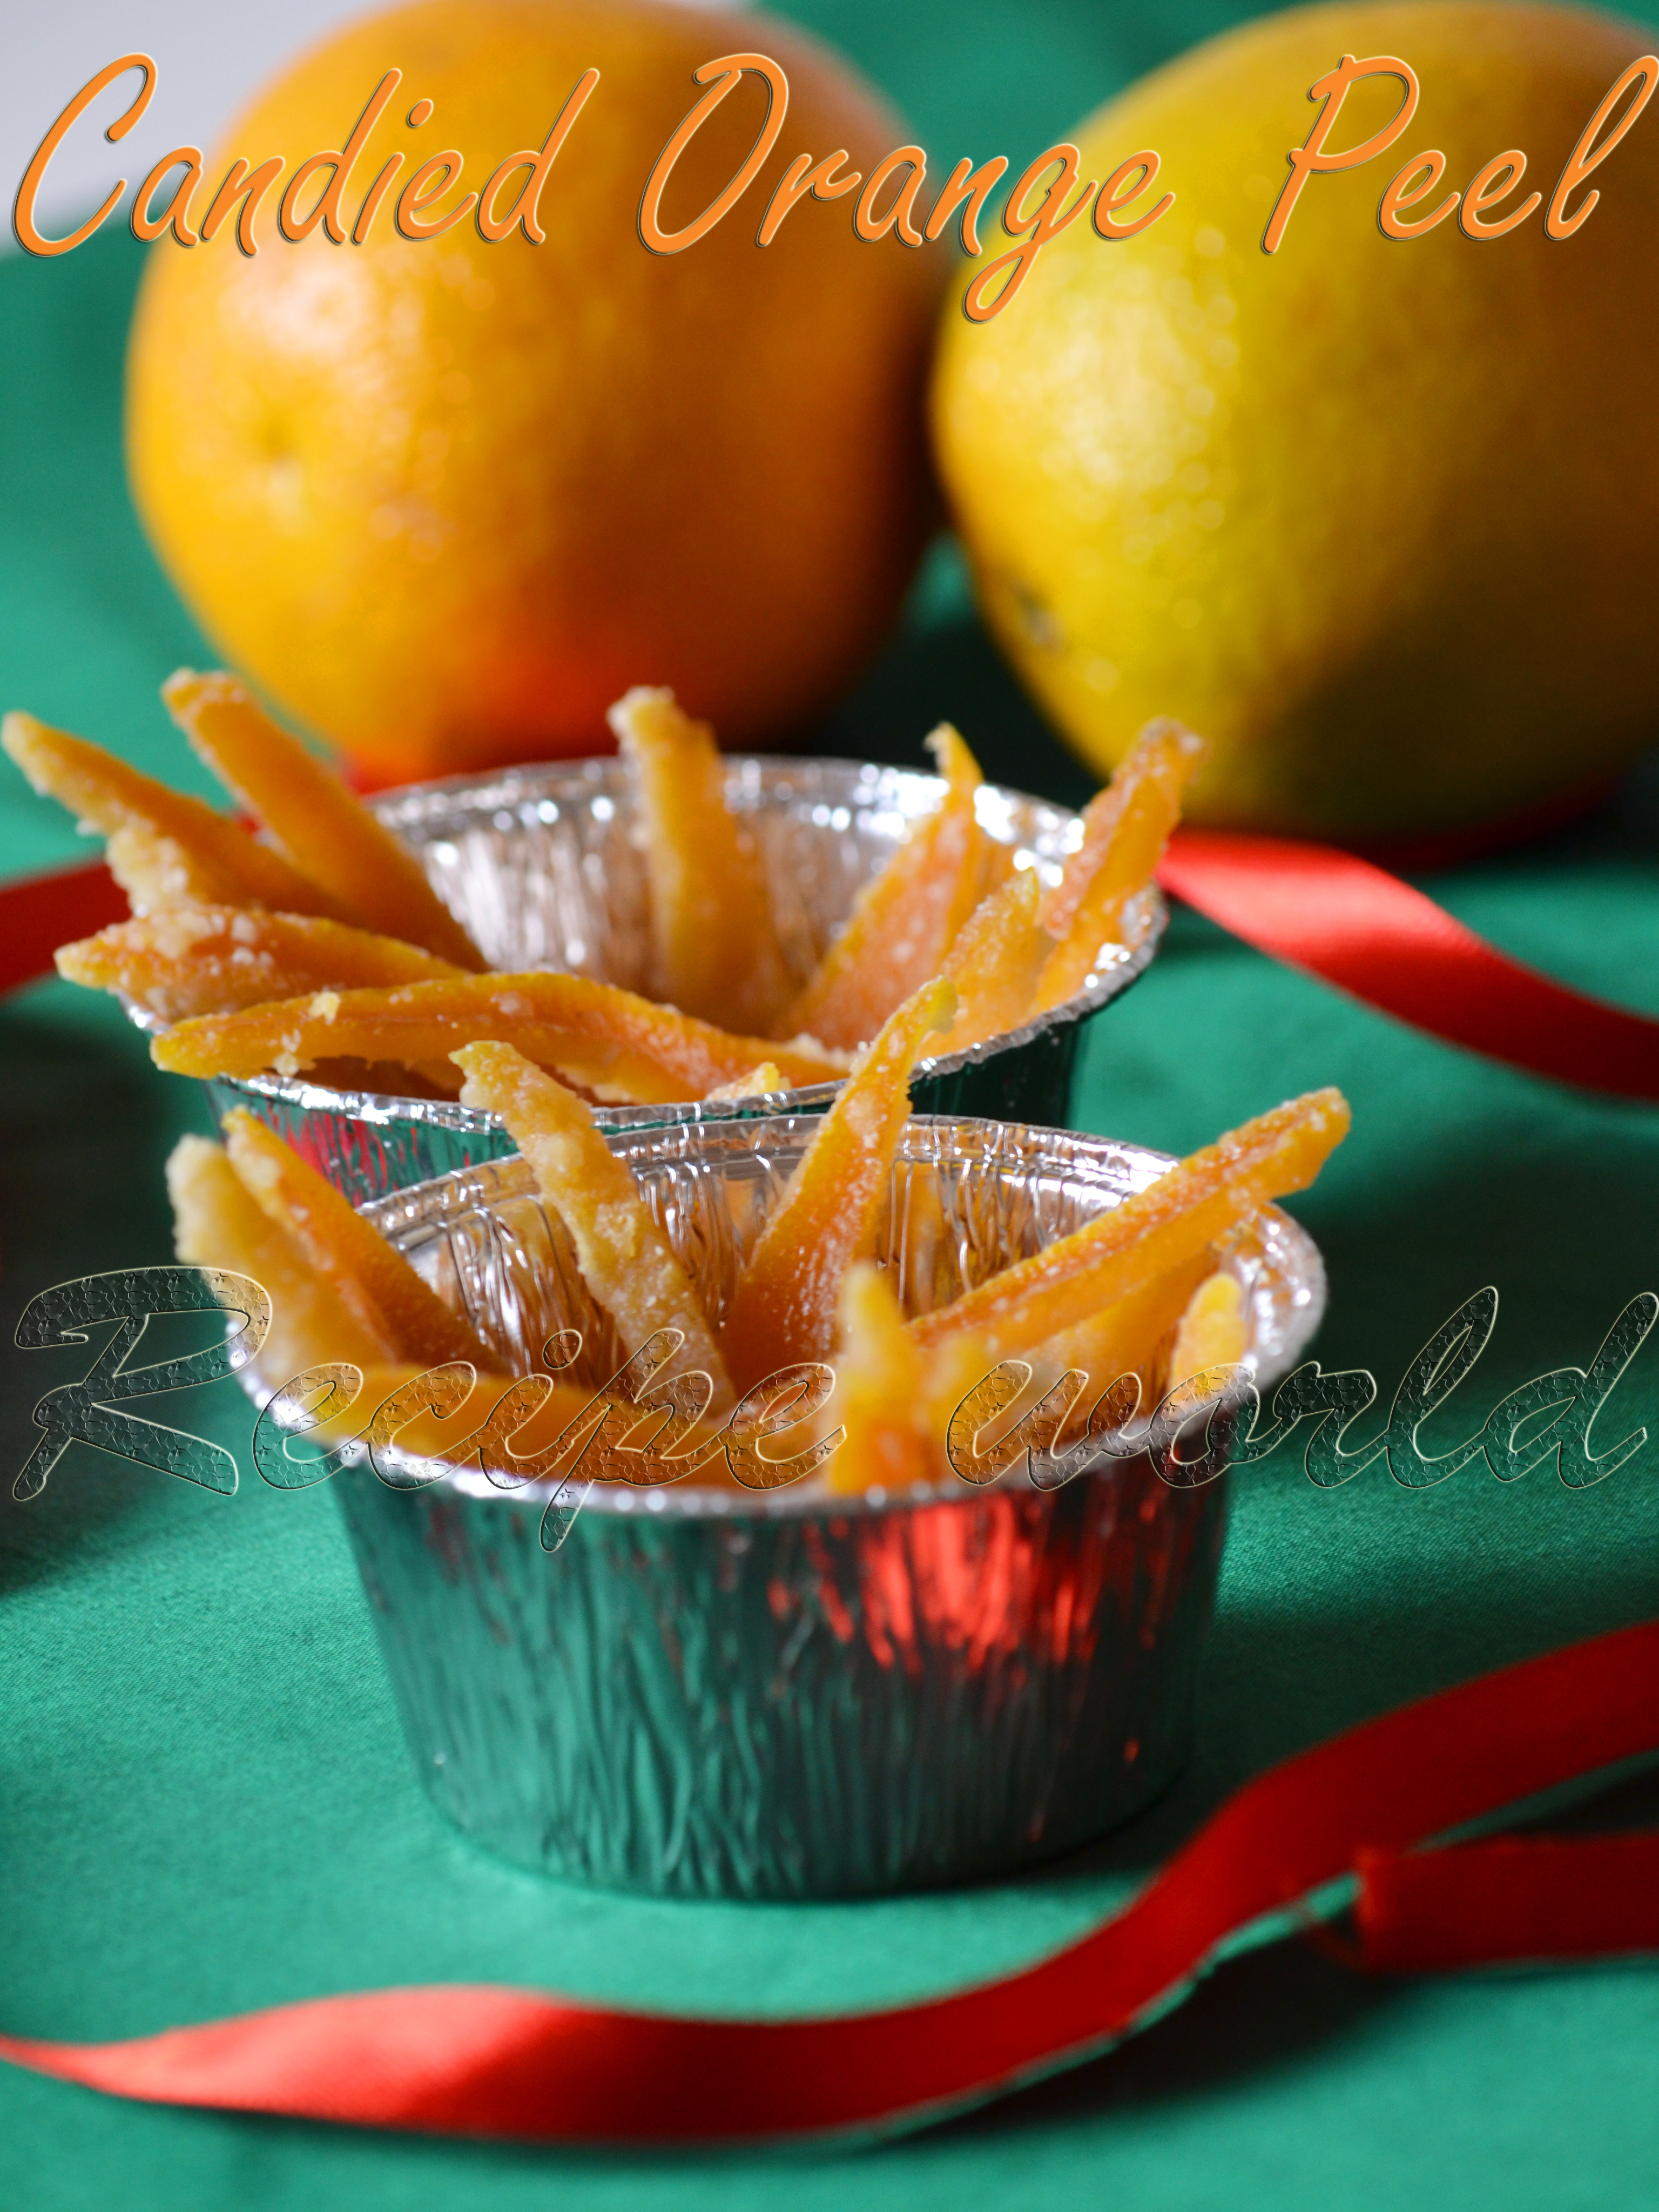
    Candied Peel is one of the key ingredients for Christmas Fruit Cake. Peel of citrus fruits such as orange, lemon are taken out in order to make the candied peel. Fruit peel will be chopped, boiled, drained and then cooked in sugar syrup to make it delicious. Candied peel and candied fruits are easily available in the market especially during the Christmas time, but I always prefer making them at home. 
    Here is the easy recipe of making Candied orange peel. Thanks to Suma of Cakes And More for this wonderful recipe! 


    Preparation time: 1 1/4 hour
    Cooling time: 1 hour
    Yield: 30 - 32 pieces of peel
    Difficulty level: Medium

    Ingredients:
    • 2 medium sized navel oranges
    • Sugar - 1/2 cup
    • Water - 1/2 cup + more water to cook the peel


    Method:
    • Cut the oranges into 4 equal halves and take out the peel carefully.
    • Slit the peels into equal size pieces to ensure even cooking.
    • Take about 2 cups of water in a vessel and bring to boil. Add the orange peel and cook it for 4 - 5 minutes. Now, drain all the water from the peel and run the peels through cold water.
    • In order to remove the bitterness from the orange peel, I have repeated the above step two times.
    • Combine 1/2 cup of sugar and 1/2 cup of water in a vessel and heat it on the stovetop. Once the sugar is dissolved, add the orange peels and simmer the flame.
    • Cook the peels for about 45 minutes to 1 hour or till the all sugar syrup is absorbed.
    • Switch off the flame and leave the orange peels on a wire rack for an hour for cooling.
    • Thats it, homemade orange peels are ready to use!


    Tips:
    • You can prepare Candied lemon peel using the above method.  
    Newer Posts Older Posts Home

    SUBSCRIBE & FOLLOW

    POPULAR POSTS

    • Event Announcement: Love Lock with Juices & Milkshakes
    • Oats and Coconut Biscuits । ANZAC Biscuits
    • Rice Kesaribath / ಅನ್ನದ ಕೇಸರಿಬಾತ್ - For Blog Anniversary!
    • Ash Gourd Majjige Huli (Yogurt Based Curry) | ಬೂದುಗುಂಬಳಕಾಯಿ ಮಜ್ಜಿಗೆ ಹುಳಿ (ಪಳದ್ಯ)
    • Mango Smoothie / ಮಾವಿನಹಣ್ಣಿನ ಸ್ಮೂತಿ
    • Ridge Gourd Tambli / ಹೀರೆಕಾಯಿ ತಂಬ್ಳಿ
    • Girmit / ಗಿರ್ಮಿಟ್
    • Jaggery Juice (Jaggery Cool Drink) | ಬೆಲ್ಲದ ಪಾನಕ
    • Chakke Paladya | ಚಕ್ಕೆ ಪಳದ್ಯ
    • Avarekaalu Rotti (Talipittu) | ಅವರೆಕಾಳು ರೊಟ್ಟಿ (ತಾಲಿಪಿಟ್ಟು)

    Advertisement

    Categories

    • Baby Food 1
    • Bakery items 13
    • Basic Ingredients for cooking 4
    • Chaats Counter 7
    • Chutney 9
    • Cookies & Biscuits 2
    • Curries 30
    • Dosa varieties 11
    • Drinks 8
    • Egg-less Baking 9
    • Events and Announcements 4
    • Fasting Recipes 1
    • Festival Special recipes 11
    • Ganesh Chaturthi Recipes 5
    • Happala - Sandige - Baalaka 2
    • Havyaka Recipes 40
    • Idli Varieties 1
    • Jam 2
    • Kids recipes 8
    • No Fire Cooking 1
    • No onion - no garlic recipes 26
    • Pickles 6
    • Powders 6
    • Product Review 1
    • Rice varieties 7
    • Rotti and more 15
    • Salads 2
    • Side dishes 38
    • Snacks 28
    • Starters 4
    • Sweets / Desserts 41
    • Upma 2
    • Vegan Recipes 15
    Powered by Blogger

    Report Abuse

    My photo
    Recipe world
    Hi, I’m Vani — a passionate home cook, recipe creator, and food lover. I enjoy exploring new dishes from cookbooks, magazines, cooking shows, and fellow food bloggers. My love for cooking — and for capturing those delicious moments — inspired me to start this blog. Many of the recipes you’ll find here come from my mother, mother‑in‑law, and the traditional flavors I grew up with. I especially cherish authentic Havyaka and South Indian recipes, and this space helps me preserve and share them with anyone who wants to bring those homely, comforting tastes into their kitchen. Whether you’re trying a simple everyday dish or exploring something new, I hope my step‑by‑step recipes make your cooking experience enjoyable and easy.
    Visit profile

    Search This Blog

    Archive

    • October 20261
    • April 20261
    • June 20251
    • May 20251
    • February 20251
    • June 20241
    • January 20241
    • August 20231
    • February 20232
    • November 20221
    • October 20211
    • November 20201
    • September 20201
    • August 20201
    • June 20203
    • May 20204
    • April 20208
    • March 20202
    • February 20201
    • October 20181
    • September 20181
    • August 20181
    • July 20182
    • May 20181
    • March 20182
    • March 20171
    • January 20171
    • December 20161
    • October 20161
    • September 20161
    • August 20161
    • July 20162
    • June 20161
    • May 20161
    • February 20161
    • January 20165
    • December 20151
    • November 20151
    • October 20152
    • September 20152
    • August 20152
    • July 20152
    • June 20152
    • May 20152
    • April 20153
    • March 20153
    • February 20153
    • January 20152
    • December 20143
    • November 20142
    • October 20143
    • September 20141
    • August 20142
    • July 20141
    • June 20141
    • May 20141
    • March 20141
    • February 20142
    • January 20141
    • December 20131
    • November 20131
    • September 20131
    • August 20132
    • June 20131
    • May 20131
    • April 20131
    • March 20131
    • February 20131
    • November 20123
    • October 20121
    • September 20121
    • August 20124
    • July 20127
    • June 20125
    • May 20123
    • April 20122
    • March 20126
    • February 20125
    • January 201210
    • December 20118
    • November 201111
    • October 201114
    • September 201112
    • August 201117
    • July 201123
    • June 20113
    Show more Show less

    Popular Posts

    • Oats and Coconut Biscuits । ANZAC Biscuits
    • Event Announcement: Love Lock with Juices & Milkshakes
    • Rice Kesaribath / ಅನ್ನದ ಕೇಸರಿಬಾತ್ - For Blog Anniversary!

    Labels

    Copyright © Foodicious Theme. Designed by OddThemes