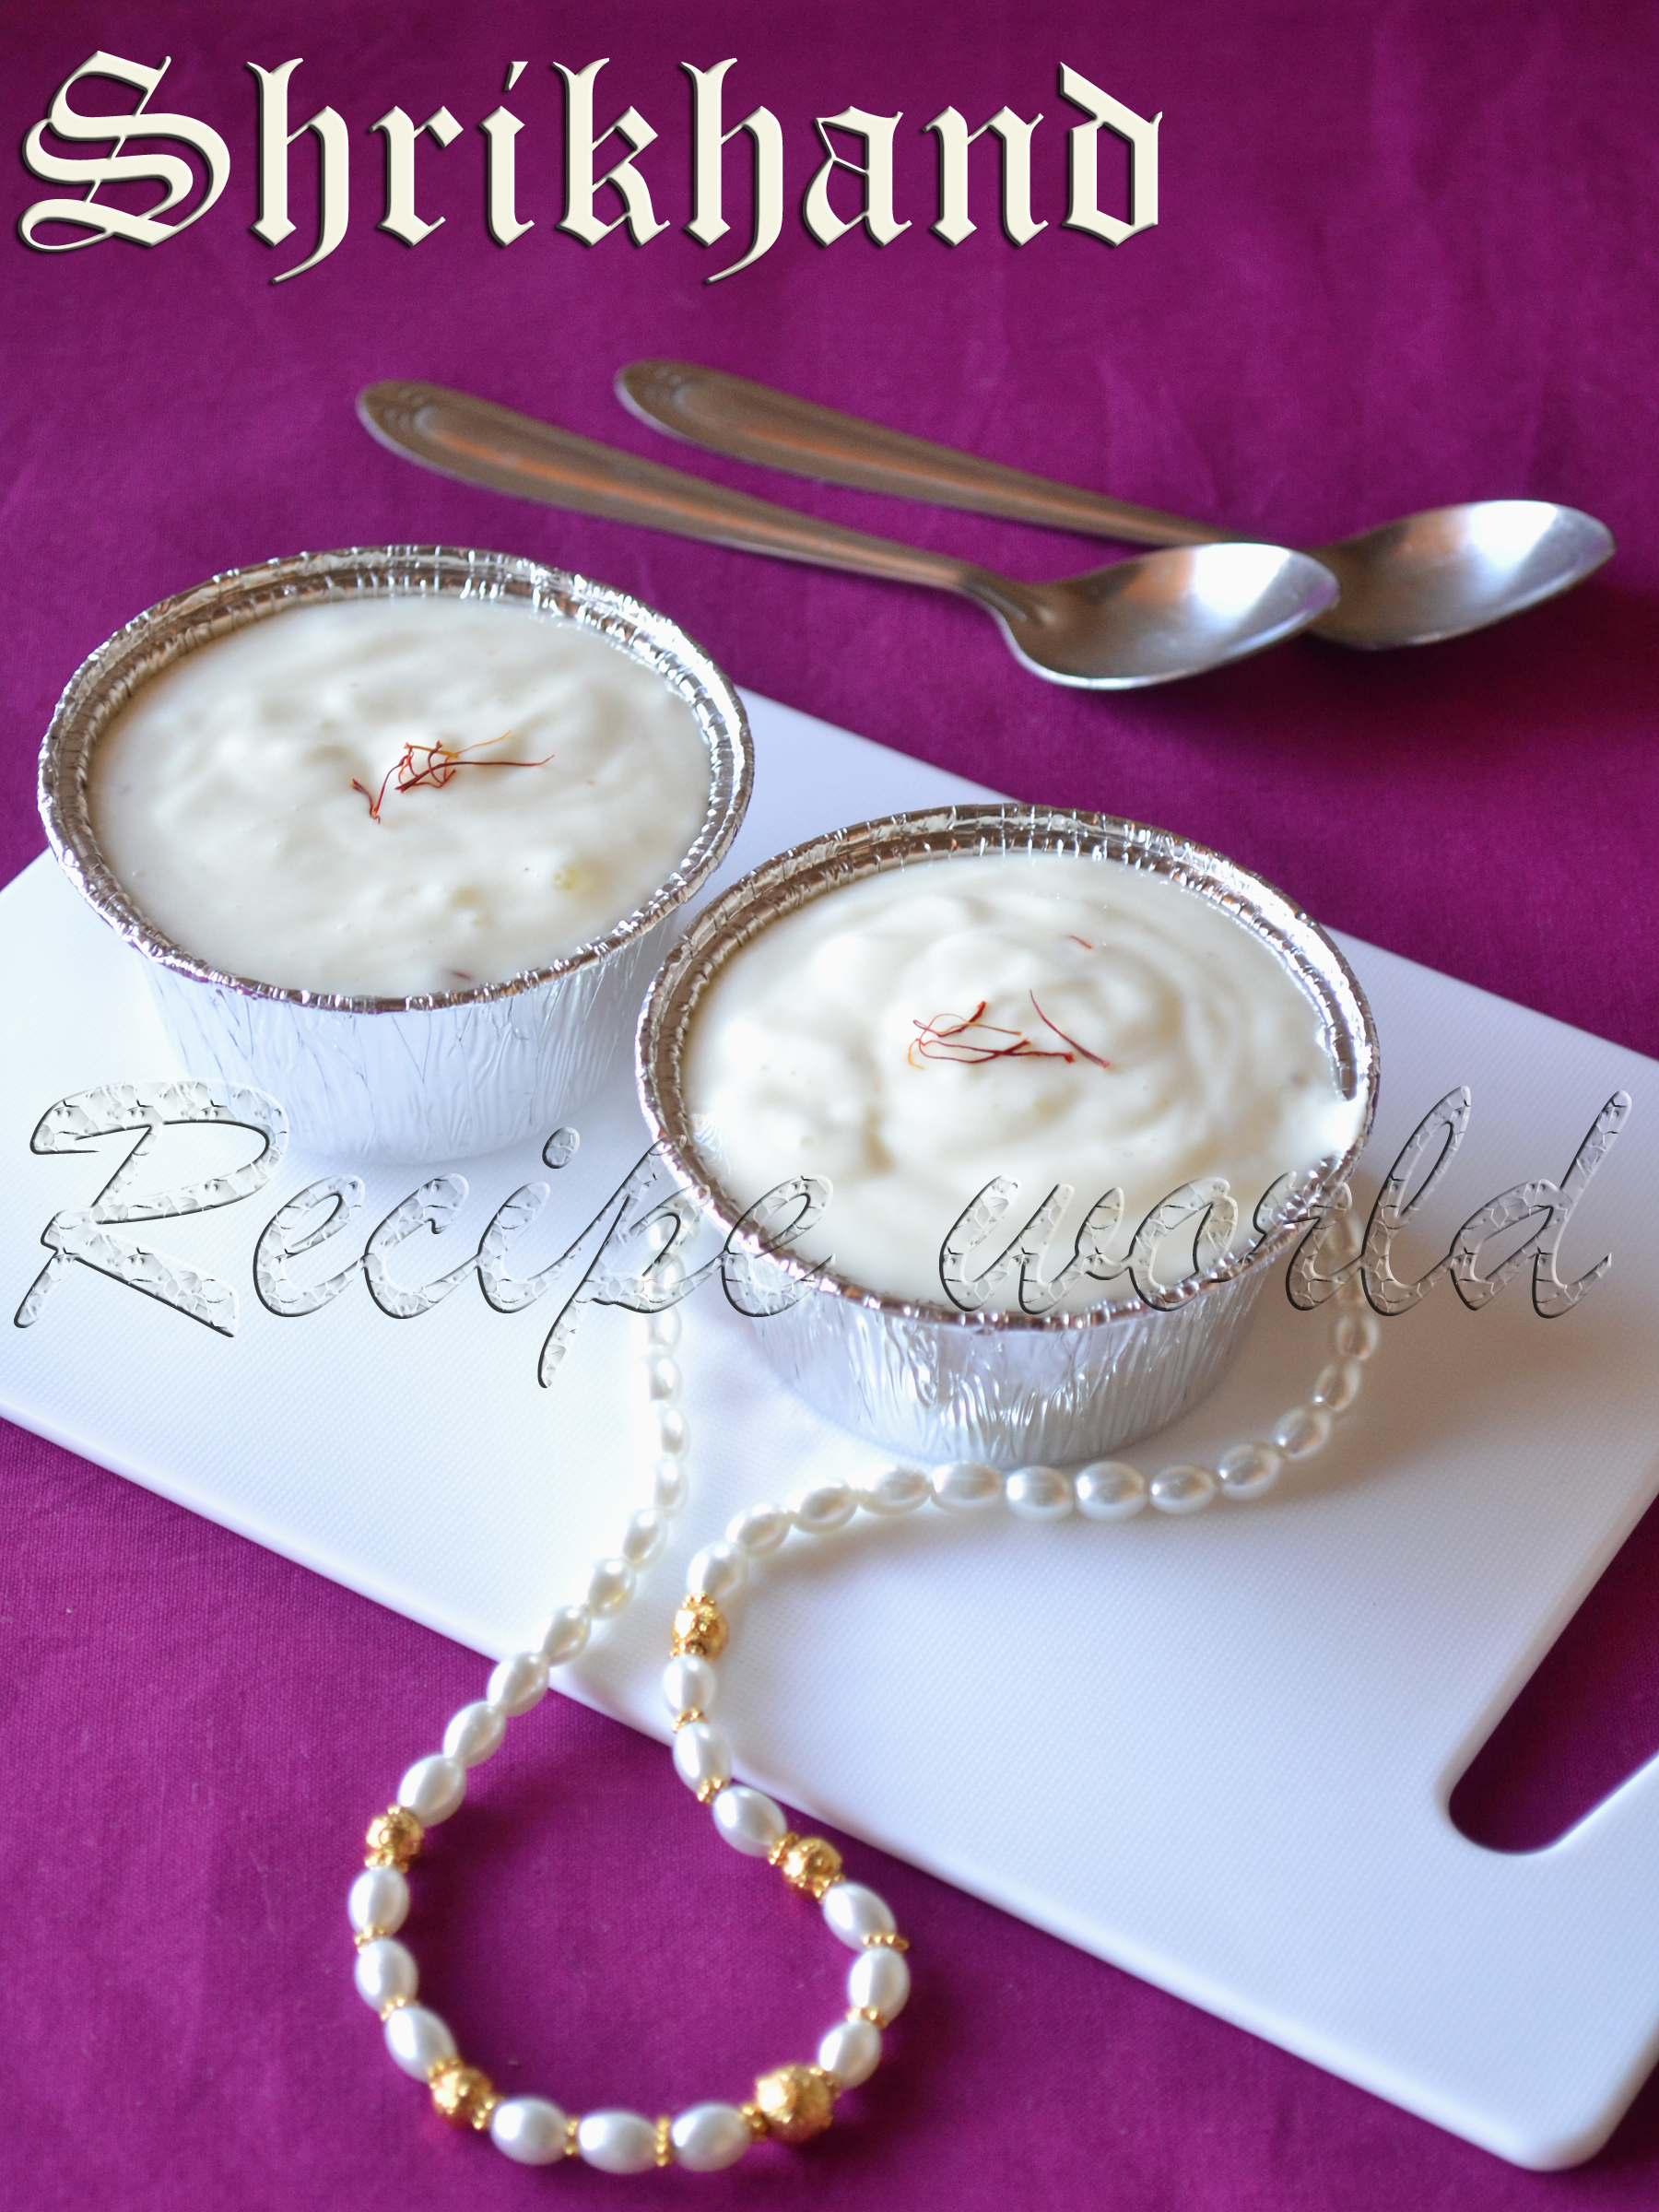
Shrikhand is one of the famous sweet dish from Indian cuisine. This delicious sweet is prepared using minimal and easily available ingredients. Adding of saffron, dry fruits and nuts makes it more rich in taste. Amrakhand is also a variation of Shrikhand, which contains the goodness of mangoes. 
Shrikhand can be served as a dessert or side dish. It tastes good with Poori, Dosa and Tellevu. Try this easy dessert at home and let me know your feedback!


Preparation time: 15 - 20 minutes
Time to hung the curd: 7 - 8 hours
Serves: 5 - 6 
Difficulty level: Easy

Ingredients:
Hung curd - 1 1/2 cup
Powdered sugar - 3/4 cup or to taste
Cardamom / Elachi powder - 1/2 tsp
Saffron strands - 10 to 12

Method:
Take the hung curd in a large vessel and beat it for few minutes without lumps.
To this, add the powdered sugar, saffron strands and cardamom powder. Beat it till everything is combined well. 
Serve is as it is or refrigerated. Add few pieces of pista if you would like to.
It can be served as dessert or as side dish with Poori, Dosa and Tellevu.


Tips:
How to prepare hung curd: Pour the curd on a muslin cloth, tie it and hang it to a hook or a tap. Put a vessel below the hung curd to collect the excess water. Keep it overnight or 7 - 8 hours and then, take out the curd.
If not using saffron strands, add 3/4 tsp of cardamom powder instead of 1/2 tsp. 


Blueberries are one of among the Baker's favorite fruits. As the name indicates, these pretty fruits are blue in color and have a sweet and a bit sour taste. I had eaten fresh blueberries quite a few times, but never used them in baking. Last month, we bought the frozen ones to prepare smoothie and I thought of preparing Blueberry Muffins for the kiddo with the leftover fruits. 
Whenever I plan to bake something, I need to think of the egg substitute first, since we wont eat eggs. This time, I decided to use milk to prepare my muffins. Experiment went on well and the muffins tasted good. But I felt like some more improvement is needed. Next time, I replaced milk with curd in the same recipe and yippee..muffins came out perfect!
I have tried this recipe several times and yes! now its the time to share the recipe with you all!! Here is the recipe of Egg less Blueberry Muffins..


Preparation time: 15 minutes
Baking time: 23 - 25 minutes
Yield: 6 muffins 
Difficulty level: Medium

Ingredients:
  • All purpose flour / Maida - 2 1/2 cup (1 cup = 70 gm)
  • Sugar - 1 cup
  • Curd - 1 cup
  • Baking powder - 1 1/4 tsp
  • Baking soda - 3/4 tsp
  • Cooking oil - 1/2 cup
  • Vanilla essence - 3/4 tsp
  • Salt - pinch
  • Blueberries - 1/2 cup

Method:
  • Preheat the oven to 200°C. 
  • Sieve all purpose flour 2 - 3 times and keep aside.
  • Combine curd and sugar in a mixing bowl and dissolve the sugar completely.
  • To this, add baking powder, baking soda and mix it slowly. Leave it for 2 - 3 minutes to rise.
  • Add oil, pinch of salt and vanilla essence to the curd mixture and mix it lightly.
  • Fold in the all purpose flour in small batches and mix it slowly without lumps. This batter will be thicker than the regular cake batter. If you find it too hard to mix, you can add 1 - 2 spoon of milk. For me, it was fine and I didn't add any milk.
  • Finally add the blueberries to the muffin batter and mix it well.
  • Fill the batter in lined muffin cups up to 3/4th level and leave some space for them to rise. This batter would be sufficient to make 6 medium sized muffins.
  • Keep the muffin tray inside the oven and bake for 23 - 25 minutes or till done. Check the muffins after baking for 20 minutes. If the toothpick or knife inserted comes out clean, its the indication that the muffins are done.
  • Take out the muffins and keep them on a cooling rack. 
  • Enjoy the home made Egg less Blueberry Muffins with your family!


Tips:
  • I have used frozen blueberries here; fresh blueberries also goes well for this recipe.
  • Don't add more blueberries than mentioned above. Once I had added 3/4th cup of blueberries instead of 1/2 cup. It was too moist and the texture was not to good.


Ash gourd, also known as winter melon or white pumpkin, is used for preparing various dishes in Indian cuisine. Apart from regular dishes like Sambar, Majjige Huli, Palya and so on, delicious sweets like Petha and Halwa can also be prepared with this vegetable. Ash gourd is a good source of various nutrients like iron and calcium. Due to its nutritional facts, I love to use it in my cooking frequently.
Kashi Halwa is a well known sweet dish prepared using Ash Gourd. Its a traditional sweet in Indian cuisine, I had tried it this time with slight variation. It was delicious and my family liked this sweet. I am sharing the recipe of Kashi Hawa / Ash Gourd Halwa here..try it and enjoy with your family!


Time required: 30 - 35 minutes
Servings: 6
Difficulty level: Medium

Ingredients:
  • Grated ash gourd (after squeezing the water content) - 1 cup (1 cup = 300 gm approx)
  • Khova - 100 gm (yield from 1/2 ltr milk)
  • Sugar - 1 1/2 cup or to taste
  • Ghee / clarified butter - 1/4 cup
  • Chiroti rava - 1/4 cup
  • Salt - pinch
  • Elachi / Cardamom powder - 1 tsp
  • Saffron strands (optional) - 10 to 12  
  • Broken cashews - 3 tbsp


Method:
  • Pressure cook the ash gourd for 2 whistles on medium flame.
  • Melt the ghee in a heavy bottom pan. Fold in the chiroti rava and roast it till aromatic.
  • To this, add the cooked ash gourd and saute it for 2 - 3 minutes. 
  • Add sugar, saffron strands, pinch of salt to the mixture. Cook it on low flame till it becomes thick. 
  • Add Khova and cook it for 5 more minutes and switch off the flame and add the cardamom powder. 
  • Roast the cashew pieces in 1 tsp ghee till golden brown and mix it with Halwa.
  • Thats all, delicious Halwa is ready to serve!
ಕನ್ನಡ ಆವೃತ್ತಿ

At many rural places like my native, various fruits and vegetables are grown in their own estate. Rarely they buy veggies from the markets. Home grown vegetables are always healthy, tasty and are free from harmful chemicals and pesticides. 
Here in Australia, we will grow few veggies like fenugreek leaves, tomato, chillies, etc. in our balcony garden. I love to use various leafy vegetables in my cooking. Few days back, we had got a big bunch of drumstick leaves from the grocery store. I remembered my Mom's way of preparing the Stir Fry and tried the same. It was so tasty and I prepared it one more time! Some recipes like this are always a hit at my home.
Try out this recipe of Drumstick Leaves Stir Fry and enjoy with hot rice!


Preparation time: 25 - 30 minutes
Servings: 6 - 7
Difficulty level: Medium

Ingredients:
  • Drumstick leaves - 1 big bunch
  • Amchur powder - 3/4 tsp or to taste
  • Sugar - 1 1/2 tsp or to taste
  • Salt - for taste

 - For Masala Powder:
  • Cinnamon stick - 1 inch
  • Cloves - 3 or 4
  • Dry red chillies - 7 (adjust according to taste)
  • Shredded coconut or fresh grated coconut - 3/4 cup
  • Chana dal (split) - 4 tbsp
  • Urad dal - 2 tsp
  • Fenugreek seeds - 3/4 tsp
  • Coriander seeds - 1 1/2 tsp
  • Cumin seeds - 3/4 tsp
  • Mustard seeds - 1/2 tsp
  • Asafoetida / hing - pinch
  • Turmeric powder - 1/4 tsp
  • Oil - 1 1/2 tsp

- For seasoning:
  • Oil - 3 tbsp
  • Urid dal - 1 tsp
  • Mustard seeds - 1 tsp
  • Turmeric powder - a pinch


Method:
  • Separate the drumstick leaves from the stems and wash them thoroughly.
  • Next thing is to prepare the Masala Powder. Roast all the ingredients under the heading Masala Powder except shredded coconut in oil. Powder them coarsely. Finally add the shredded coconut and run the mixie for few seconds to make it a course powder.
  • Heat 3 tbsp of oil in a heavy bottom pan. Do the seasoning with urid dal, mustard seeds and pinch of turmeric powder. 
  • Addthe drumstick leaves to the seasoning and fry them on low flame for 8 - 10 minutes or till it gets cooked and changes the color.
  • Add the Masala Powder, salt, sugar and amchur powder and mix it well. Cook it on low flame till it gets nicely hot and switch off the flame.
  • Serve this stir fry as a side dish with Rice or Roti.


Tips:
  • Add chopped onion for this stir fry if you would like to. Add it to the stir fry along with Masala Powder and cook it till the raw smell is gone.
  • You can prepare Capsicum Stir Fry in the same way. Just replace the drumstick leaves with capsicum.
  • I have used shredded coconut for this stir fry. Fresh grated coconut also goes well for this recipe.

Kesari, Shira or Sheera is a popular sweet dish in South India. It is one of the most common sweets prepared in festivals, marriages and other occasions. Also, its one of the easy n rich treats for the unexpected guests! Main ingredient for this dish is Semolina / Sooji Rava. I had posted the Kesari / Shira recipe long back. Pineapple Kesari is a variation of that recipe, with added pineapple and of course, more flavorful!
We had bought pineapple few days back for preparing Pineapple Jam. The fruits were large enough and juicy. There was a quarter piece left after preparing the jam and I used the same for making this Pineapple Kesari. Try this yummy Pineapple Kesari / Sheera and enjoy with your family :)


Time required: 35 - 40 minutes
Servings: 8
Difficulty level: Medium

Ingredients:
Medium semolina / Sooji rava - 1 cup
Sugar - 2 cups
Salt - big pinch
Ghee / clarified butter - 2/3 cup
Hot water - 2 1/2 cup
Grated pineapple (including the juice) - 1/2 cup
Broken cashews - 3 to 4 tbsp
Raisins - few (as needed)
Cardamom / Elachi powder - 1 tsp


Method:
Heat the ghee / clarified butter in a heavy bottom pan. Add the semolina and roast it on low flame for 8 - 10 minutes or till you hear a nice aroma of roasted semolina.
Meanwhile, bring the water to boil and let it be ready by the time semolina is roasted.
Add 2 1/2 cup water and a big pinch of salt to the roasted semolina and mix it nicely. Close the lid and cook it for 7 - 8 minutes. Stir it occasionally.
Once all the water is evaporated and the rava is cooked, add 2 cups of sugar. Mix it, close the lid partially and cook for 8 - 10 minutes on low flame.
Roast the broken cashews in 1 tsp of ghee. Add it to the Kesari mixture.
Finally, add the grated pineapple and mix it well. Cook it for 5 more minutes and turn off the flame.
Serve it hot along with some spicy snacks. Kesari and Kharabath / Uppittu is a well known combo!


Tips:
I usually great the pineapple and use it for this Kesari. Alternatively, you can chop the pineapple into small chunks, puree the same and use it for this sweet.
NewerStories OlderStories Home