Christmas is already round the corner. Joy of the festival is visible everywhere in the form of lights, decorations and of course, shopping! We just roamed everywhere and did enough shopping. Actually speaking, we won't celebrate Christmas in our home. But we are very much fond of Christmas Fruit Cake / Plum Cake. So, all the preparations are done to prepare the Fruit Cake!
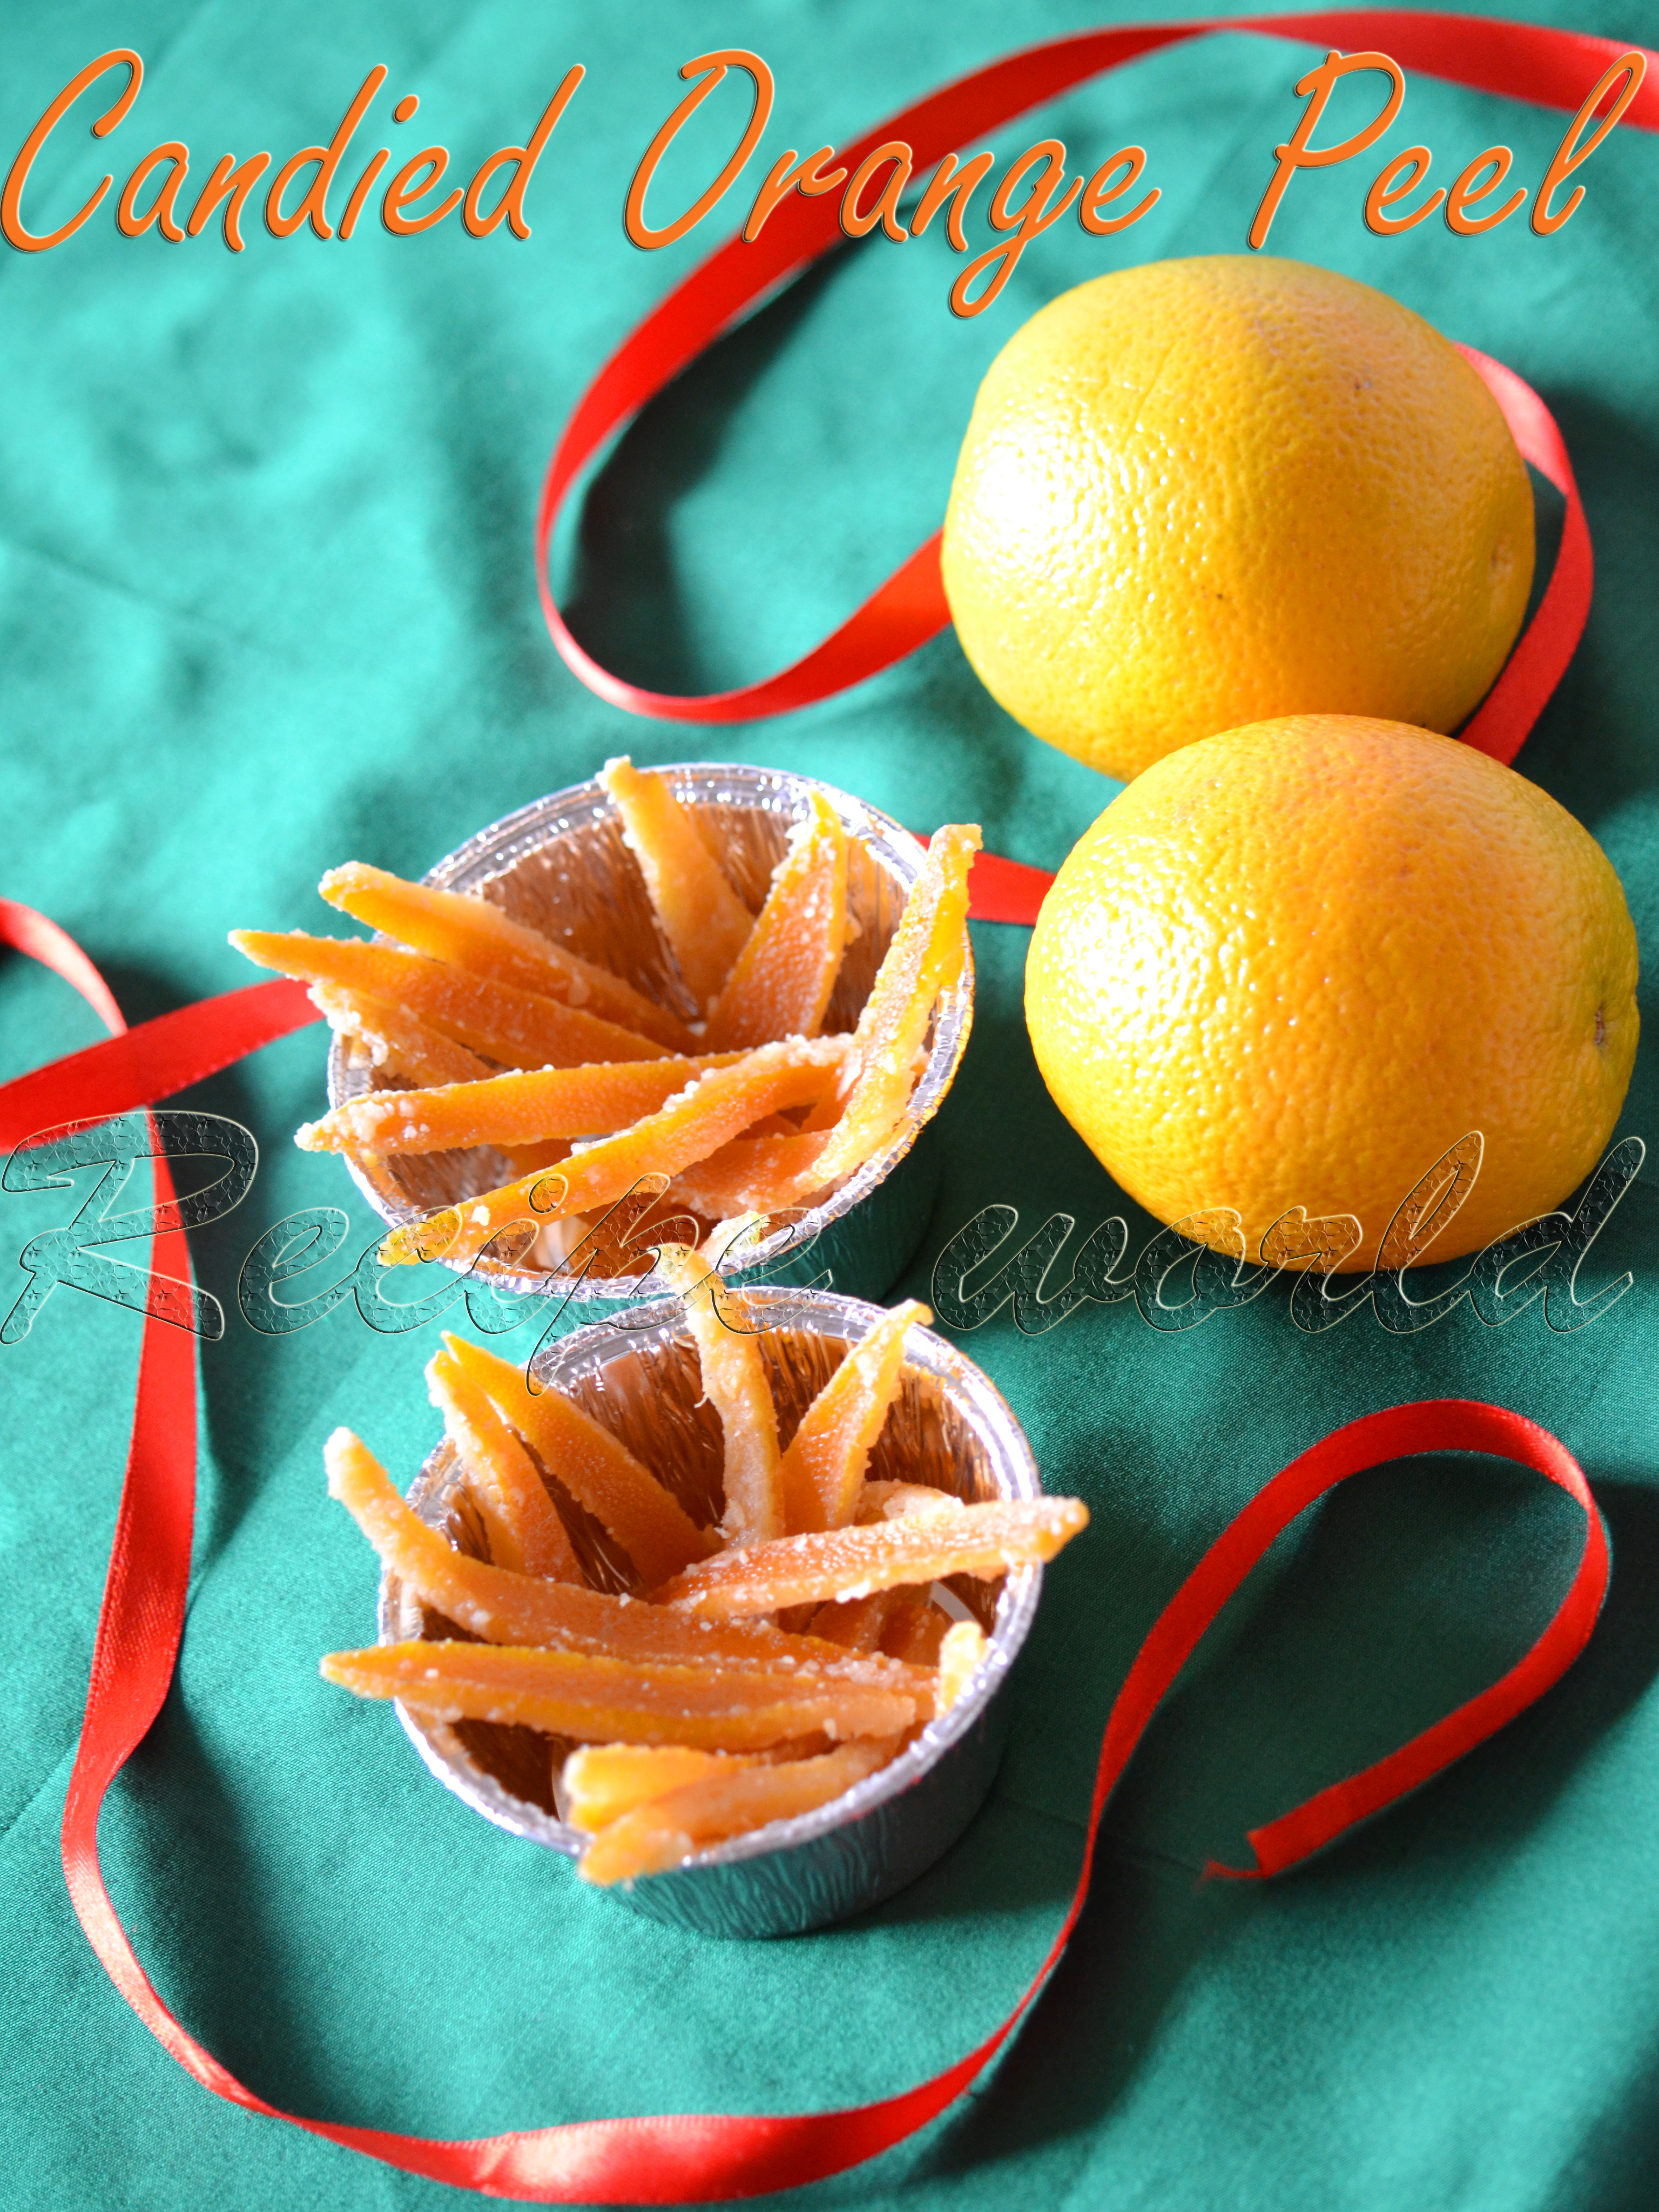
Candied Peel is one of the key ingredients for Christmas Fruit Cake. Peel of citrus fruits such as orange, lemon are taken out in order to make the candied peel. Fruit peel will be chopped, boiled, drained and then cooked in sugar syrup to make it delicious. Candied peel and candied fruits are easily available in the market especially during the Christmas time, but I always prefer making them at home. 
Here is the easy recipe of making Candied orange peel. Thanks to Suma of Cakes And More for this wonderful recipe! 


Preparation time: 1 1/4 hour
Cooling time: 1 hour
Yield: 30 - 32 pieces of peel
Difficulty level: Medium

Ingredients:
  • 2 medium sized navel oranges
  • Sugar - 1/2 cup
  • Water - 1/2 cup + more water to cook the peel


Method:
  • Cut the oranges into 4 equal halves and take out the peel carefully.
  • Slit the peels into equal size pieces to ensure even cooking.
  • Take about 2 cups of water in a vessel and bring to boil. Add the orange peel and cook it for 4 - 5 minutes. Now, drain all the water from the peel and run the peels through cold water.
  • In order to remove the bitterness from the orange peel, I have repeated the above step two times.
  • Combine 1/2 cup of sugar and 1/2 cup of water in a vessel and heat it on the stovetop. Once the sugar is dissolved, add the orange peels and simmer the flame.
  • Cook the peels for about 45 minutes to 1 hour or till the all sugar syrup is absorbed.
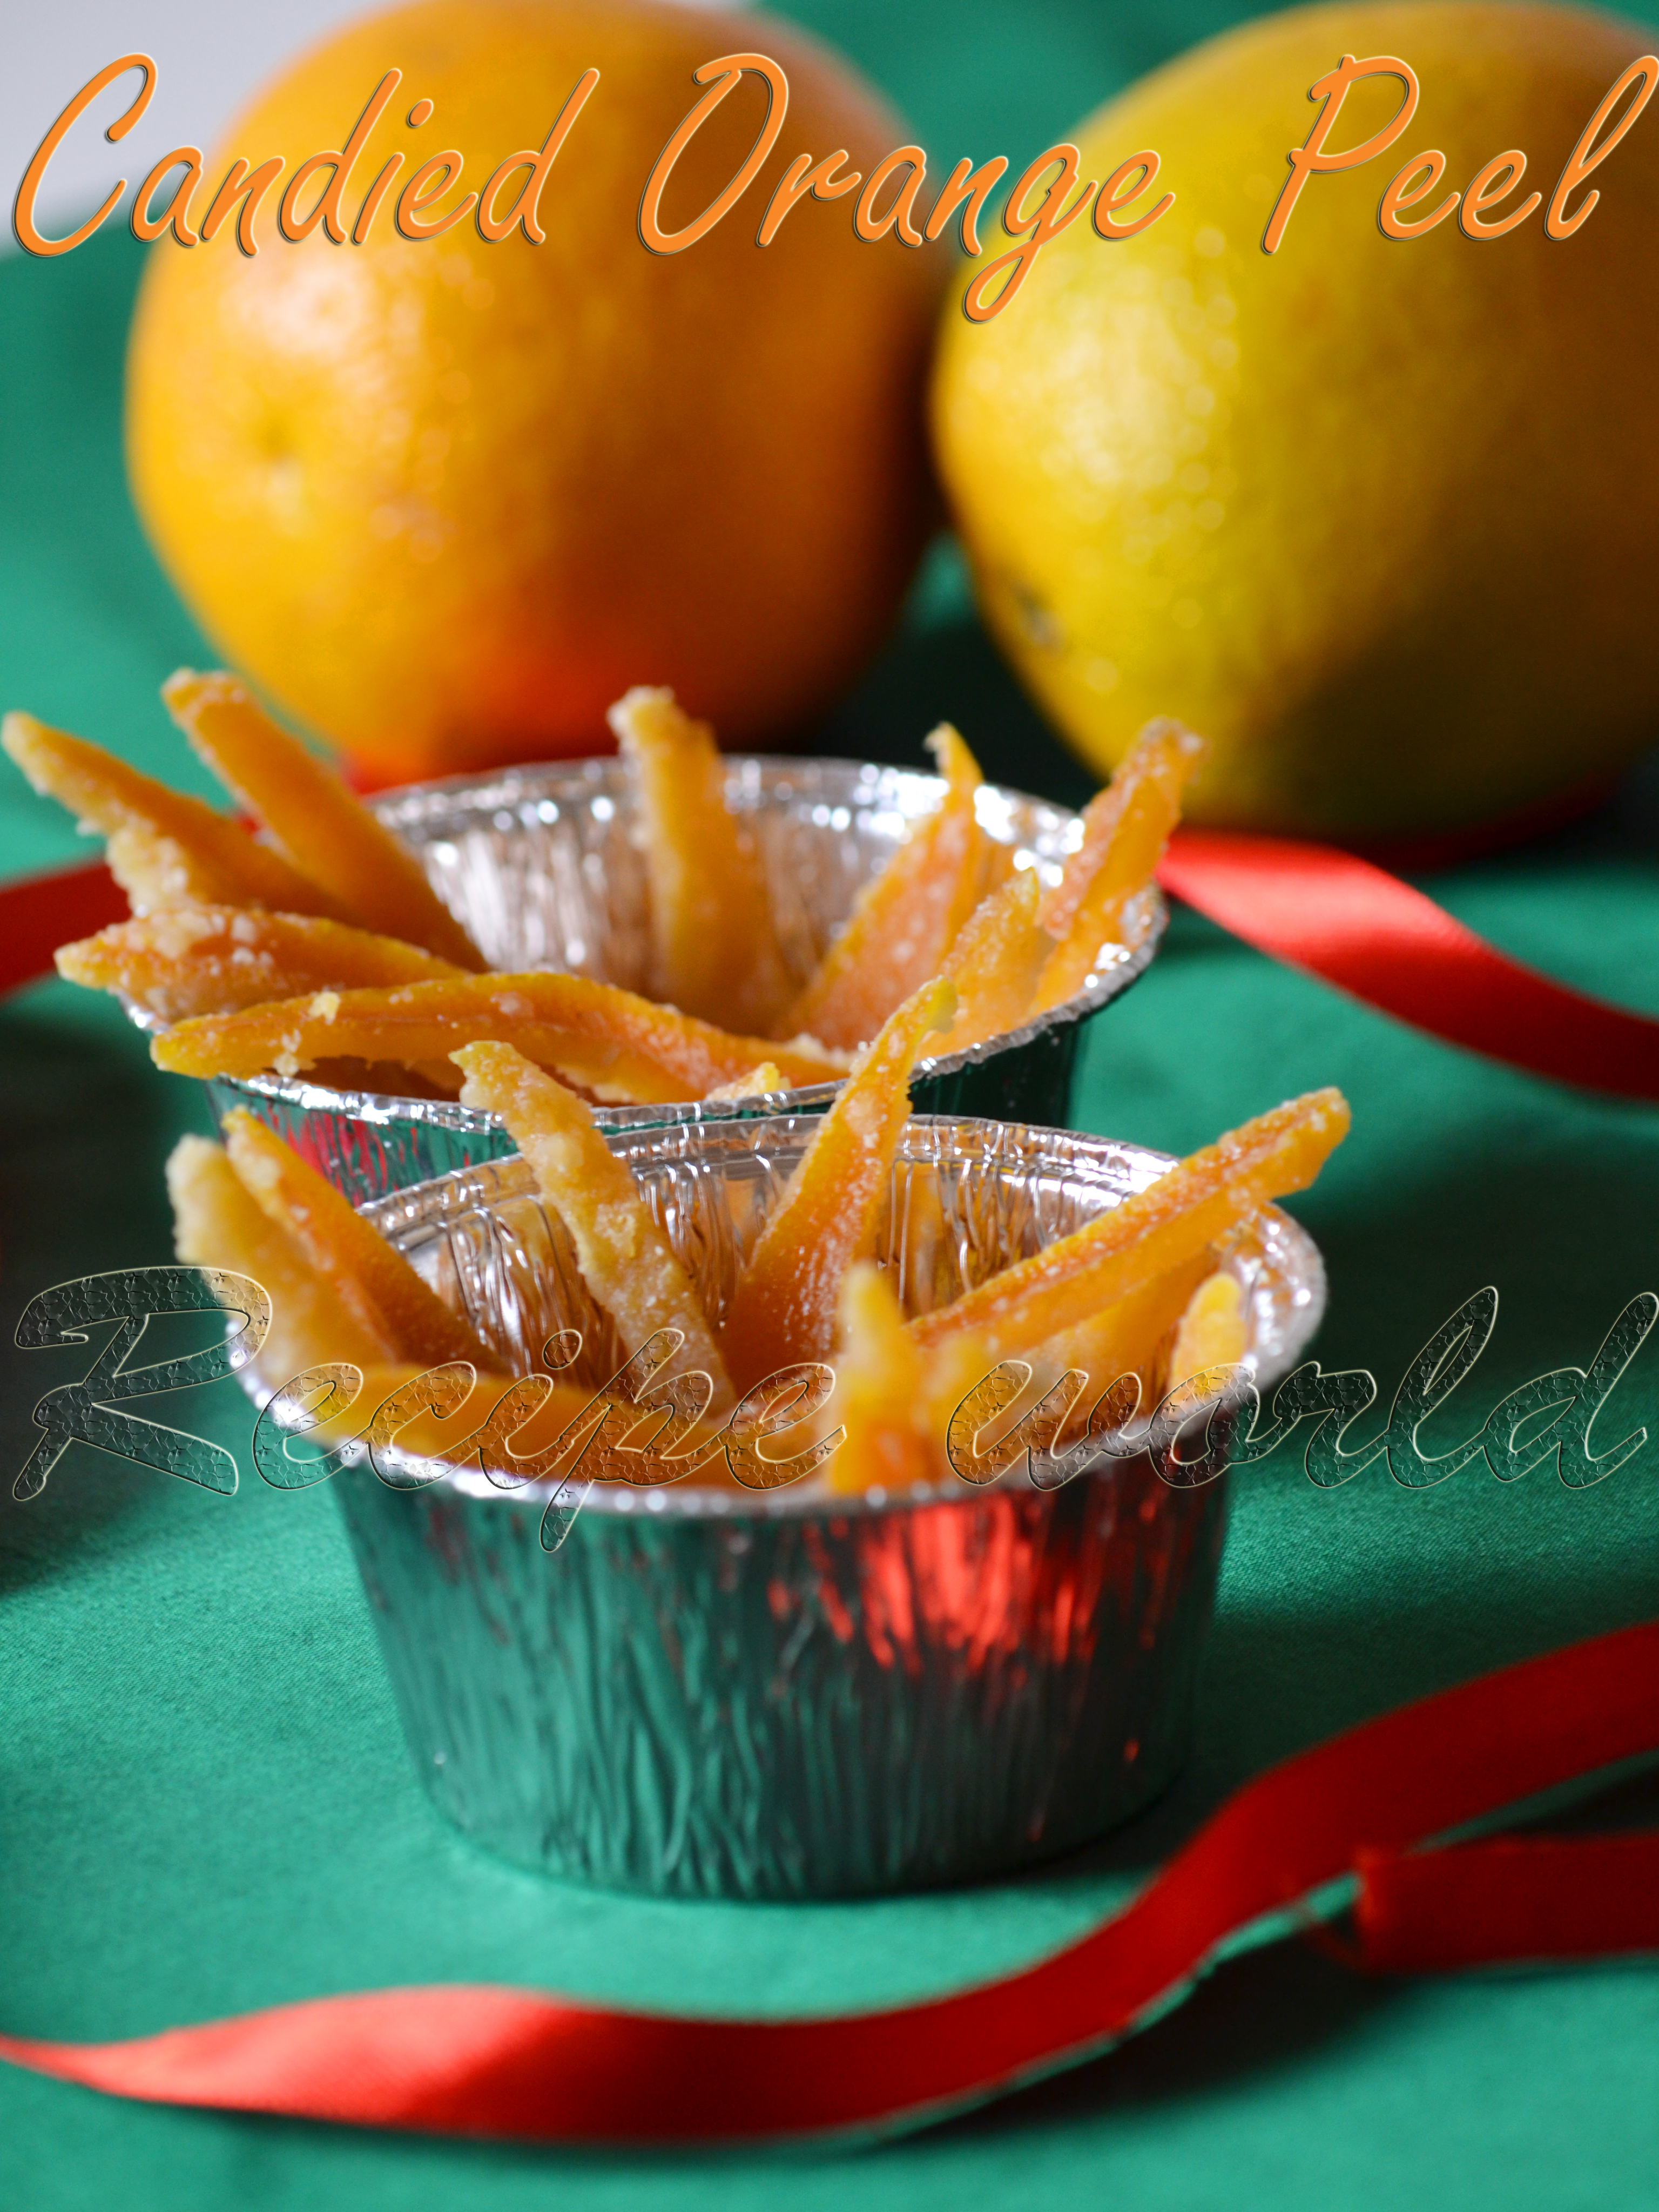
  • Switch off the flame and leave the orange peels on a wire rack for an hour for cooling.
  • Thats it, homemade orange peels are ready to use!


Tips:
  • You can prepare Candied lemon peel using the above method.  
Dry Fruits Ladoo is a very common sweet which is found in most of the sweet stalls in Karnataka. These ladoos are made of all healthy ingredients like almonds, cashews, poppy seeds, raisins, dates, etc. and taste divine! These yummy ladoos are good for people of all ages.
At home, we all love munching dry fruits and nuts. But what happens normally is, one day we tend to eat more of them and the next day, we forget to eat them. If Dry Fruit Ladoos are there at home, we won't forget to eat them daily! Thats the reason I keep making these ladoos at home regularly. 
Here is my version of Dry Fruit Ladoo..


Preparation time: 40 minutes
Yield: 30 ladoos (depending on the size)
Difficulty level: Medium

Ingredients:
  • Dates (De-seeded and roughly chopped) - 2 cups (1 cup=
  • Chopped almonds - 1/2 cup
  • Broken cashews - 1/2 cup
  • Raisins - 1/2 cup
  • Shredded coconut - 1/2 cup
  • Poppy seeds - 1/4 cup
  • Ghee / Clarified butter - 4 tbsp


Method:
  • Heat a heavy bottom pan. Toast the chopped almonds, broken cashews and poppy seeds separately. 
  • Then, Melt the ghee in the same pan. Add the chopped dates and raisins. Keep mixing the mixture for 4 - 5 minutes or till it becomes like a dough.
  • Add the rest of the ingredients to the dates mixture and mix them well.
  • Make equal sized balls from the mixture and store them in an airtight container. 

'Baklava' is a Turkish delicacy, which was introduced to me few months back. I had heard of this sweet dish before, but never got a chance to taste it. One of my friends had brought Baklava while visiting us sometime back. We liked its unique taste and crispy texture.
After tasting this heavenly sweet, I just googled for Baklava recipe. The recipe called for walnut as one of the main ingredient. I didn't had walnuts in my pantry and hence, I have replaced it with almonds. Baklava tasted perfect just the same as the store bought ones.
I have adopted this recipe from allrecipes.com with slight modifications. Try this recipe and let me know your feedback..


Preparation time: 35 minutes
Baking time: 50 - 55 minutes
Yield: 40 pieces (depending on the size)
Difficulty level: Difficult

Ingredients:

  • Filo pastry sheets - 375 gm
  • Butter - 250 gm
  • Sugar - 1 cup (1 cup = 200 gm)
  • Almonds - 2 cups (see tips)
  • Sugar powder - 4 tbsp
  • Water - 1 cup
  • Peel of half lime
  • Cloves - 2
  • Honey - 6 tbsp
  • Cinnamon powder - 1 tsp


Method:

  • Thaw the filo pastry sheets according to the instructions on the pack.
  • Chop the almonds finely and toast them on low flame till aromatic or till it turns golden brown. Add sugar powder, cinnamon powder once its cool and keep aside.
  • Grease the baking tray with butter. I have used a 33*23 cm baking pan here.
  • Preheat the oven to 180 degrees.
  • Take out two sheets of filo pastry carefully from the pack and arrange them on the greased tray. Brush the top with melted butter and place two more sheets upon it and brush it with butter. Continue this process till half of the sheets are done.
  • Once you finished arranging half of the sheets, fold in the almond mixture and spread it evenly. 
  • Start placing filo pastry sheets 2 at a time, brush with butter and continue this process till you are done with all the sheets. 
  • Brush the top layer with butter and cut the sheets into diamond or any desired shapes of equal size.
  • Place the baking tray inside the pre-heated oven and bake them for 50 - 55 minutes or till they turn golden brown.
  • Prepare sugar syrup while Baklava is baking. Combine sugar and water in a vessel and bring to boil. Once the sugar has diluted, add cloves, honey and lemon peel. Allow it to boil on low flame for 15 - 20 minutes and turn off the flame. Take out the cloves and lemon peel and discard it. 
  • Once the Baklava is cooked, take it out of oven and pour the sugar syrup evenly. Allow it to set for atleast two hours before serving.


Tips:

  • The original recipe calls for walnuts. I have used almonds here since i didn't had walnuts. 


ಕನ್ನಡ ಆವೃತ್ತಿ 
Being born and brought up in a village environment, we rarely used to eat the bakery food. All we knew was only Bread those days! We didn't had an oven, so there was no chance to eat any baked food at home. When I started going to college, I came to know about more varieties of bakery food and got addicted to them.
Veg Puffs are one of my favourite bakery food. Making the pastry sheets at home is bit tedious task. These days, puff pastry sheets are available in super markets, so making the Puffs at home is not that difficult. Here is my version of Veg Puffs!


Preparation time: 30 minutes
Baking time: 25 minutes
Difficulty level: Medium
Yield: 6 Veg Puffs

Ingredients:

  • Eggplant - 1 (small sized)
  • Potato - 1 (medium sized)
  • Capsicum - 1 halve
  • Beans - 4 to 5
  • Green peas - 1/2 cup (*see Tips)
  • Onion - 1 large
  • Salt - to taste
  • Amchur powder - 1/2 tsp or to taste
  • Red chilli powder - 1/2 tsp or according to taste
  • Garam masala powder - 1/4 tsp
  • Oil - 3 tbsp (plus more for brushing)
  • Puff pastry sheet - 1 1/2 (can make 4 puffs from 1 sheet)

Method:

  • Cut the potato into two halves, cover with enough water and pressure cook upto 2 whistles. Once they are cool, peel off the skin and chop them into medium sized cubes.
  • Chop eggplant, capsicum, beans and onion into small chunks and keep separately.
  • Heat oil in a heavy bottom pan. Add chopped beans and eggplant. Cook them covered on low flame. Add up to 2 tbsp of water if needed.
  • Once these veggies are almost cooked, add green peas and chopped capsicum.
  • Add chopped onion after a minute and mix well. Cook it on medium flame for 4 - 5 minutes.
  • Add the potato pieces followed by salt, amchur powder, red chilli powder and garam masala powder. Mix everything well and turn off the flame.
  • Pre-heat the oven to 200°C.
  • Thaw the puff pastry sheets according to the instructions on the package.
  • Take one whole pastry sheet and cut it into 4 equal squares. Take one piece and put it on a flat surface. Pour 2 tbsp or little more of stuffing mixture on the middle of the pastry piece. Apply little water to the sides of pastry piece and fold it keeping the stuffing mixture inside. Press the edges and make sure that stuffing won't comes out. Do the same with all the pastry pieces.
  • Line the baking tray with aluminium foil or baking sheet and place the veg puffs on it. Keep some space for them to expand.
  • Brush the puffs with oil or butter and cook them for around 25 minutes or till they turn golden brown.
  • Serve them hot with Tomato ketchup and a cup of hot tea!


Tips:

  • If using dried green peas, you nee to soak it for 4 - 5 hours and pressure cook along with potatoes. I have used fresh ones here hence, no need to cook before using.
  • For the stuffing, use any vegetable which has less water content. Veggies like carrot, beetroot, sweet corn, cabbage also go well for the stuffing. Or if if there is any leftover stir fry, you can use it too!

ಕನ್ನಡ ಆವೃತ್ತಿ 
Dosa is one of the most common breakfast item in South India. South Indian people are good at making varieties of dosas. In rural places like my native, they prepare dosas using different vegetables which are available locally. Colocasia Stems Dosa or Kesuvina Dantina Dose is one such dosas which will be prepared mainly after the rainy season has started when plenty of colocasia plants are grown in the backyard. Colocasia Dosa is the main dish for Gangashtami festival, which will be celebrated at my native place.
Here in Australia, sometimes we will get colocasia plants in the farmers markets. When we buy them, I would love to prepare my native style dishes using them. One of them is Colocasia Stems Dosa or Kesuvina Dantina Dose. Do try this sweet dosa and enjoy eating them with butter!


Time required: 15 minutes
Soaking/fermentation time: 4 - 5 hours
Difficulty level: Medium
Yield: 10 - 11 dosas

Ingredients:
  • Rice - 3 cups (1 cup = 110 gm)
  • Colocasia Stems chopped into medium size pieces - 7 to 8 cups
  • Jaggery - 1/2 cup or for sweetness
  • Salt to taste

Method:
  • Wash the rice and soak it in water for 2 - 3 hours.
  • Transfer the chopped Colocasia Stems into a vessel. Add salt and jaggery for taste and cook it covered on low flame till soft. Don't add any water, the water content in the Colocasia Stems will be sufficient to cook them.
  • Once the cooked mixture cools down, mix it with drained rice and grind them into fine paste. No need to add any water while making the batter coz the cooked mixture will be watery which helps to make a smooth batter.
  • Allow the batter to set for 1 - 2 hours before making dosas.
  • Heat the dosa pan. Pour a ladle full of batter and gently spread it into a semi-thick circle. Pour few drops of oil and cook it on both the sides.
  • Enjoy them hot with some butter on the top!  


Besan Ladoo is one among those famous sweets which are prepared during special occasions in India. In my home, we three are huge fans of these delicious sweet balls. Being made of besan flour along with generous amount of ghee, sugar, dry fruit and nuts, its good for health too.
Below is the recipe of Besan Ladoo, try them and enjoy with your loved ones!


Preparation time: 40 minutes
Yield: 8 Ladoos
Difficulty level: Medium

Ingredients:

  • Besan flour / Gram flour - 2 cups (1 cup= 125 gm)
  • Sugar - 1 cup
  • Ghee / clarified butter - 3/4 cup minus 1 tbsp
  • Cardamom / Elachi powder - 1 tsp (See Tips)
  • Raisins - 15
  • Broken cashews - 2 tbsp


Method:

  • Combine besan flour and ghee in a heavy bottom pan and keep stirring it on low flame till nice aroma comes.
  • When the flour is toasted half - way, add raisins and broken cashews and continue toasting. Otherwise, you can toast them separately with few drops of ghee and mix with the flour after its toasted.
  • Take the sugar and make a fine powder out of it.
  • Allow the toasted flour to cool down for a while till it becomes lukewarm. Add powdered sugar and cardamom powder. Mix it well. 
  • Make equal sized balls from the mixture. Store them in an air tight container.


Tips:
  • If you add more ghee to this recipe, mixture will become very soft and the ladoos won't hold the shape. In such cases, you can refrigerate the ladoos for around 15 - 20 minutes immediately after preparing them.
  • If cardamom powder is not there, mix the cardamom seeds along with sugar while powdering it.


Its the summer season in India now. We were on a vacation to India last month. Since the mango season has started, we enjoyed eating varieties of mangoes there. In my home, everyday we were having one or the other dish prepared from mango for the lunch. 
Ripened mangoes are also good for preparing few types of curries like Neer Gojju, Sasive, etc. We get a wild mango variety called 'Sasive Maavu' at our place which has a sweet and sour taste. It is good for preparing curries like Saasive and Neer Gojju. I am sharing the recipe of Mango Neergojju with you all today. Try this simple and tasty curry before the mango season ends!


Preparation time: 20 minutes
Serves - 4
Difficulty level: Medium

Ingredients:

  • Saasive mango / wild mangoes - 5 to 6
  • Liquid jaggery (Joni bella) - 7 tbsp or to taste
  • Salt - 1 1/4 tsp or to taste
  • Water - 2 cups


For tempering: Oil - 3 tsp, Dry red chilli- 1, Urid dal - 1 tsp, Mustard seeds - 1 1/4 tsp, Asafoetida / Hing - a pinch, Green chilli - 1, Curry leaves - 4 or 5

Method:

  • Wash the mangoes cleanly. Peel off the green skin and put them in a mixing bowl.
  • Add salt and jaggery to the mangoes and squeeze the mangoes nicely. Add water and leave it for ten minutes. Check and adjust the taste.
  • Heat oil in a small wok. Add red chilli pieces, urid dal, mustard seeds and asafoetida. Once the mustard seeds start crackling, add curry leaves and slit green chilli. Saute it for a minute and switch off the flame. 
  • Add the seasoning to the mango mixture and mix it nicely.
  • Serve this sweet - sour curry along with rice!


ಕನ್ನಡ ಆವೃತ್ತಿ 
Amla or Indian Gooseberry is well known in Ayurveda because of its medicinal values. It is told that eating one Gooseberry daily is good for our health. Gooseberry is commonly used in varieties of pickles, murabba, squash, chyavan prash, chutney, tambli, etc. Gooseberry is good for keeping the hair and skin healthy. For all the stomach related problems, gooseberry is a good remedy.
During our school days, we used to pick fresh gooseberries when its the season and were dipping them in water with added salt and crushed hot chillies. They taste very good and we enjoyed eating them daily.
One of my friends was asking me couple of months back to share the recipe of Gooseberry Pickle. I prepared the pickle and clicked the picks to share, but didn't get time to share! Now, after coming back from my India trip, I am sharing the recipe of Gooseberry Pickle with you all. Do try this pickle when you get gooseberries next time and share your feedback!


Preparation time: 35 - 40 minutes
Difficulty level: Medium
Yield: 400 to 450 gm pickle (approx)

Ingredients:

  • Indian Gooseberry / Amla - 340 gm (14 - 15 large gooseberries)
  • Water - 2 cups (1 cup = 180 ml)
  • Salt - 10 tbsp or as needed
  • Asafoetida / hing - 1/2 tsp
  • Jeera / Cumin seeds - 1 1/2 tsp
  • Turmeric powder - 1/2 tsp
  • Mustard seeds - 3 1/2 tsp
  • Red chilli powder - 6 tbsp (or as needed)
  • Lemon - 1 large


For tempering: Oil - 5 tbsp, Mustard seeds - 1 tsp, Asafoetida - big pinch

Method:

  • Take 2 cups of water, add around 4 table spoon of salt to it. Bring it to boil. After its boiled for 4 - 5 minutes, add gooseberries. Cook them for 4 - 5 minutes and switch off the flame. Close the lid and allow to cool.
  • Dry roast cumin seeds, mustard seeds and asafoetida till aromatic. Add turmeric powder and switch off the flame. Make it a fine powder along with 2 tbsp of salt.
  • When the gooseberries are cool, cut them and separate the seeds. Don't discard the salt water.
  • Take the gooseberry pieces in a mixing bowl. Add the pickle masala powder you prepared before. Add red chilli powder as required. Add around 7 tbsp of salt water to adjust the consistency. Also add lime squeeze and mix it nicely. Check and adjust the taste. 
  • Heat oil in a wok. Temper with mustard seeds and asafoetida. Once it cools down, mix it with the pickle.
  • Enjoy the tasty pickle with rice and curd!


Tips:

  • If fresh gooseberries are not available, you can you frozen ones! I have used frozen gooseberries here.


ಕನ್ನಡ ಆವೃತ್ತಿ 
Its the peak summer here..hot days makes us feel tired all the time. Drinking plenty of water and other cool drinks will give some kind of relief. Since its too hot outside, we prefer having more of juice and milkshakes these days instead of tea and coffee. These home made cool drinks are good for our health more than tea and coffee!
My daughter is a big fan of strawberries these days. Whenever we insist her to have some fruits, she demands for strawberries! So whenever I have more strawberries in the fridge, I will preserve some in the freezer for her emergency needs! And sometimes, those fruits will be used to prepare delicious milkshakes just like this!


Preparation time: 10 minutes
Servings: 2
Difficulty level: Easy

Ingredients:
Strawberries (fresh / frozen) - 250 gm
Cold milk - 300 ml
Sugar - 2 to 3 tbsp or to taste
Ice cream - 2 tbsp

Method:
Clean the strawberries and chop them roughly.
Combine sugar and chopped strawberries in a mixie or blender and make a smooth paste. Add little milk, if needed.
Once its blended nicely, add the remaining milk and blend it till everything is combined well.
Finally, add ice cream and blend it for half a minute.
Thats all, delicious Strawberry milkshake is ready to serve!


Tips:
If you want to reduce the quantity of milk, use 200 ml milk and 100 ml of water.

Gadbad Ice cream is a famous dessert of Karnataka. As I read in Wiki, its the signature dish of a ice cream parlour based at Mangalore. Me and my Hubby both are big fans of Gadbad Ice cream. Every time we visit our native place Sirsi, we will visit the ice cream parlour at least 2 - 3 times just to enjoy Gadbad Ice cream!
Layers of chopped fruits, ice cream jelly, dry fruits and nuts make this ice cream delicious and rich in taste. I love to prepare Gadbad Ice cream at home when I have ripened mangoes in my pantry. Try this delicious ice cream and let me know your feedback!


Preparation time: 30 - 35 minutes
Refrigeration time: 1 hour
Servings: 2
Difficulty level: Medium

Ingredients:
  • Ripened mango - 1
  • Apple - half slice
  • Banana - 1
  • Sugar - 2 tbsp
  • Raisins - 3 tbsp
  • Broken cashews - 4 to 5 tbsp
  • Cherries (for decoration) - 2
  • Tutti frutti (optional) - 2 to 3 tbsp
  • Ice cream - as required

Method:
  • Chop apple, mango and banana finely. Combine them in a mixing bowl. Add around 2 tbsp of sugar or according to taste. Mix it well and keep in the refrigerator for an hour.
  • Meanwhile, dry roast the broken cashews into golden brown and keep aside.
  • Take 2 serving glasses. Add one layer of chopped fresh fruits in both the glasses. Top it with raisins and cashews. You can also add tutti frutti. Add around 2 tbsp of ice cream on its top. Repeat these layers again one or two times as per your wish. 
  • After you add the final layer of ice cream, garnish it with raisins, cashews and tutti frutti. Top it with cherry and serve immediately.


Tips:
  • Orange, sapota (chikkoo) and pineapple fruits also go well for this ice cream. Fruits which I have mentioned in the recipe are not compulsory; You can try it with your favorite combo of fruits.
  • You can add different flavors of ice cream for each layer to make it rich and more colorful.

ಕನ್ನಡ ಆವೃತ್ತಿ
Different kinds of leafy vegetables are part of our healthy diet. They are good source of various nutrients and taste delicious as well. One among those leaves is Amaranth Leaves. We buy it often from the vegetable market. Amaranth leaves are a good source of calcium, iron and vitamins. They are good for preparing stir fry, sambar, hashi, saasive and other side dishes.
Below is the recipe of Amaranth Leaves Stir Fry / Harive Soppina Palya..


Preparation Time: 20 - 25 minutes
Serves: 2
Difficulty level: Medium

Ingredients:
  • Amaranth leaves / Harive soppu - 1 bunch
  • Dry red chillies - 2 or 3 (adjust according to taste)
  • Urad dal - 1 tsp
  • Mustard seeds - 1 tsp
  • Asafoetida / Hing - a pinch
  • Turmeric powder - 1/8 tsp
  • Cooking oil - 3 tbsp
  • Grated coconut - 1/2 cup
  • Salt to taste
  • Amchur powder - for taste
  • Jaggery / sugar - 1/4 tsp or according to taste (see Tips)
  • Onion (optional) - 1

Method:
  • Wash the amaranth leaves in clean water thoroughly. Chop them finely. Include the tender stems also while chopping.
  • Heat the oil a heavy bottom pan. Add broken red chillies, urid dal and roast them for a minute. When the urid dal turns into light brown color, add mustard seeds and asafoetida. 
  • When the mustard seeds start crackling, add the turmeric powder and saute it once. Now add the chopped amaranth leaves and mix it well. Quickly find the broken red chillies in them which are crunchy after frying, powder them coarsely using your fingers or with the help of laddle. Add the powdered chillied back to the seasoned mixture.
  • Cover the lid and allow the mixture to cook on medium flame. No need to add any water, since the water content in the leaves will be enough for cooking them.
  • Stir the mixture regularly. Once the leaves are almost cooked, add salt, amchur powder and jaggery / sugar for taste.
  • Add grated coconut after 2 - 3 minutes. Also add the chopped onion, if using. I have added onion here.
  • Cook it for 5 more minutes and turn off the flame.
  • This stir fry tastes delicious with rice, chapathi or poori.


Tips:
  • Add only 1/4 tsp of jaggery / sugar for this stir fry if you don't want to make it sweet. If you like sweet taste, add more jaggery / sugar according to taste. And if making it sweet in taste, don't add onion.


Makara Sankranti is one of the famous festivals which is celebrated by Hindus. January is the month when different agricultural crops are ready for harvest. Makara Sankranti is known as the festival of harvests. In different parts of India, this festival is celebrated with different names like Pongal, Bogi Pallu, etc.
At my native, we prepare 'Sankranti Kalu', tiny balls of sugar syrup which will have sesame seeds inside. Being kids, we were enjoying eating them during those days. All the people in the household along with friends and relatives enjoy eating them with other festive specials. This festival will end up with a sweet note - 'Eat sweet and talk sweetly'!
Most of the people prefer buying Sankranti Kalu from the shops since preparing them at home is a hectic job. At my moms place, they usually prepare Sankranti Kalu at least in small quantity for offering to the God. Me too prepared it at home this time for my Kiddo :)


Preparation time: 4 hours approx
Difficulty level: difficult
Yield - 1 small bowl full

Ingredients:
  • White sesame seeds / Till seeds - 4 tsp
  • Sugar - 3 cups (1 cup = 110 gm)
  • Water - 1 1/4 cup
  • Milk - 4 tbsp
  • Lime juice - 1 tsp
  • Muslin cloth
  • Food colors - optional

Method:
  • Combine sugar and water in a vessel and bring it to boil. Once it starts boiling, add 2 tbsp of milk and 1/2 tsp lime juice to it. This is to remove any impurities in it.
  • After boiling it for 3 - 4 minutes, it curdles and you can see a white layer on the top of syrup. Filter the syrup using a muslin cloth. Repeat this step one more time.
  • When the sugar syrup reaches one string consistency, turn off the flame and allow it to cool. Now, purified sugar syrup is ready to use.
  • While making Sankranti Kalu, if the sugar syrup gets thick at any stage, add a little water and heat it to attain one string consistency again.
  • Take a wide pan and allow to heat it on low flame. Add 4 tsp sesame seeds and 3 drops of sugar syrup. Keep mixing it nicely with your fingertips and take care not to burn the hands. Try to keep the seeds separately; Make sure that sesame seeds not sticking to one another by the time the sugar syrup coating is dried.
  • Whenever you feel like the pan is hot, take the pan out of the stove top and keep mixing the sesame seeds continuously till its warm enough. Put it back on the stove top again and continue the process. 
  • Once the sugar syrup on the sesame seeds is completely dried, add 3 - 4 drops of again and keep mixing them continuously. Repeat this process till they reach the size of coriander seeds. 
  • If adding colors, add a pinch / drop of food color to 1/2 tsp of sugar syrup and mix it. Add 3- 4 drops of this colored syrup to a small quantity of Sankranti Kaalu and mix it on the stove top till its dried. Do it one more time so that the color will be coated nicely. You can add different colors like this.


Tips:
  • Fennel seeds / Saunf or groundnuts will also taste good when they are coated with sugar syrup in the above way. I have 2 batches here, one with sesame seeds and another with fennel seeds and have mixed both of them.
  • Preparing Sankranti Kalu at one stretch is very hard. If the sugar syrup is ready, you can invest 1hour daily and finish doing it within 4 - 5 days.
  • Natural colors like turmeric, beetroot juice, saffron, etc.are good to use instead of artificial food colors. 
  
ಕನ್ನಡ ಆವೃತ್ತಿ

Chips are perfect snacks for tea time! Varieties of chips can be prepared using different vegetables. At my native place, people prepare chips using vegetables like raw banana (plantain) chips, raw jack fruit chips, bread fruit chips, sweet potato chips, etc. Raw banana (plantain)s are available in all the seasons and hence, one can prepare Raw Banana Chips anytime. There are different varieties of bananas, the one known as 'Nendra Baale' is one among them, which is perfect for preparing chips.
Both me and my hubby like varieties of chips prepared at our native place. Since it has been a while we visited native, sometimes we miss the native style food here. Whenever I find raw banana (cooking banana)s in Indian stores, I remember those crunchy and tasty chips prepared at my native. One fine day, I prepared chips using those cooking bananas which were there in the pantry. I came out nice and after adding my mom's style masala powder, it tasted the same like the native one. After this trial, I'm happy that I can prepare my favorite Banana Chips anytime!
Here is the recipe of Raw Banana Chips / Plantain Chips..


Time required: 1 hour
Servings: 5 - 6
Difficulty level: Medium

Ingredients:
Raw bananas - 5
Chips Masala Powder - 4 tbsp
Salt to taste
Oil for deep frying

Method:
Take around 5 cups of water in a wide vessel and add 4 - 5 drops of cooking oil. Peel the raw bananas and keep them in this water.
Take the peeled bananas one - by - one, rub them in a dry cloth, chop them into thin slices.
Heat oil in a heavy bottom pan. Deep fry the sliced bananas on medium flame till crispy and/or golden brown.
Spread the fried chips on a tissue paper for a minute or to in order to absorb the excess oil.
Transfer the chips to a wide bowl. Add Masala powder and salt, as required. Toss it nicely and ensure that masala powder and salt is coated evenly.
Enjoy the crispy crunchy chips with a cup of Tea or Coffee!
If preserved in an airtight container, chips will remain fresh for at least upto a month.


Tips:
Instead of Masala powder, you can add turmeric powder and hing (asafoetida) for flavoring.
Sunflower oil and coconut oil are good for frying raw banana chips.
Soaking the peeled bananas in water is to avoid them from ripening. If you are using the peeled bananas quickly, then no need to soak in water.

Palak Paneer, is a famous side dish from North Indian cuisine. Paneer cubes are dipped in Spinach gravy with added spices, which tastes delicious with Chapathi, Roti and Poori. 
Palak plants are easy to grow even in your balcony. One of my friends have gone for vacation last month and she had left her plants at my place. She gave me her spinach plants and shared a nice tip. Don't take out the whole plant when it is ready for plucking. Take out only the grown up leaves and leave the plant to grow again. This works nicely and the leaves are again ready for plucking within 3 weeks! I had planted some spinach plants in our backyard when we were in Adelaide, but I didn't knew about this. Hope this tip will be useful for you as well!
And, wish you all a very happy and prosperous new year! 
Below is the recipe of Palak Paneer:


Time required: 30 minutes
Servings: 3
Difficulty level: Medium

Ingredients:
  • Spinach leaves - 1 big bunch
  • Tomato - 1
  • Onion - 1, medium sized
  • Grated ginger - 1 tsp
  • Grated garlic - 1 tsp
  • Cumin seeds - 1 tsp
  • Coriander powder - 1 1/2 tsp
  • Garam masala powder - 1/2 tsp
  • Red chilli powder - 1 1/4 tsp or according to taste
  • Salt to taste
  • Lime squeeze - 1 tsp or to taste
  • Paneer / Cottage cheese - 300 gm or as required
  • Cooking oil - 7 tbsp
  • Water - 3 cups approx


Method:
  • Chop the tomato finely. Grate the onion using a vegetable grater and keep ready.
  • Wash the spinach leaves thoroughly and cook them in 1 1/2 cups of water. Add more water if required. 
  • Once the spinach is cooked, turn off the flame and allow to cool. Drain the remaining water and keep aside. Grind the spinach leaves into smooth paste.
  • Cut the paneer / cottage cheese into medium size cubes. Shallow fry them with little oil on hot tava till golden brown and keep aside.
  • Heat 5 - 6 tbsp of oil in a heavy bottom pan. Add cumin seeds and saute for a while. Then, add grated ginger and garlic. Saute them till the raw smell is gone.
  • To this, add grated onion and cook it till turns into light brown color.
  • Add finely chopped tomato and 1/4 tsp salt and mix well. Cook it covered. 
  • Keep mixing it regularly and once tomato is cooked and the mixture starts leaving oil from the sides, add the spinach paste. Add water as required to make it gravy and salt to taste. You can use the drained water left after cooking the spinach. 
  • Now add the coriander powder, garam masala powder and red chilli powder. Mix it nicely and allow the mixture to boil for 3 - 4 minutes.
  • After you turn off the flame, add lime juice for taste and mix it well. 
  • Finally add the Paneer cubes and mix everything slowly.
  • Serve it hot with Chapathi, Roti or Poori.


Tips:
  • If you have the paneer at home, you can use the left over paneer water for this recipe instead of plain water.
  • Green chillies can be used instead of red chilli powder. If using green chillies, you can combine ginger, garlic and green chillies and make a fine paste for using here.
NewerStories OlderStories Home